Power Rangers light up sword
My sons love power rangers. I made this power rangers sword for my eldest's birthday. When he tilts left and right it changes to a different colour. It will look great at Halloween!
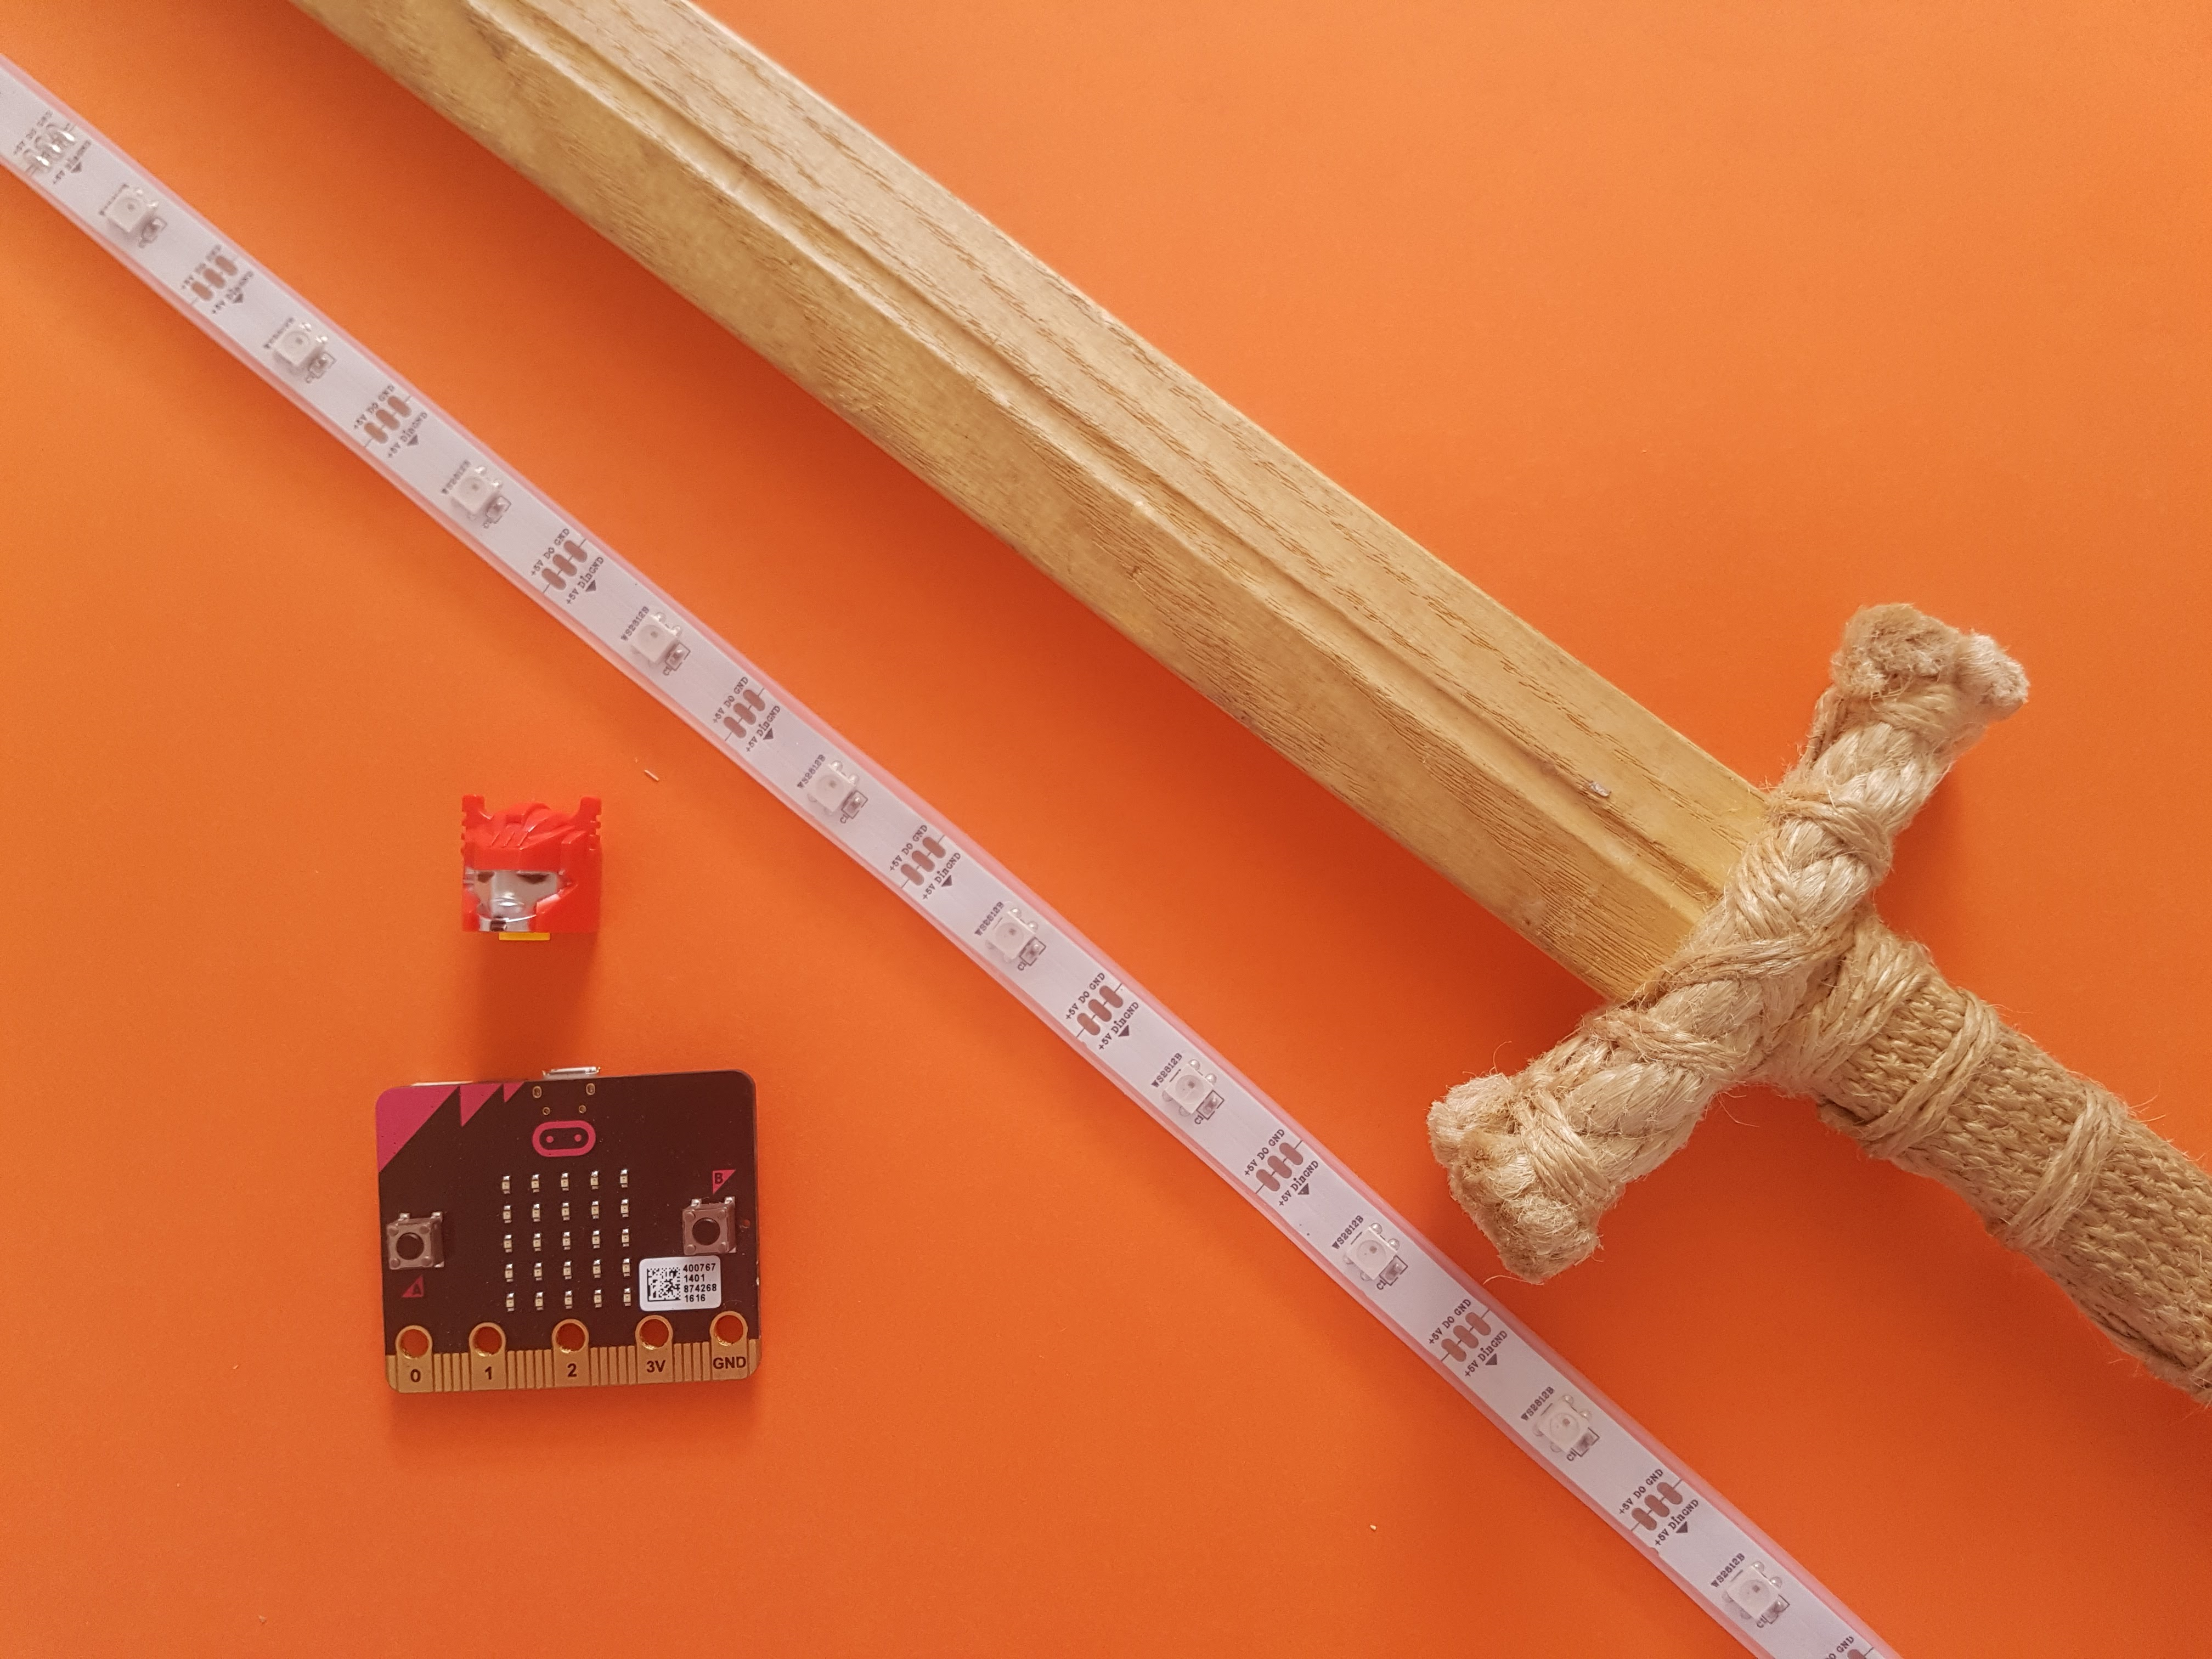
Equipment
- micro:bit
- sword, preferrably flat and not sharp!
- strip of RGB LED lights £4.73
- http://www.ebay.co.uk/itm/WS2812B-LED-Strip-RGB-Waterproof-30-60-144-LED-M-WS2812IC-Individual-Addressable-/112302125057
- I chose the 1 metre 30 LED strip in a waterproof strip in white PCB.
- 3 x 6mm M3 bolts http://cpc.farnell.com/unbranded/cp3m6/screw-csk-pozi-m3-x-6mm-100pk/dp/FNCP3M6?st=m3
- 3 x M3 nuts http://cpc.farnell.com/unbranded/m3-stainless-full-nu/m3-stainless-full-nut/dp/FN00776?st=m3
- 3 x 4mm ring crimp terminals http://cpc.farnell.com/pro-power/st1-4-0/ring-terminal-red-4-0mm-25a-100/dp/CN11351?st=11351
Build
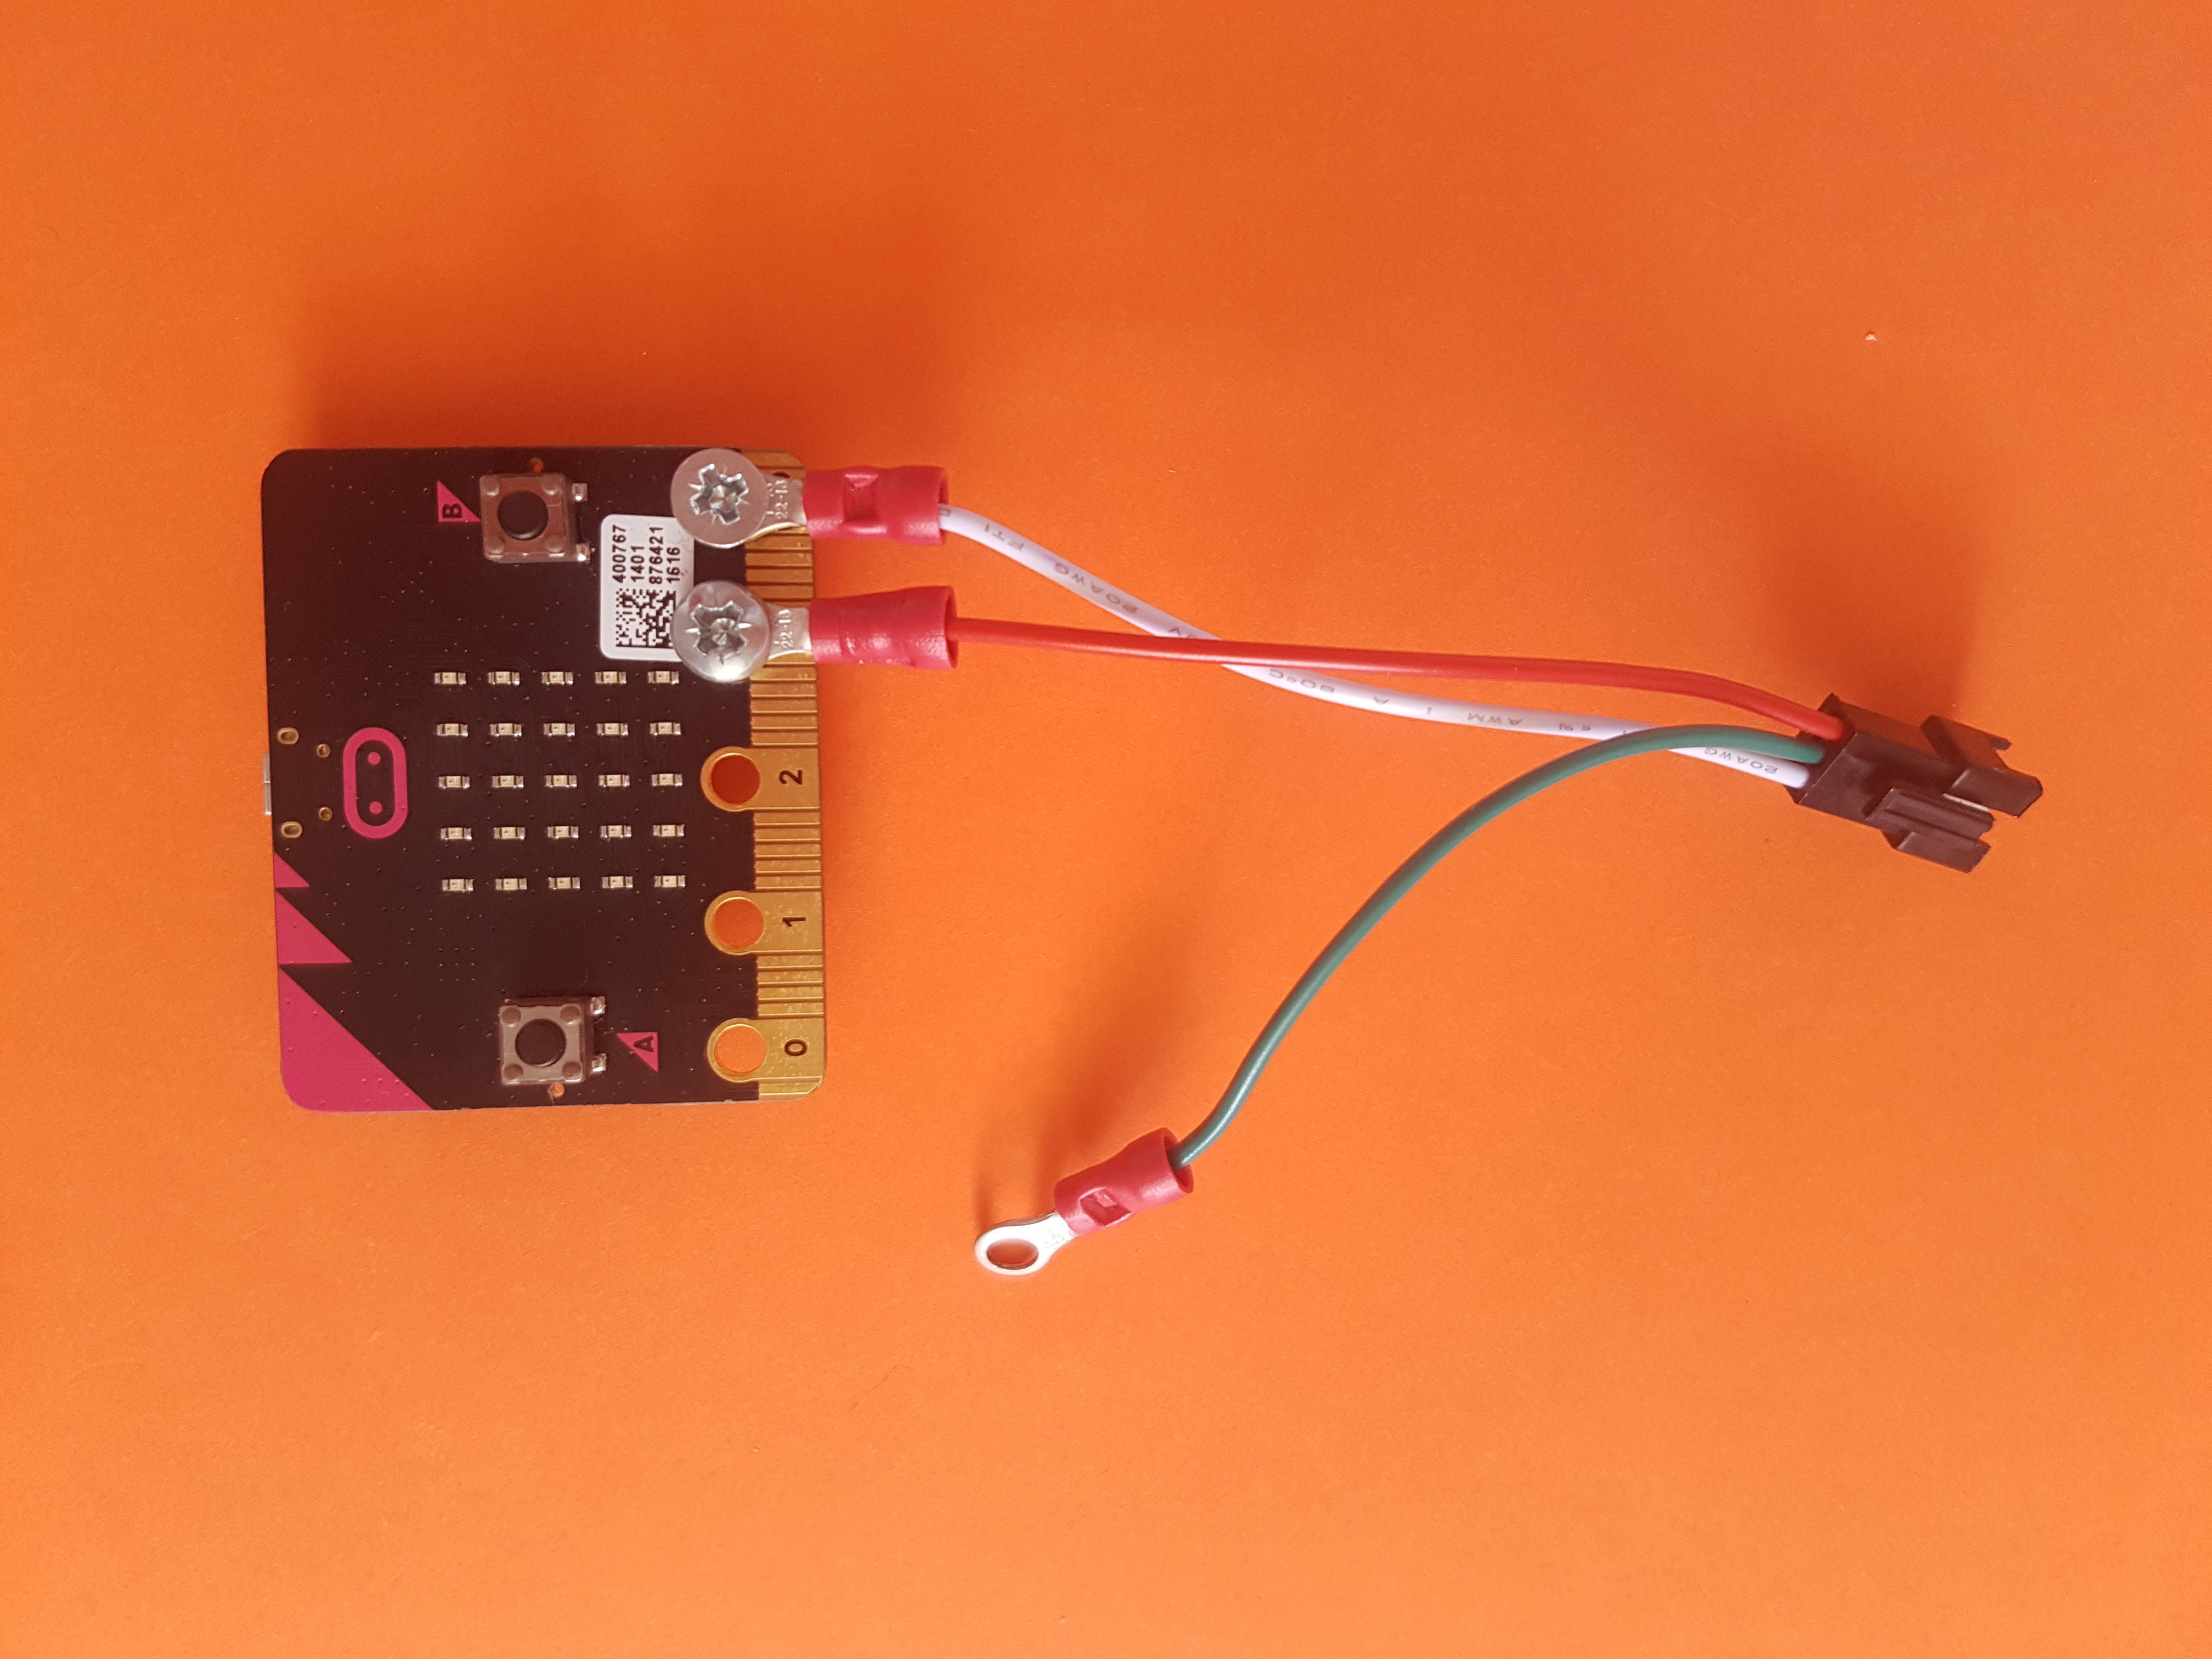
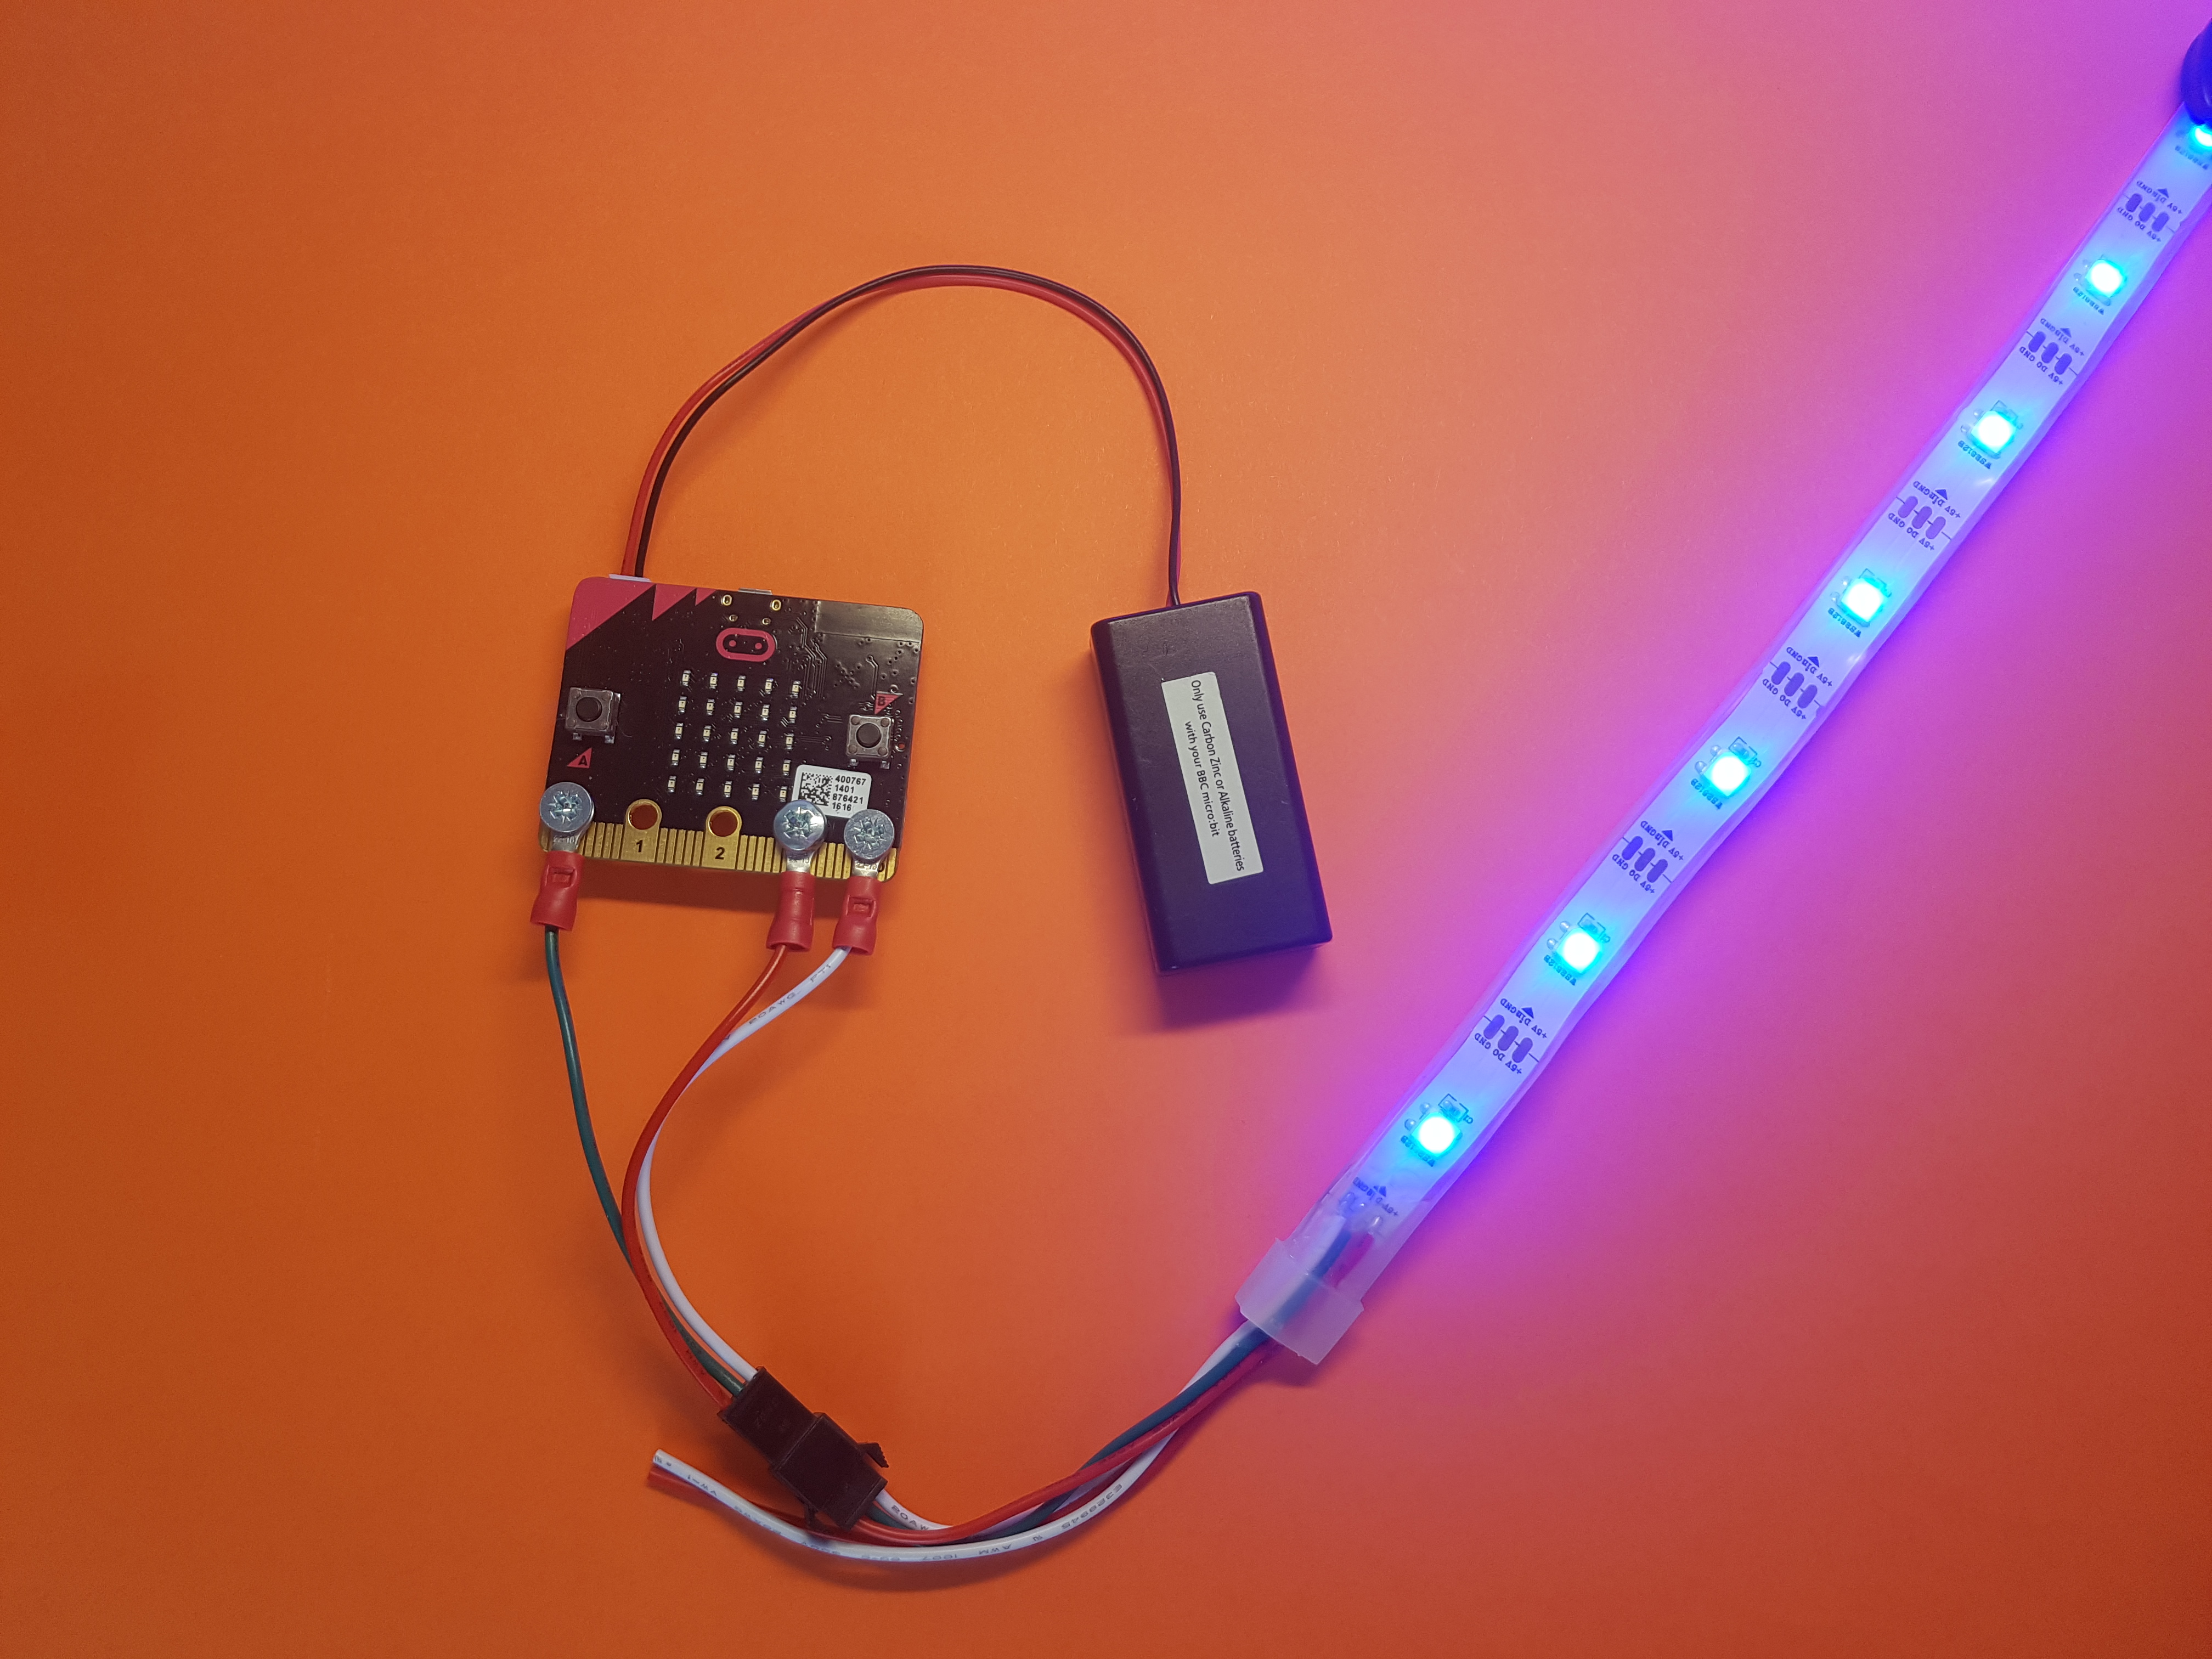
- Take the connector off the strip of lights. This has 3 wires on it: red for 5V, white for GND and red for 5V
- Strip the wire back off each of the wires
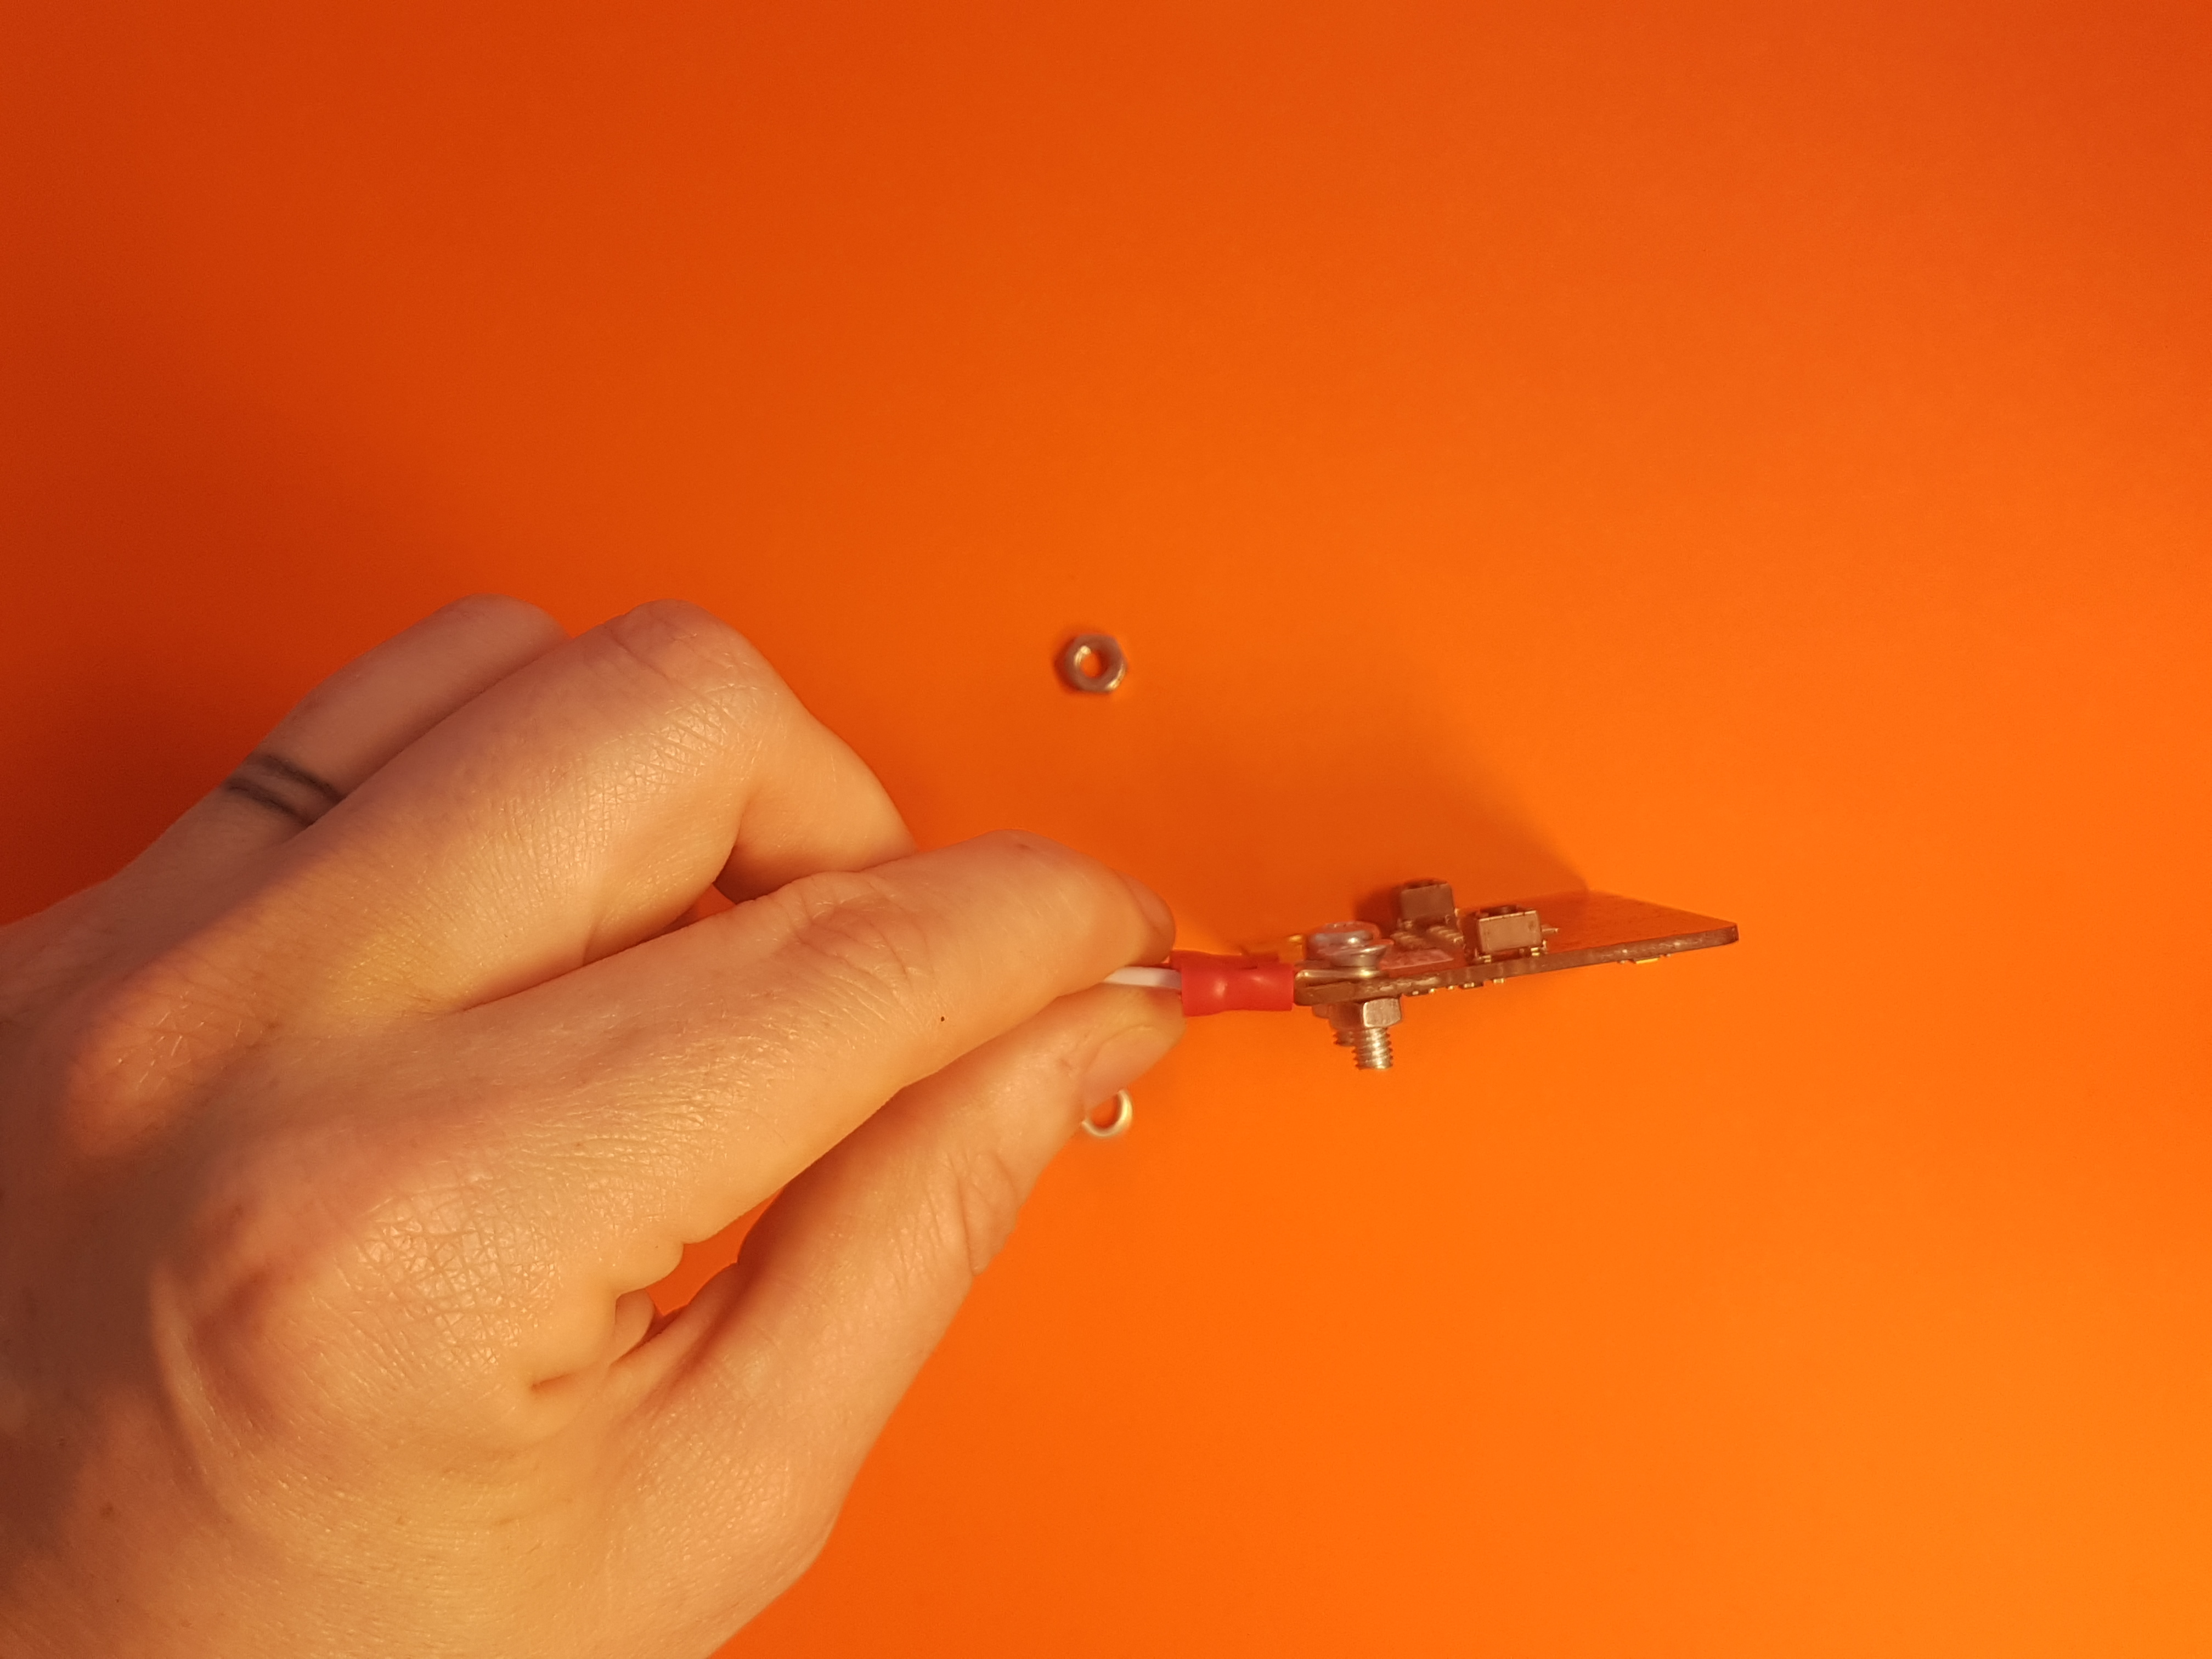
- Crimp a ring terminal to each wire. The wire is a bit thin for these ring terminals - try folding the bare back onto the coloured wire so the crimp will have something to crimp onto
- Place the red terminal against the 3V hole on the micro:bit. Put the bolt through both of them and secure on the back of the micro:bit with the nut
- Place the green wire against the 0 hole and do the same
- Place the white wire against the GND hole and do the same
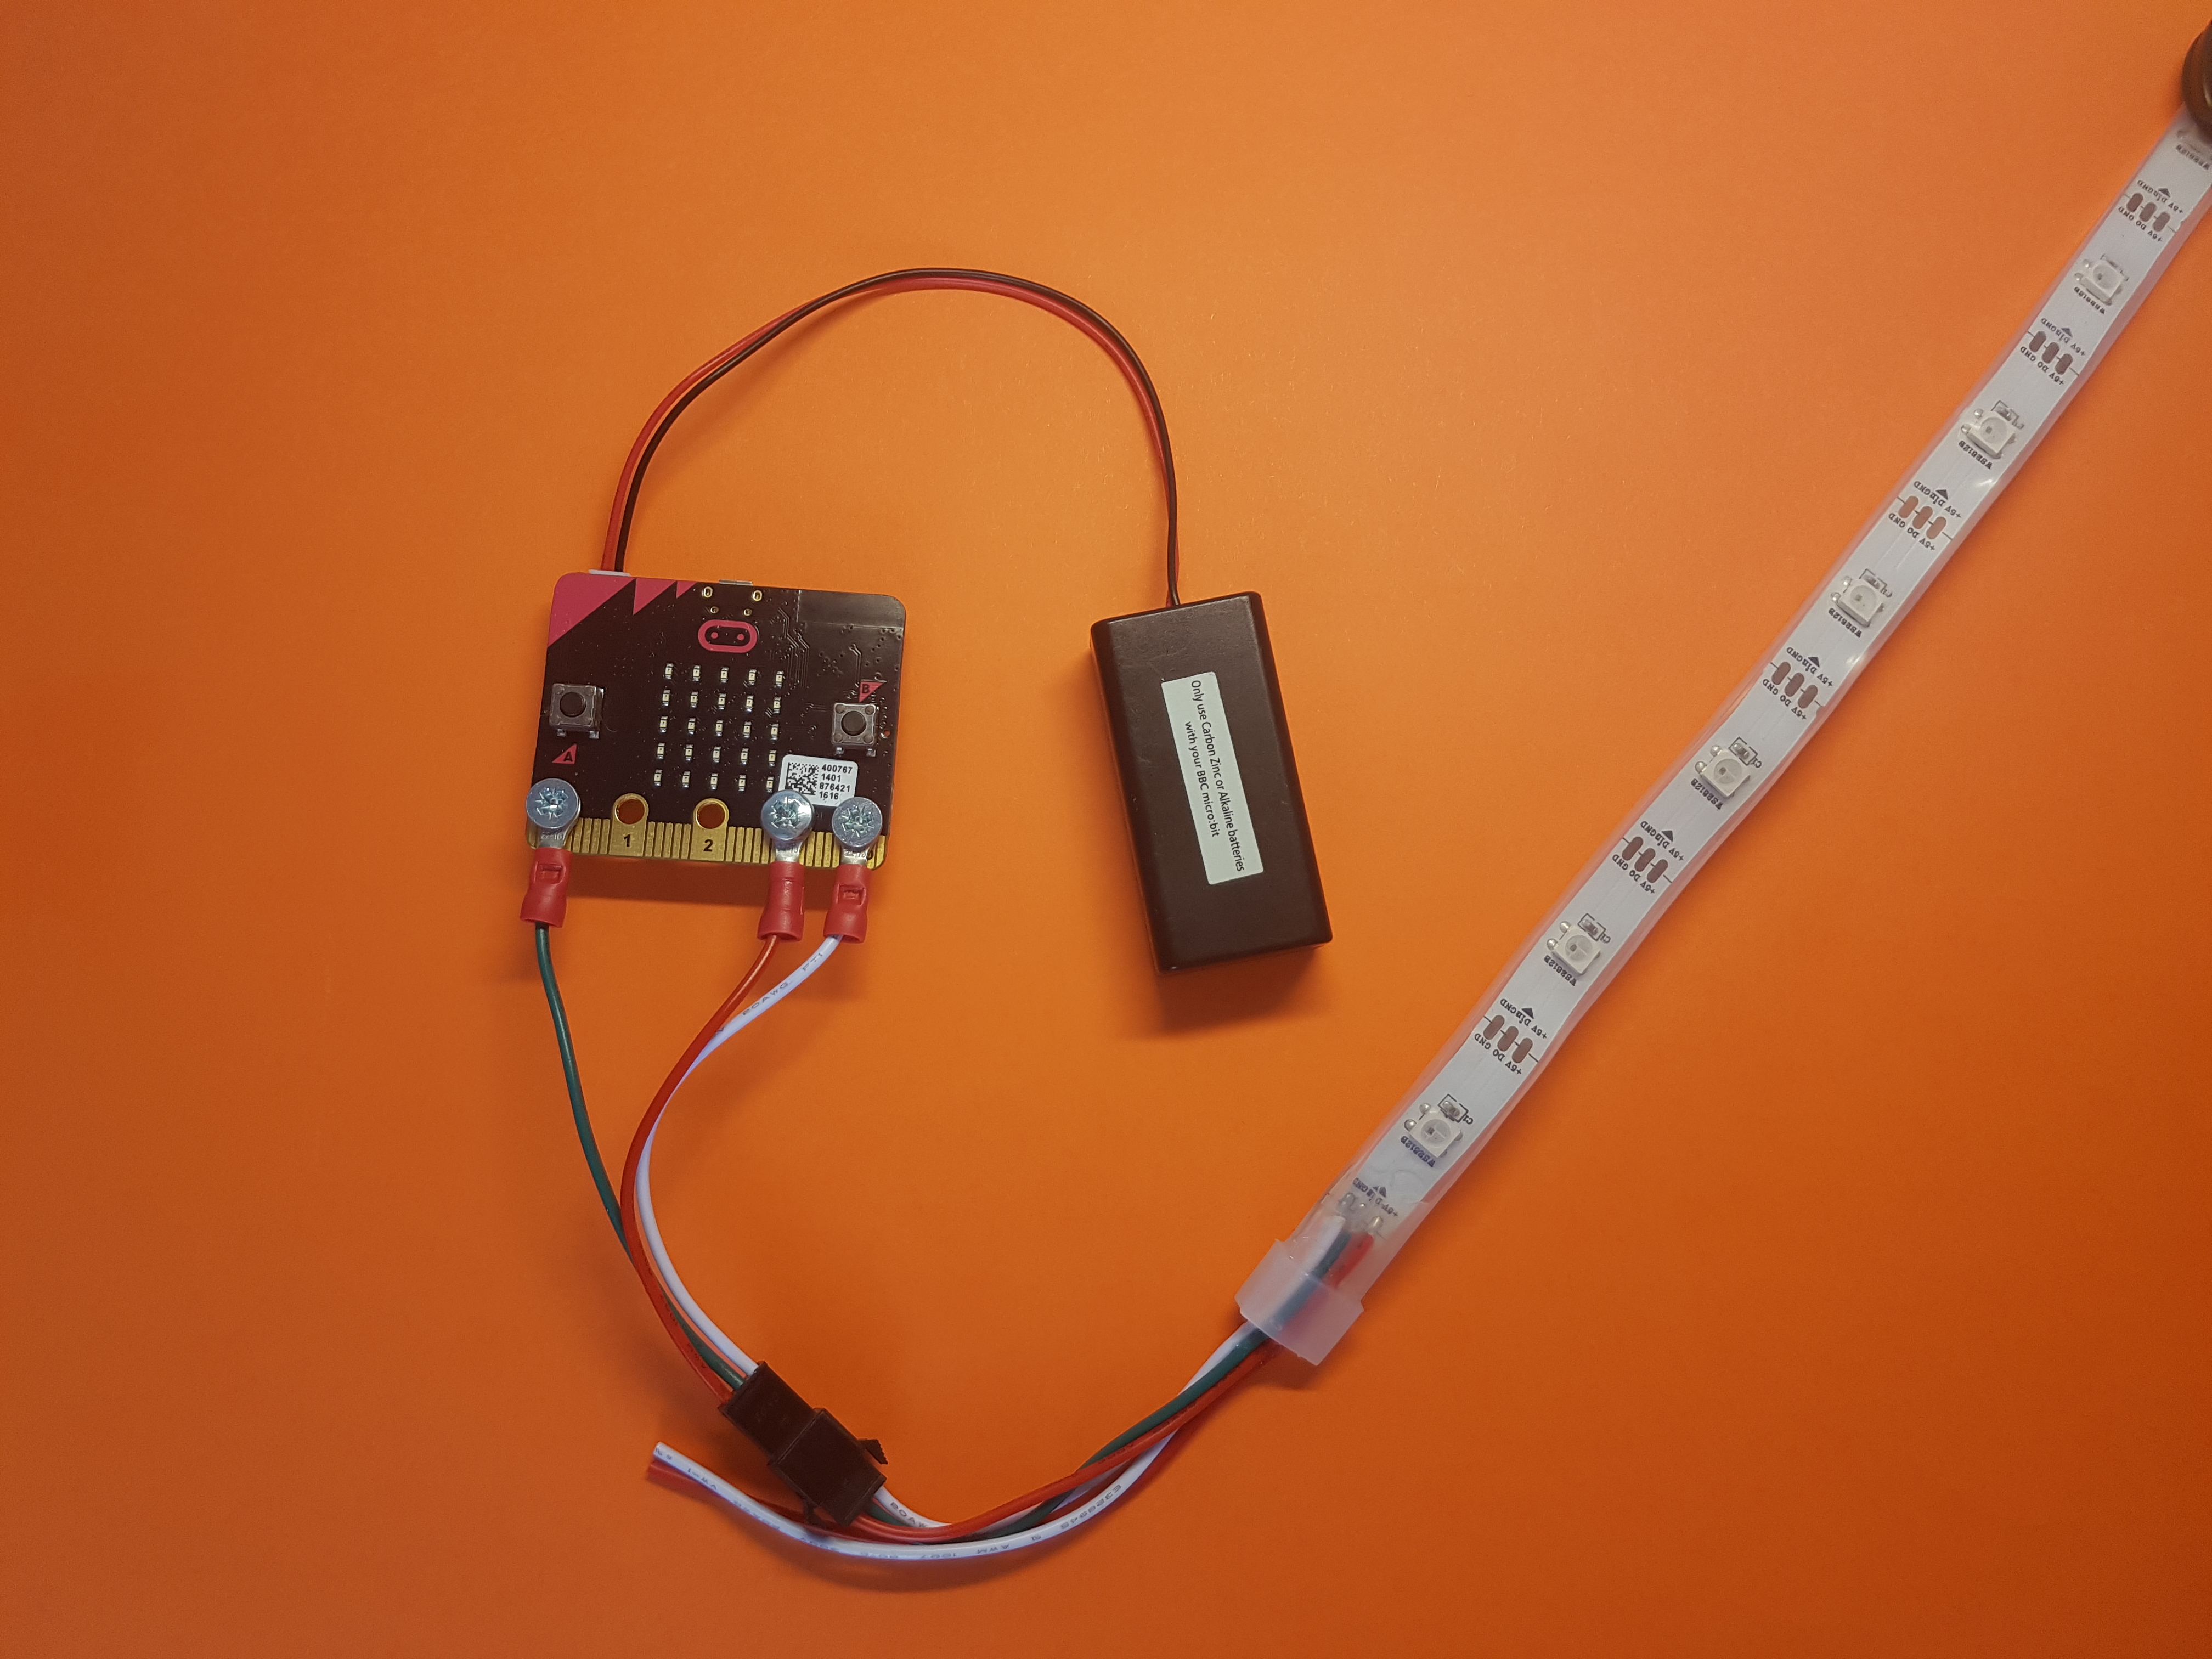
- Plug the connector into the rest of the strip. It should only connect to the end that says DIN on it
Code
Add the Neopixel package
Before attaching to the sword, let's code it
- Go to microbit.makecode.com
- Add the Neopixel package
- Select Advanced
- Select Add Package
- Select Neopixel
![]()
Setup the lights
- Create a variable called lights
- Select Variable
- Select Create New Variable
- Type "Lights"
- Select OK
- From the Variables menu drag out "Set item to 0"
- Connect it under "On start"
- Change item to Lights
- From the Neopixel menu select the first block "Neopixel at pin 0.."
- Drag this out onto 0
- Change 24 leds to 30
![]()
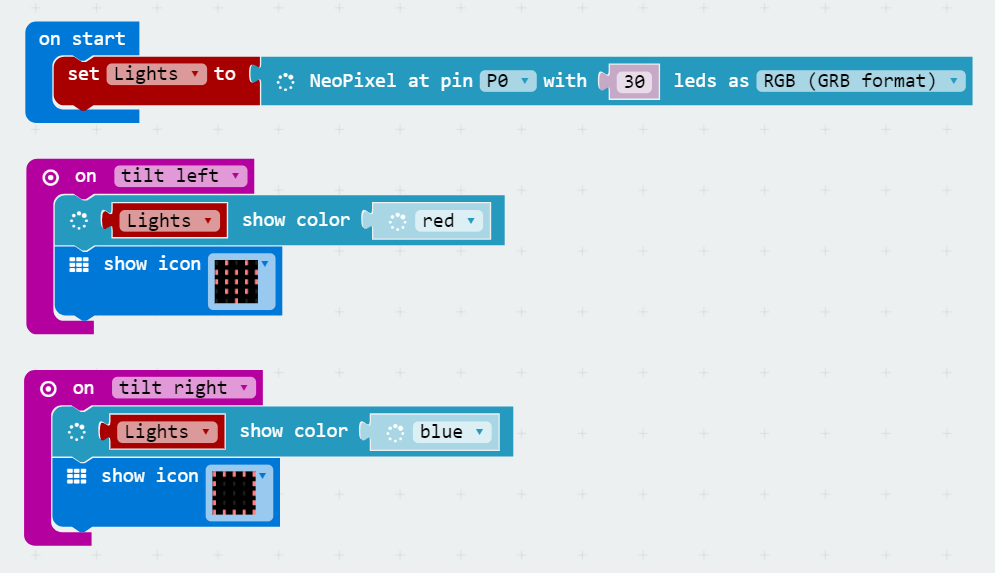
Turn the lights on
- From Input select "on shake" and drag it onto the screen
- Change "on shake" to "tilt left"
- From Neopixel select "item show color red" and place it under tilt left
- Change item to lights
- Change red to whatever colour you want
- Add a test block to make sure tilt has happened: select Basic
- Select "show icon" and choose an icon
- Put it under "tilt left"
- Repeat steps 1 to 8 using tilt right, a different colour and a different icon
Download and test the code
- Plug your micro:bit into your computer with a USB cable
- Select Download
- In Chrome the file will go to your Downloads folder. Go to your Downloads folder and drag your file onto the micro:bit
- In Internet Explorer it will ask you where to save your file to. Select "Save As" then select the micro:bit
- In Chrome the file will go to your Downloads folder. Go to your Downloads folder and drag your file onto the micro:bit
- Tilt your micro:bit left then right
- Ta-da!
Finish Assembly
Now your micro:bit is coded: the micro:bit can only power a maximum of eight RGB LEDs at once. I counted ten lights and cut off the remaining twenty. These strips are built to be cut. You can solder and use the reamining twenty for a different project.
- Tape the battery pack to the back of the sword
- Tape the micro:bit to the front, just under the handle
- Tape the lights onto the sword "blade"
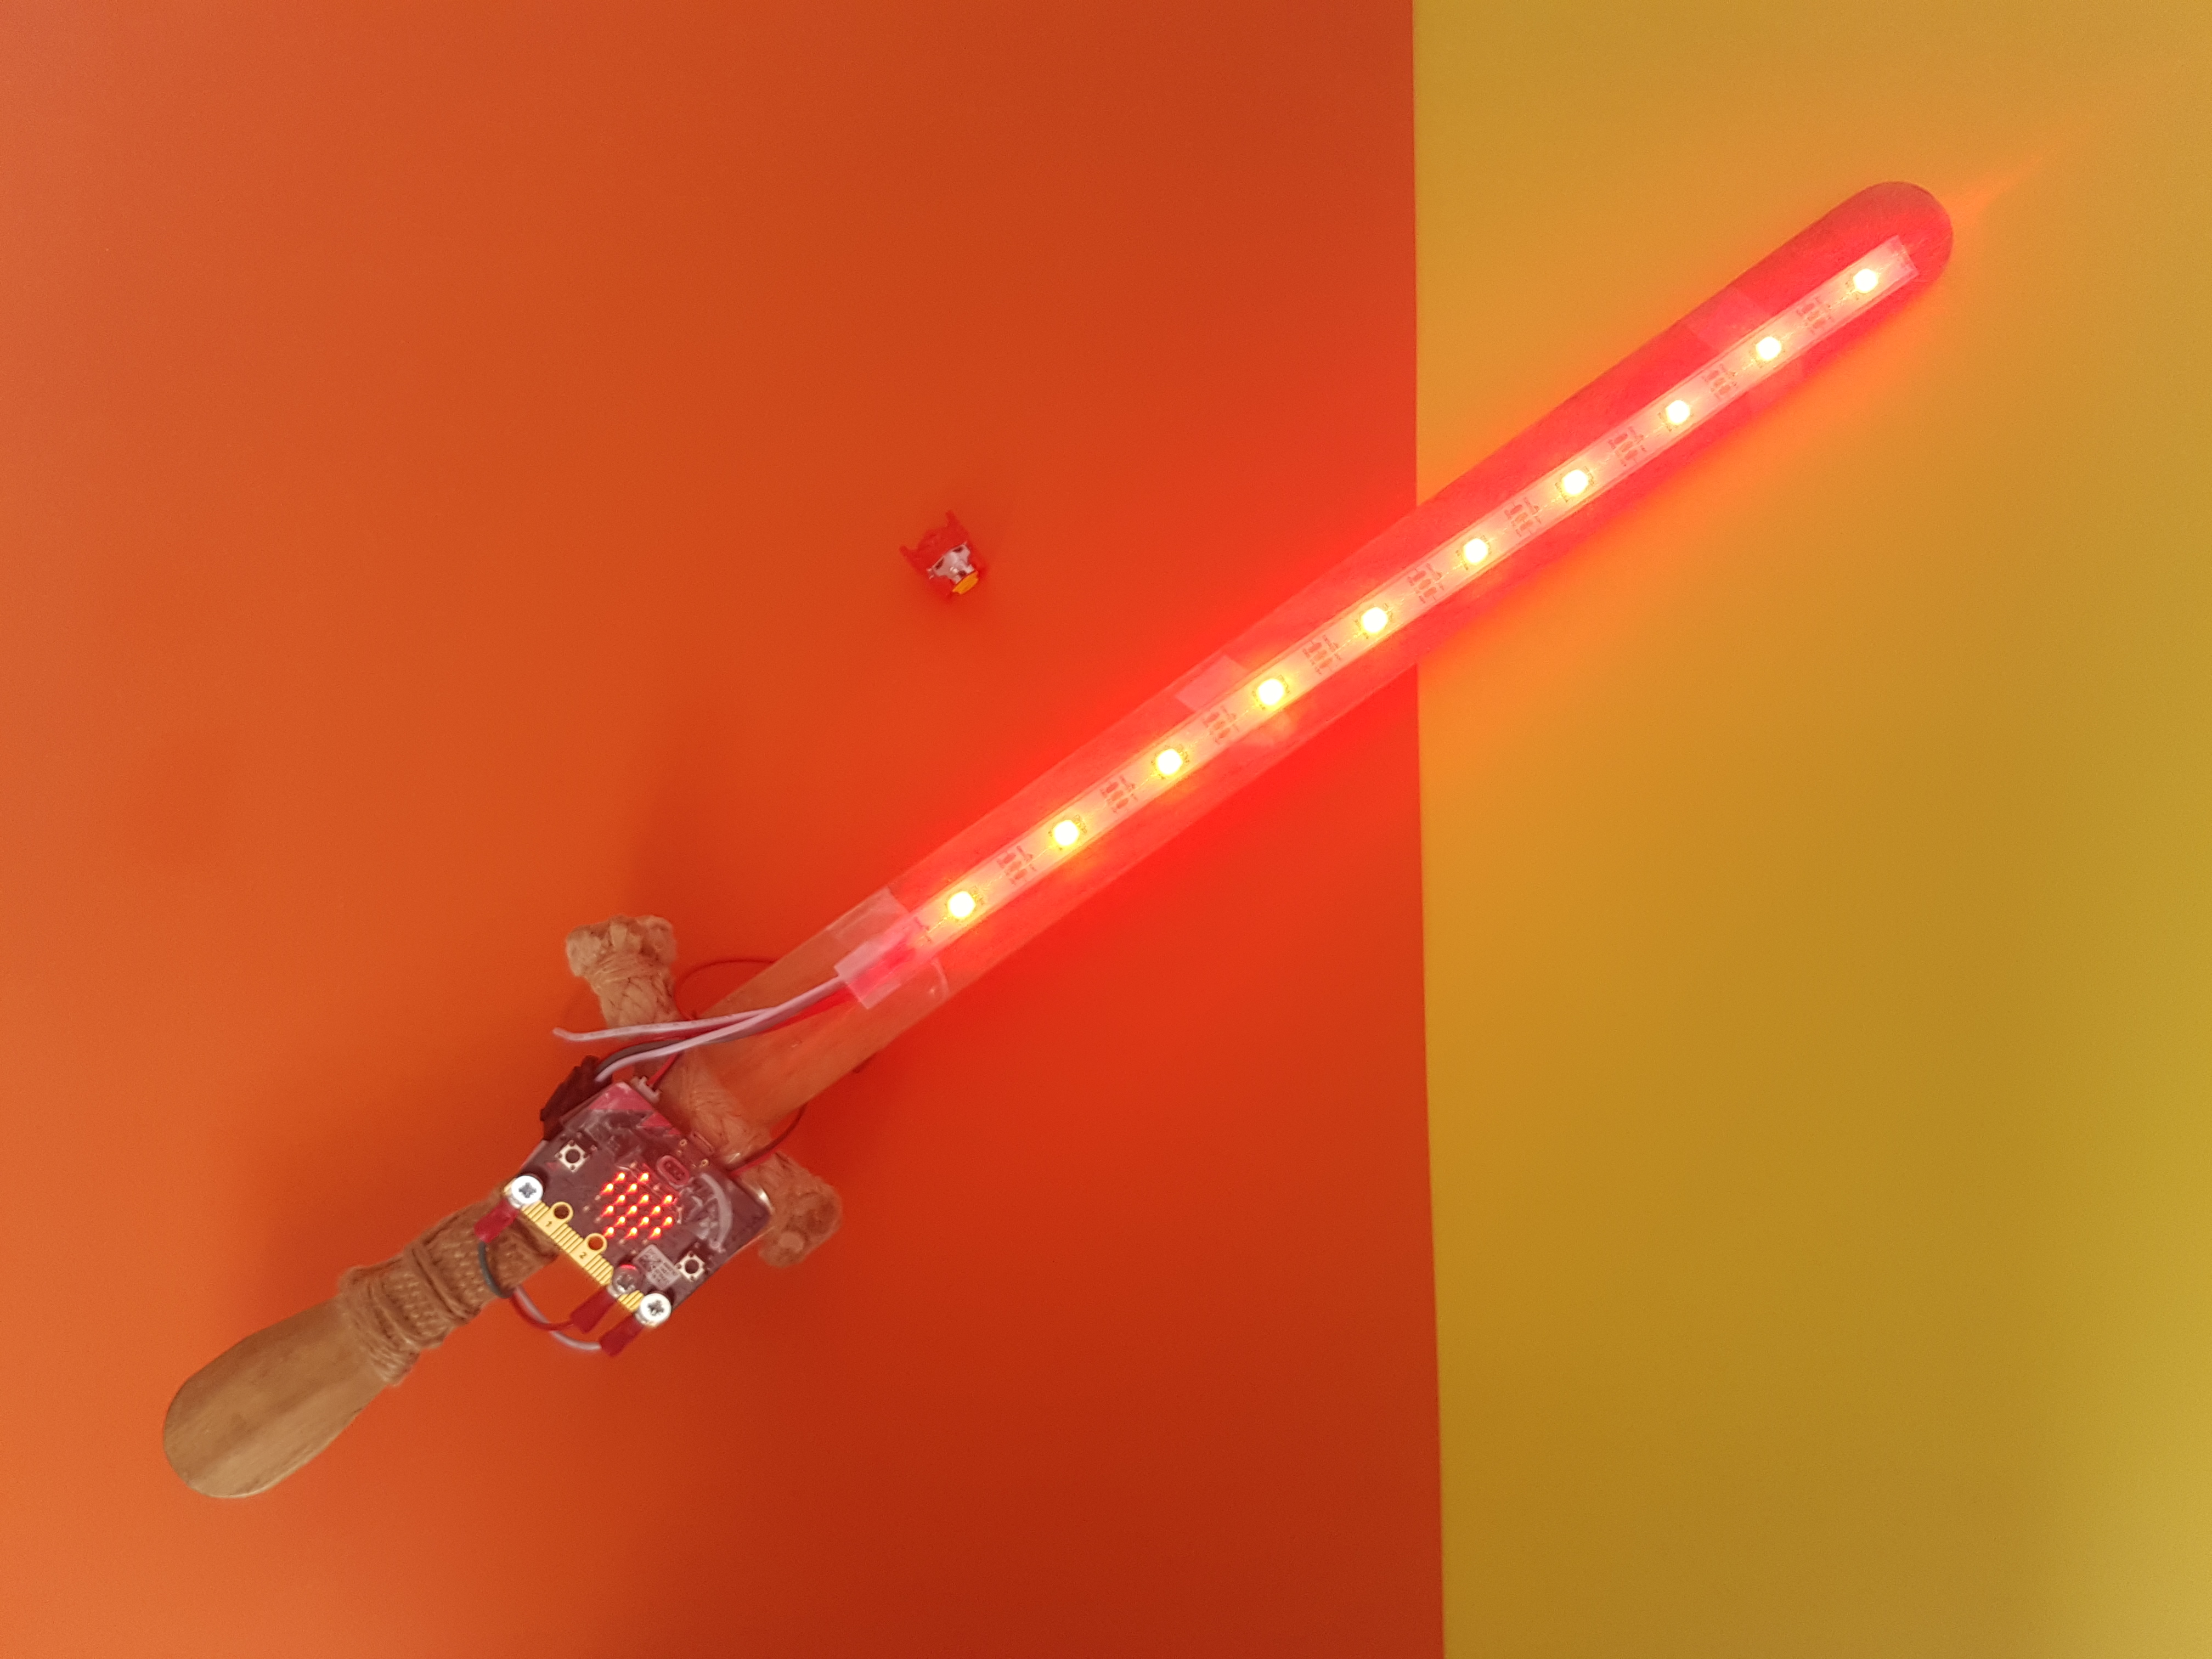
What colour will your sword change? What happens you shake your sword?