PiWars Practice Bot and Chassis Mark I
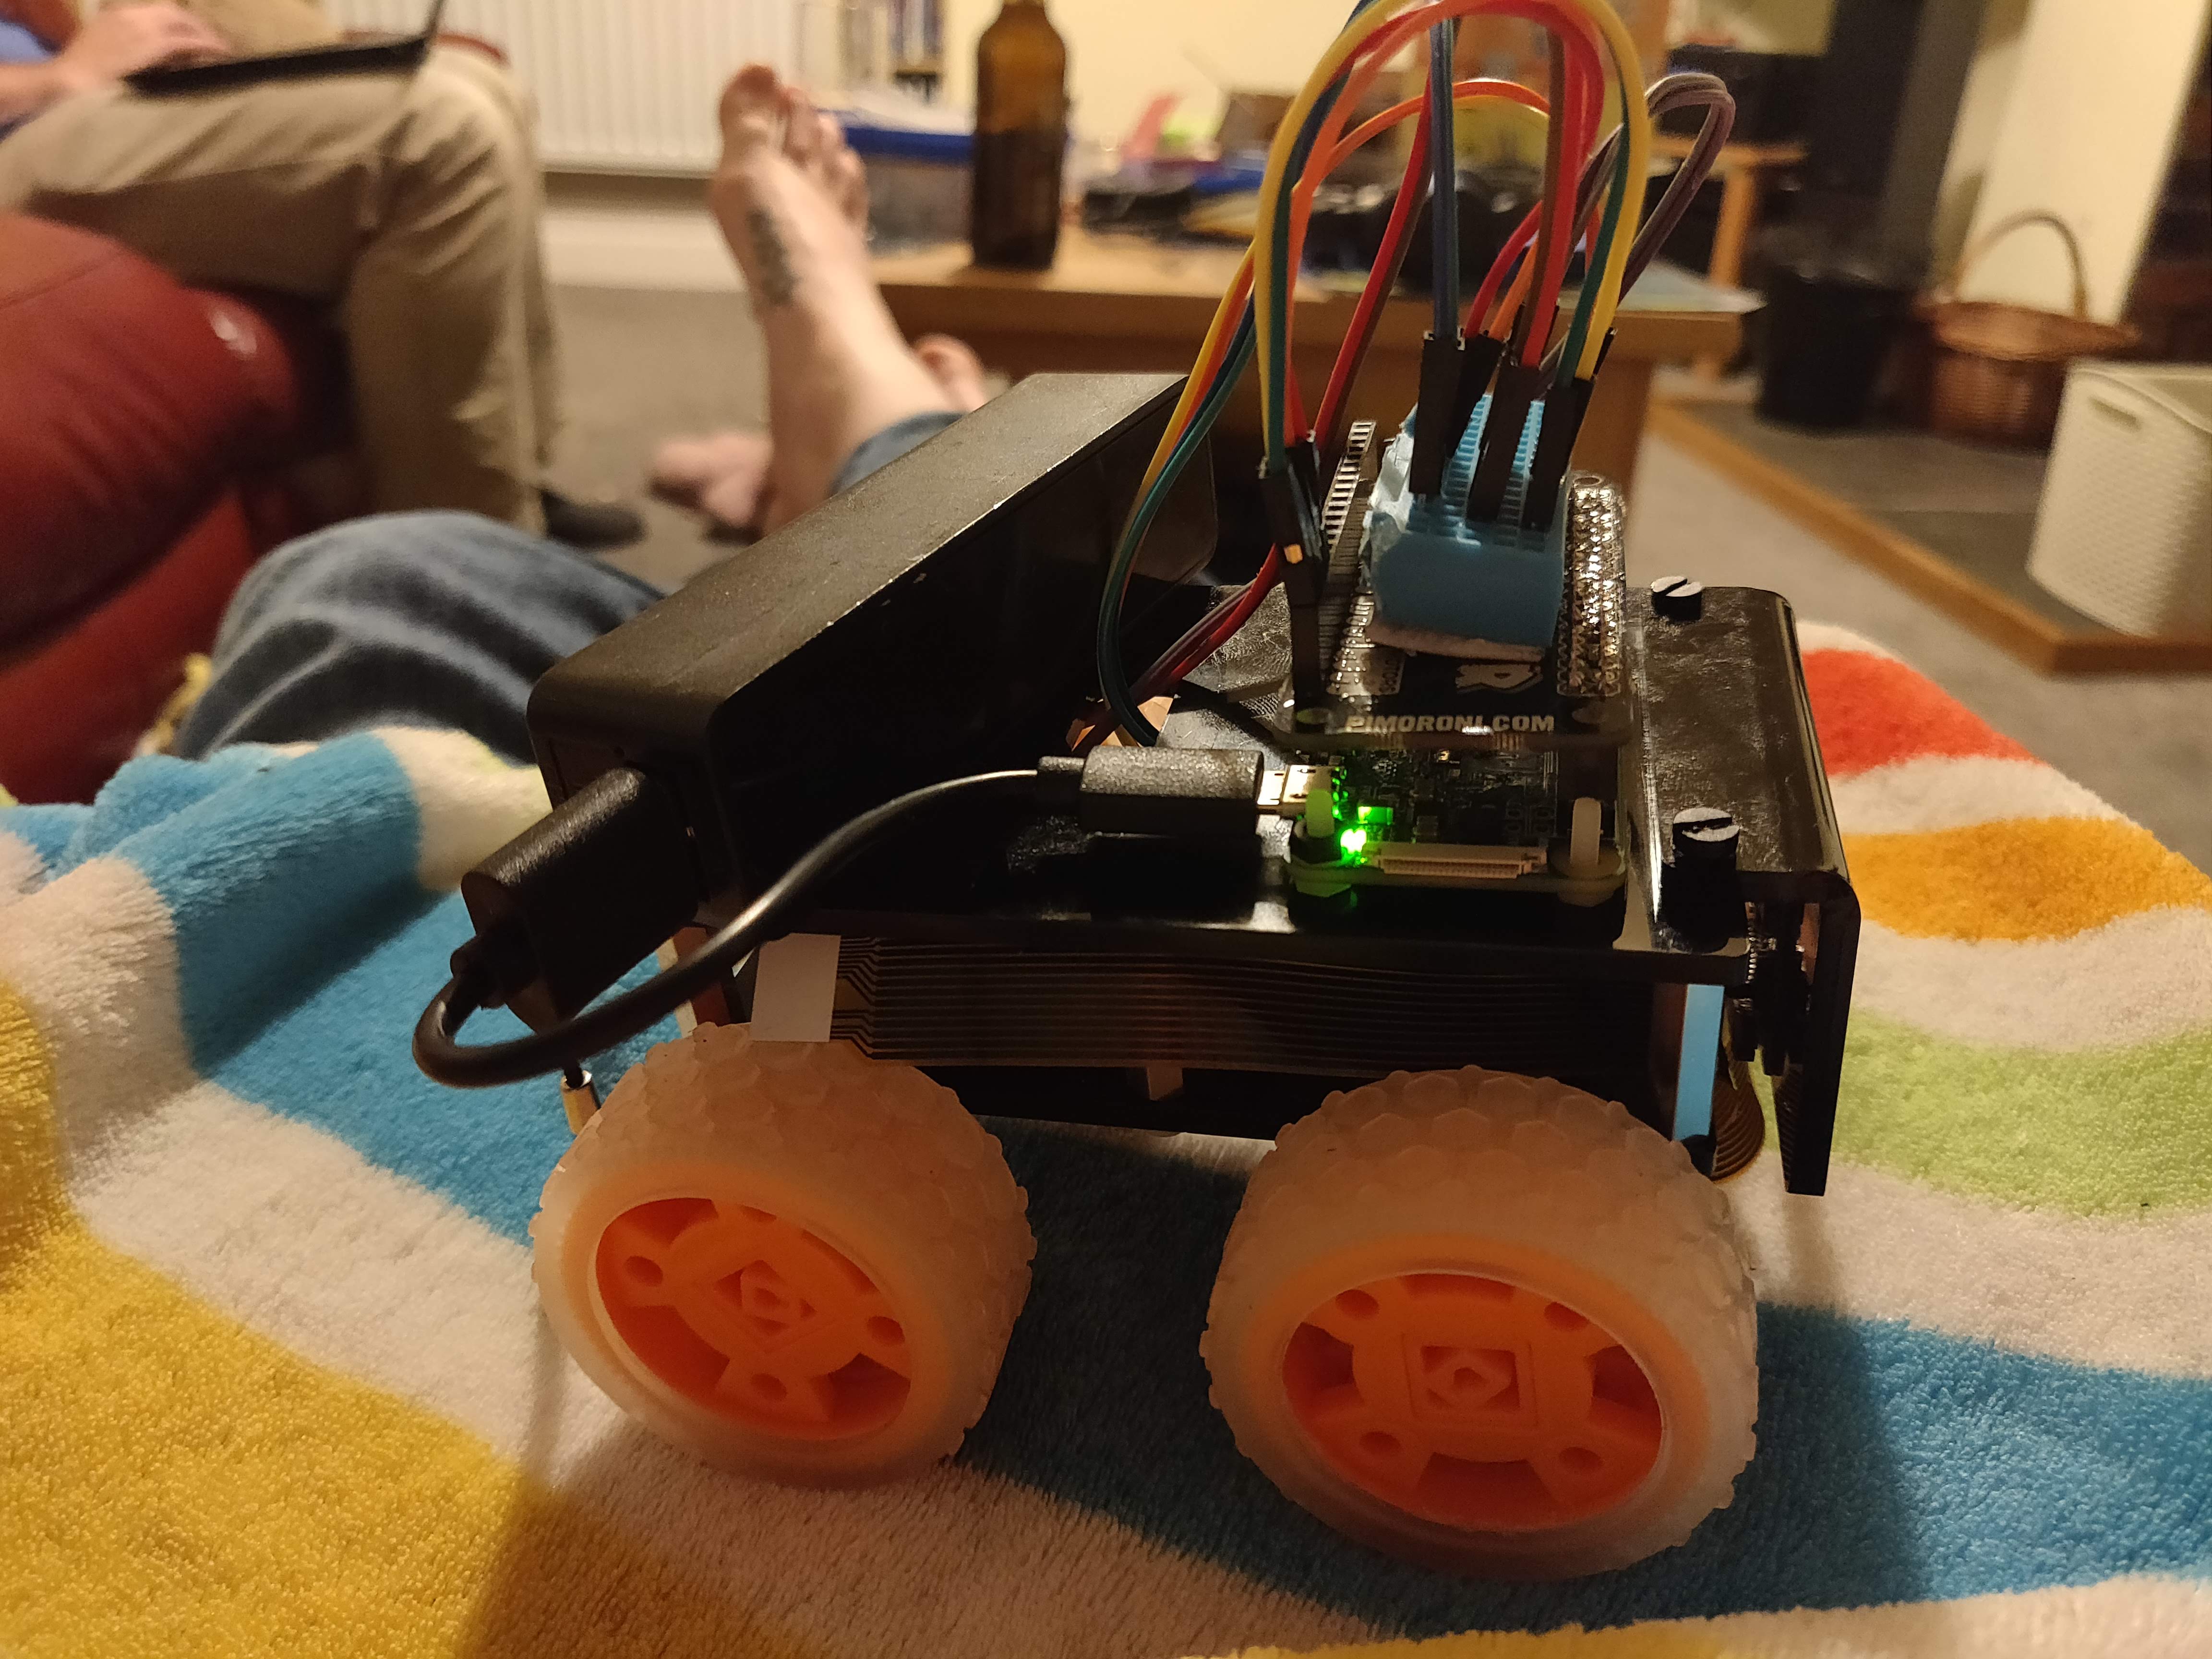
We've bought and built a kit robot to practice on while the real robot is being designed, built and rebuilt. The Tiny4Wd, now known as tiny, is now built and working! We haven't got a wireless controller yet so I paired it with my phone to drive it around.
Some top tips on building the Tiny4WD
-
I installed the BlueDot app on my android phone and pulled my hair out trying to pair it with the Raspberry Pi Zero. It DOES pair. You just had to ignore the Raspberry Pi when it says it disconnected. Keep going with the instructions and eventually the BlueDot app will show a blue dot!
https://bluedot.readthedocs.io/en/latest/gettingstarted.html
Also restarting everything will help. -
Be gentle with the camera connector on the pi zero. Those things just love to FLING off. See yesterday's #FridayFail post /30-aug-friday-fail-piwars-edition/
-
Plug a USB battery pack into the Pi Zero then plug the battery pack into a socket. This way you can unplug the charger and drive away fully charged with the pi still running.
Chassis Mark I
As I type this, this chassis is already being redesigned and recut on the laser cutter! Anyone want to guess what chassis version will be the final version? Less than 10, 20??
Our general idea is to have suspension on the four motors through these hinges.
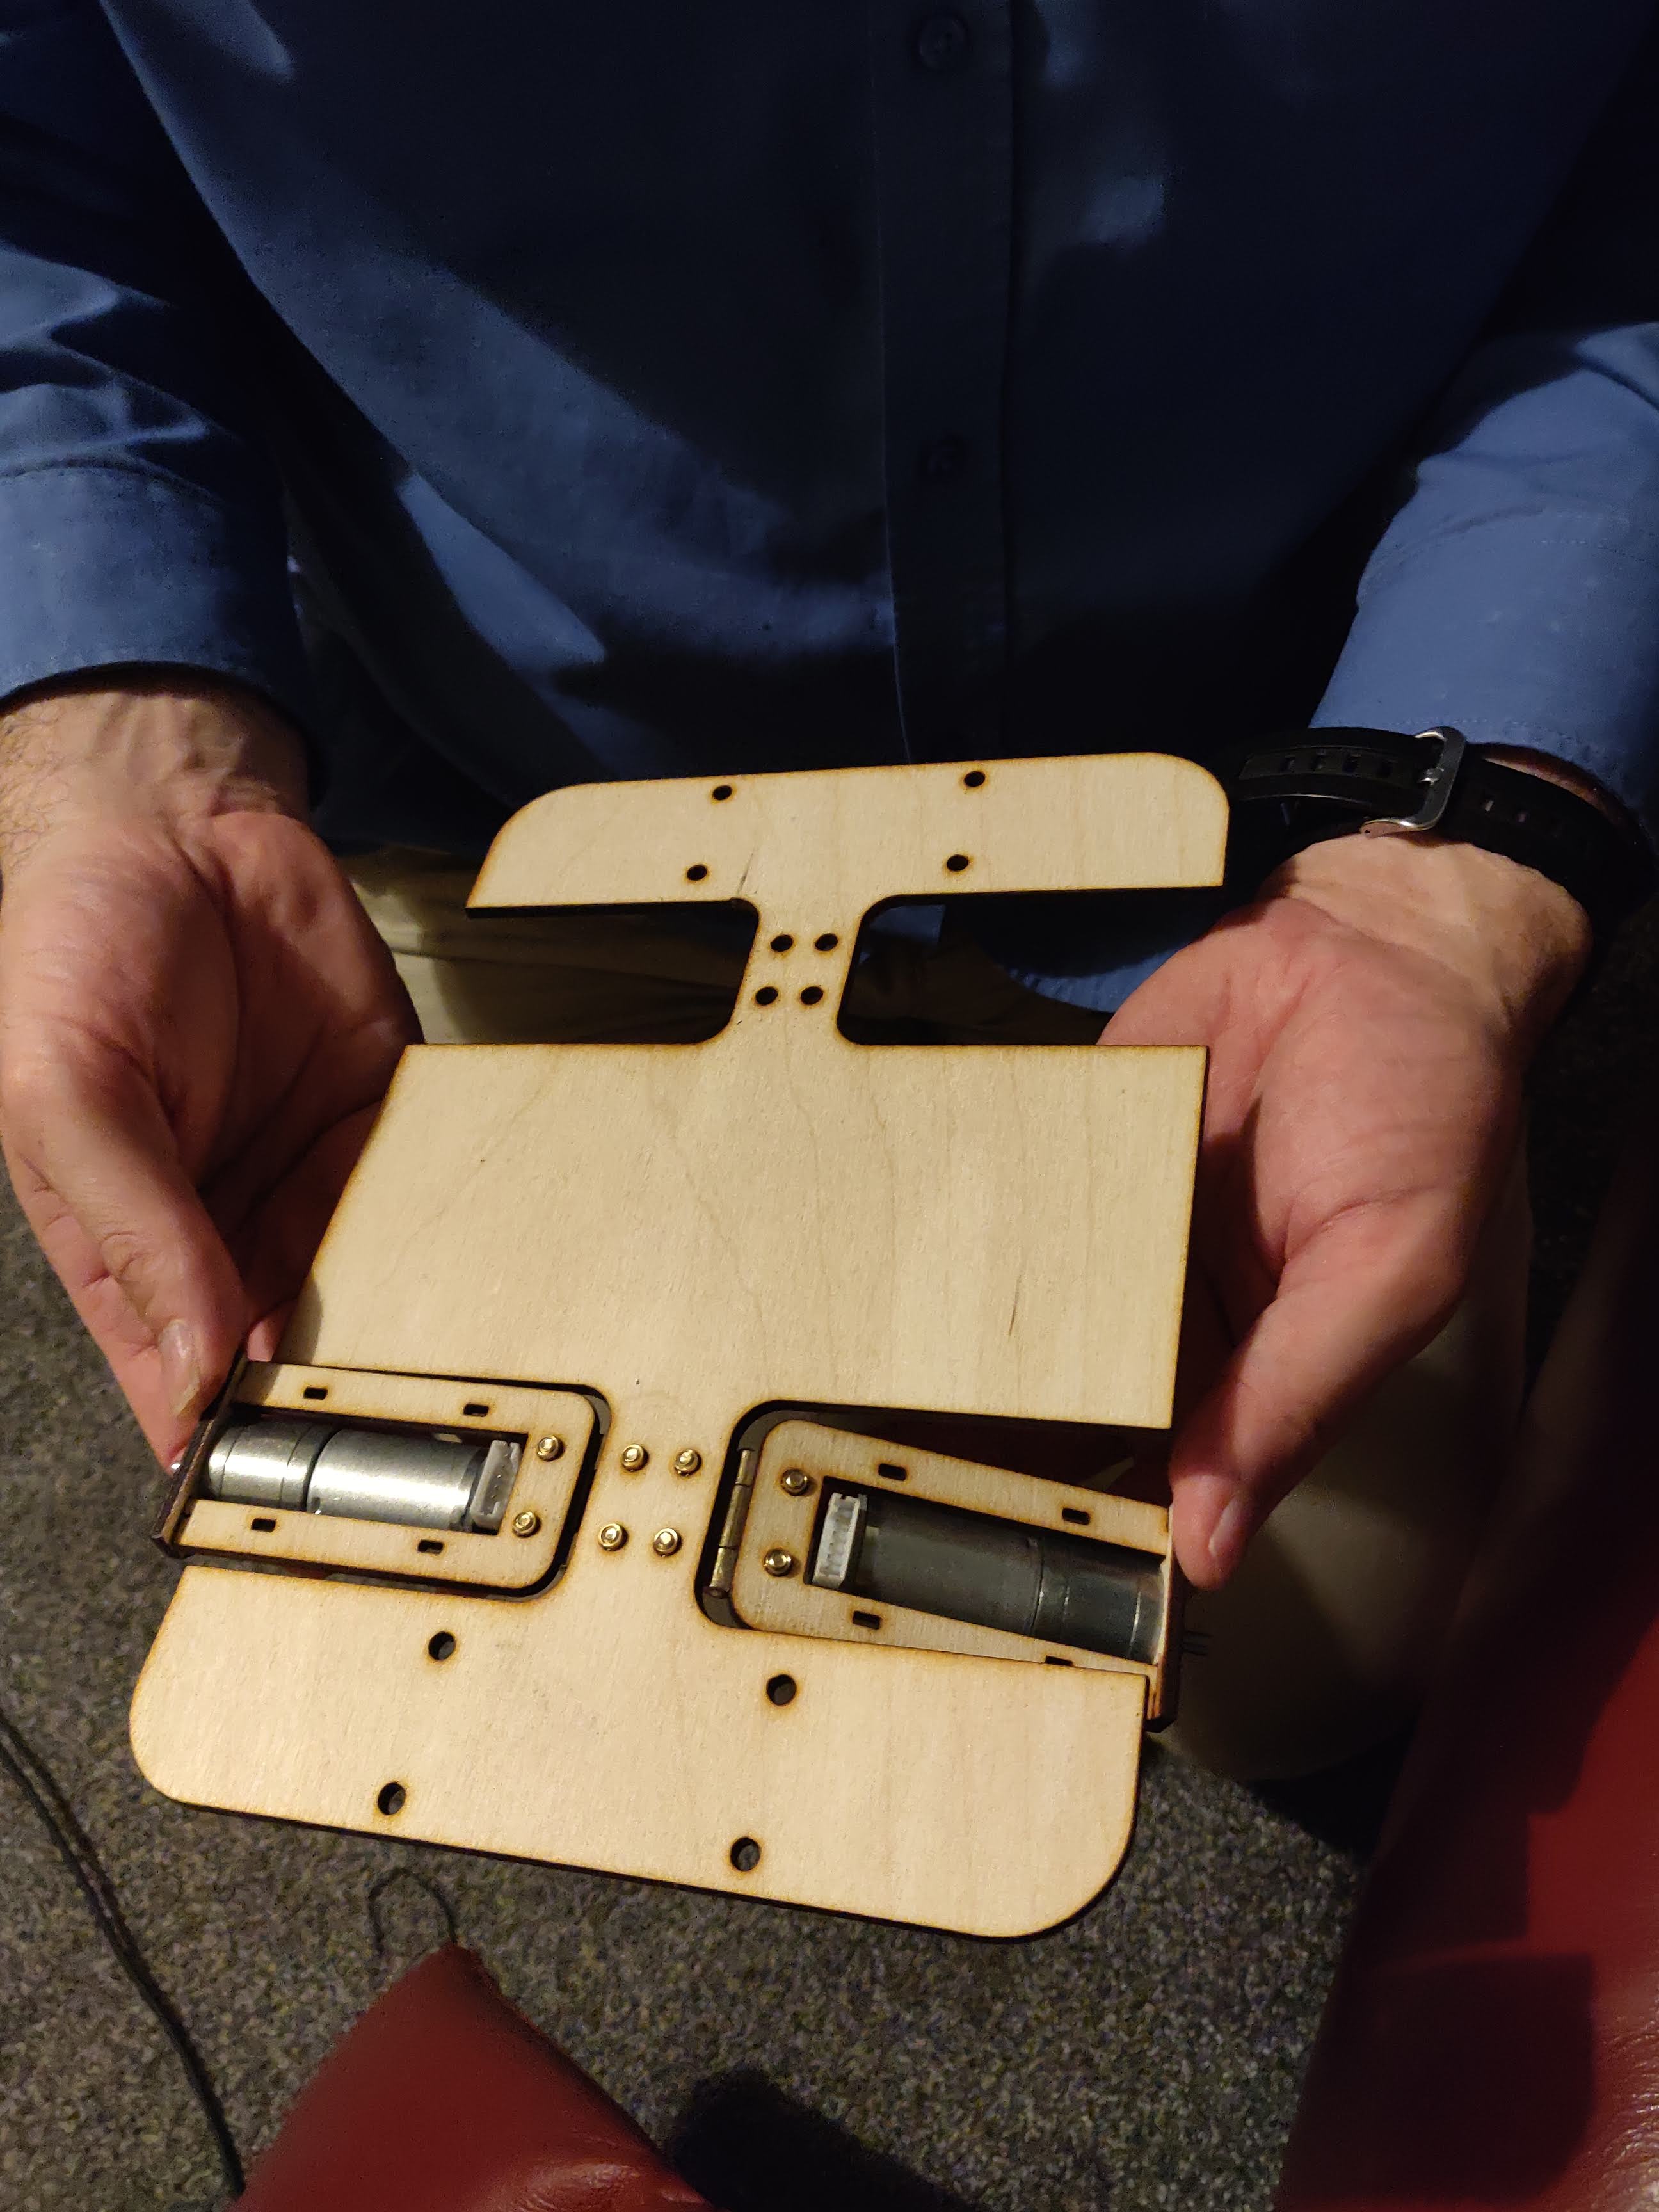
On this layer we will have the battery and a microcontroller
There will be a top layer which the suspension rods will attach to. On the top layer will be the Raspberry Pi and any other modules (like the target shooter).
We also need to fit on the OLED, some buttons and some neopixels. Simples!
The reason this is Mark I is because it is too wide :( Watch out for Mark II, coming soon.