LED Ping Pong clock - post 2

Read post 1 here
The ping pong clock is pretty much finished.
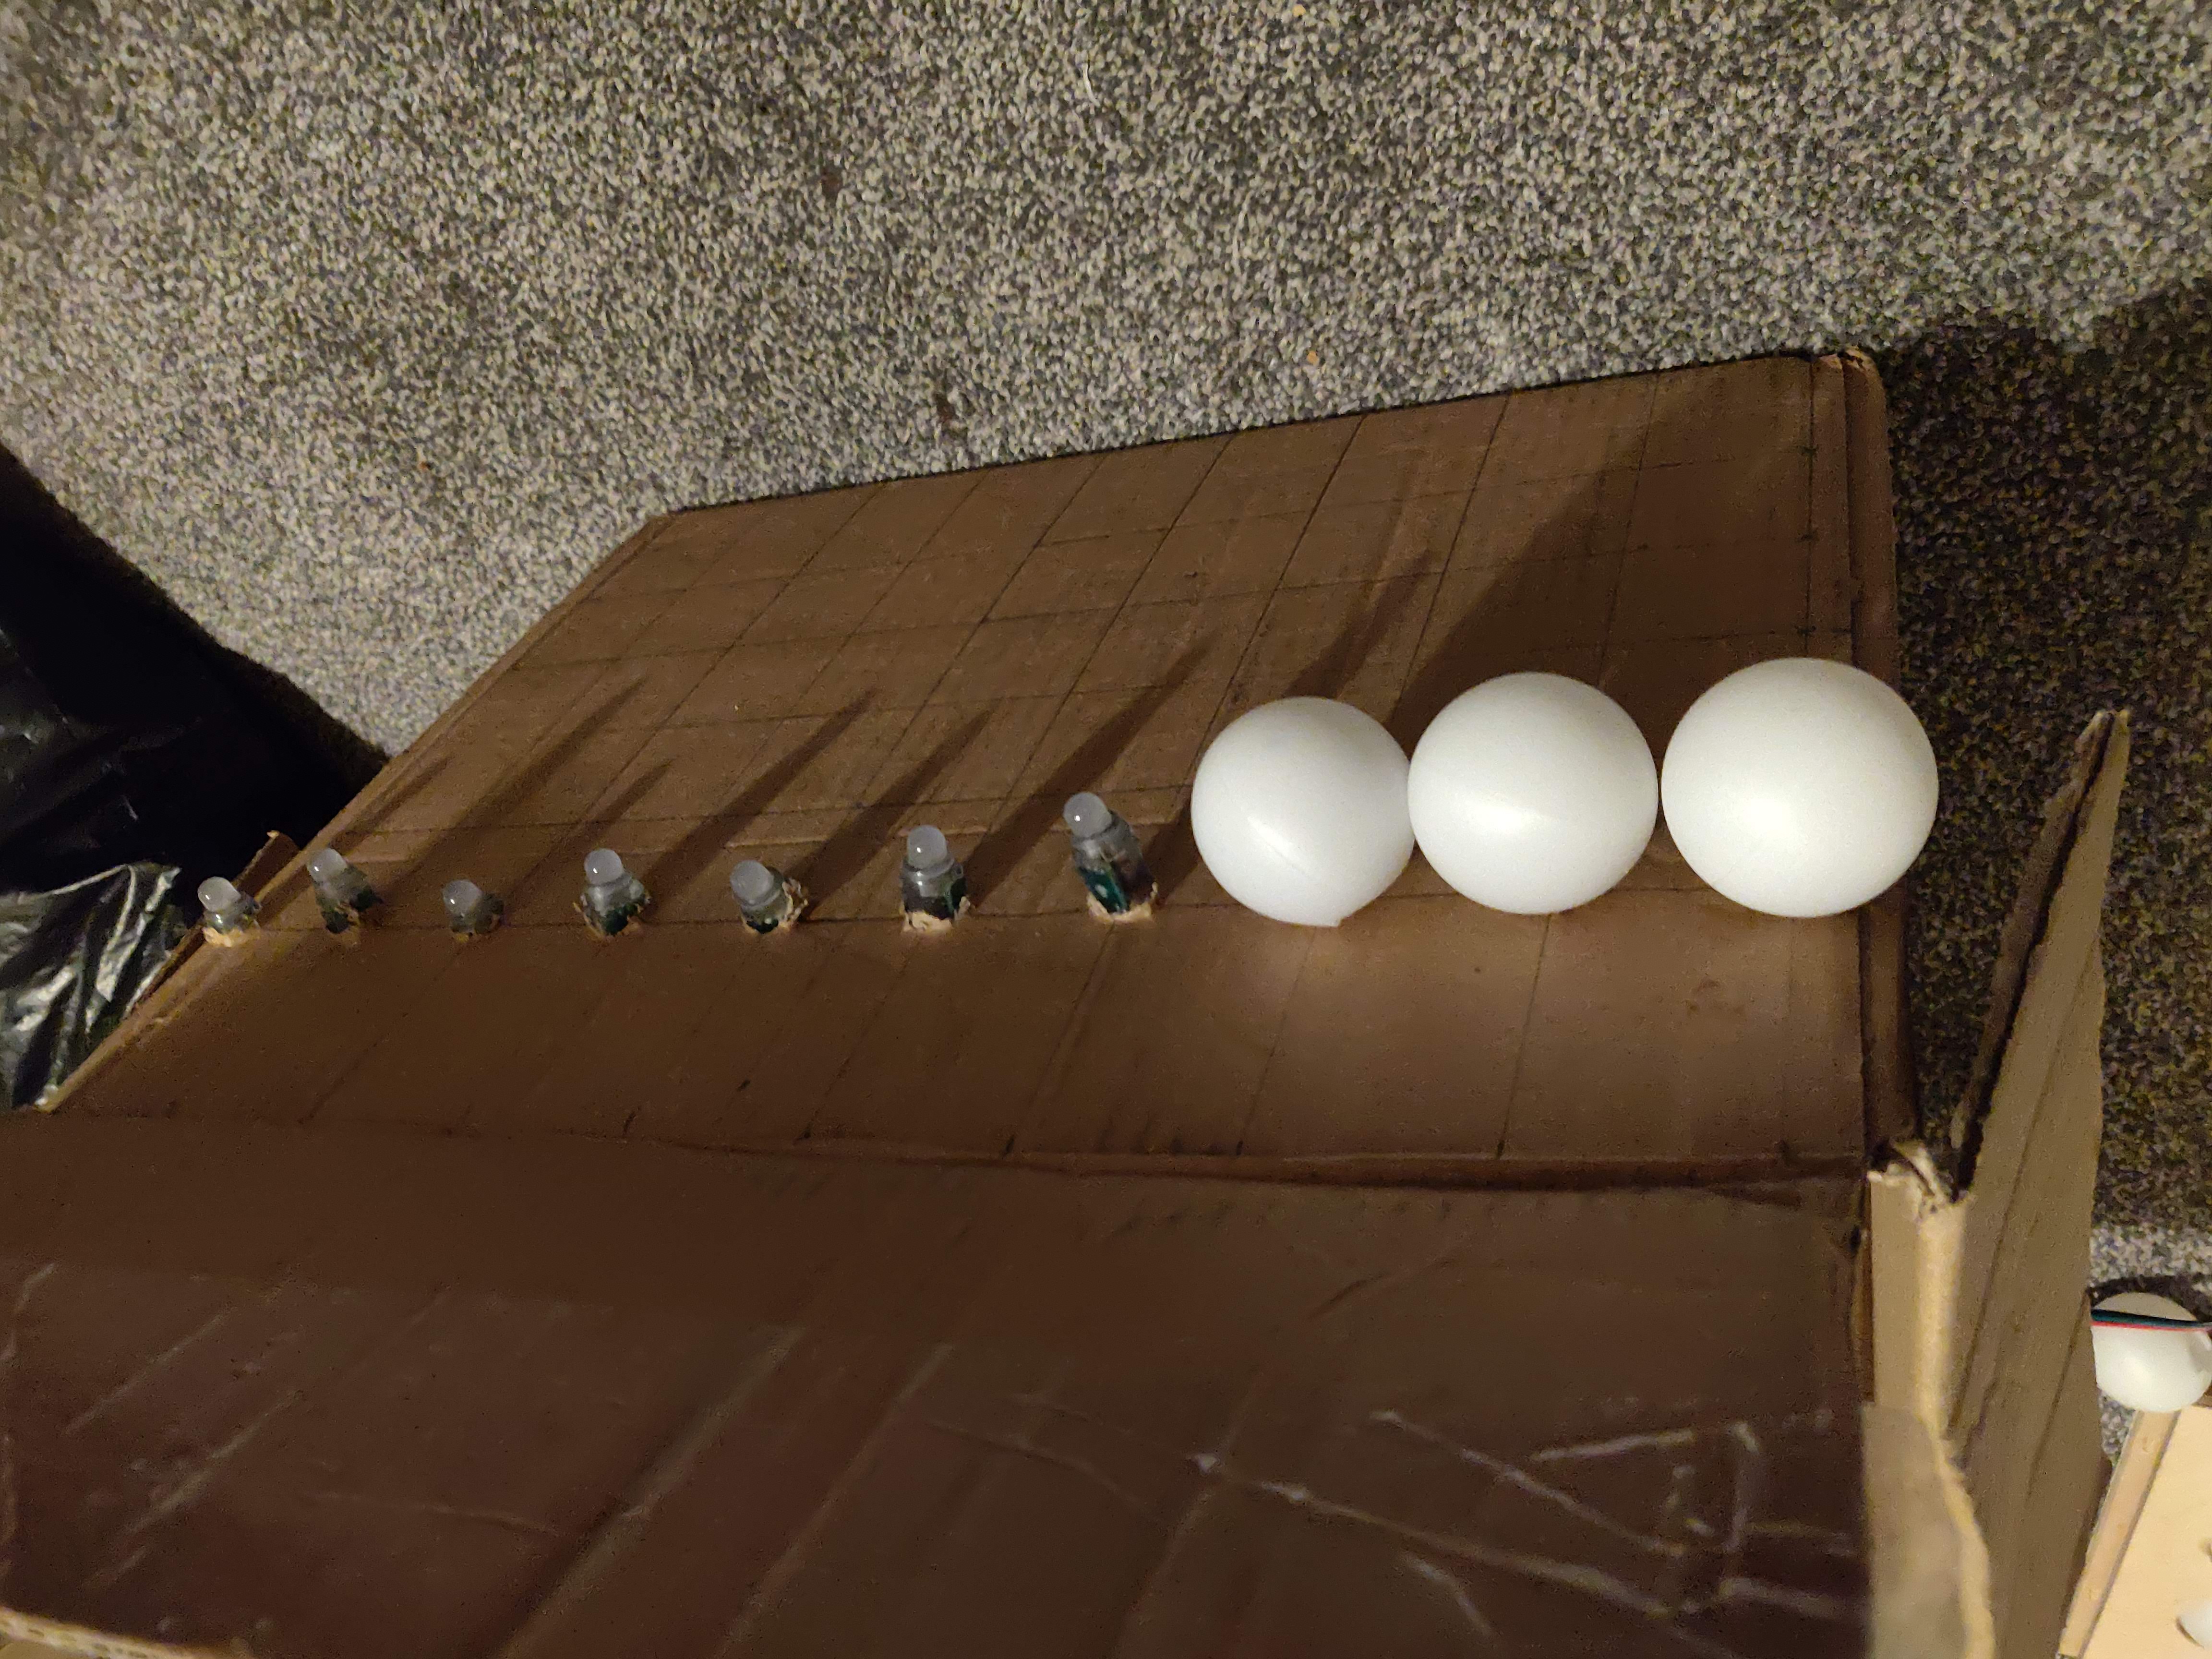
I've used a cardboard box to display the balls and hold all the electronics. I measured then drilled holes in the box for the centre of each ping pong ball.
The lights push through from the inside and the ping pong ball pops onto the light at the side of the box. You need to measure, measure, test and measure everything when doing this cause if not tight enough the ping pong balls will fall off. Too tight and you'll squish them as you try to put them on the light.
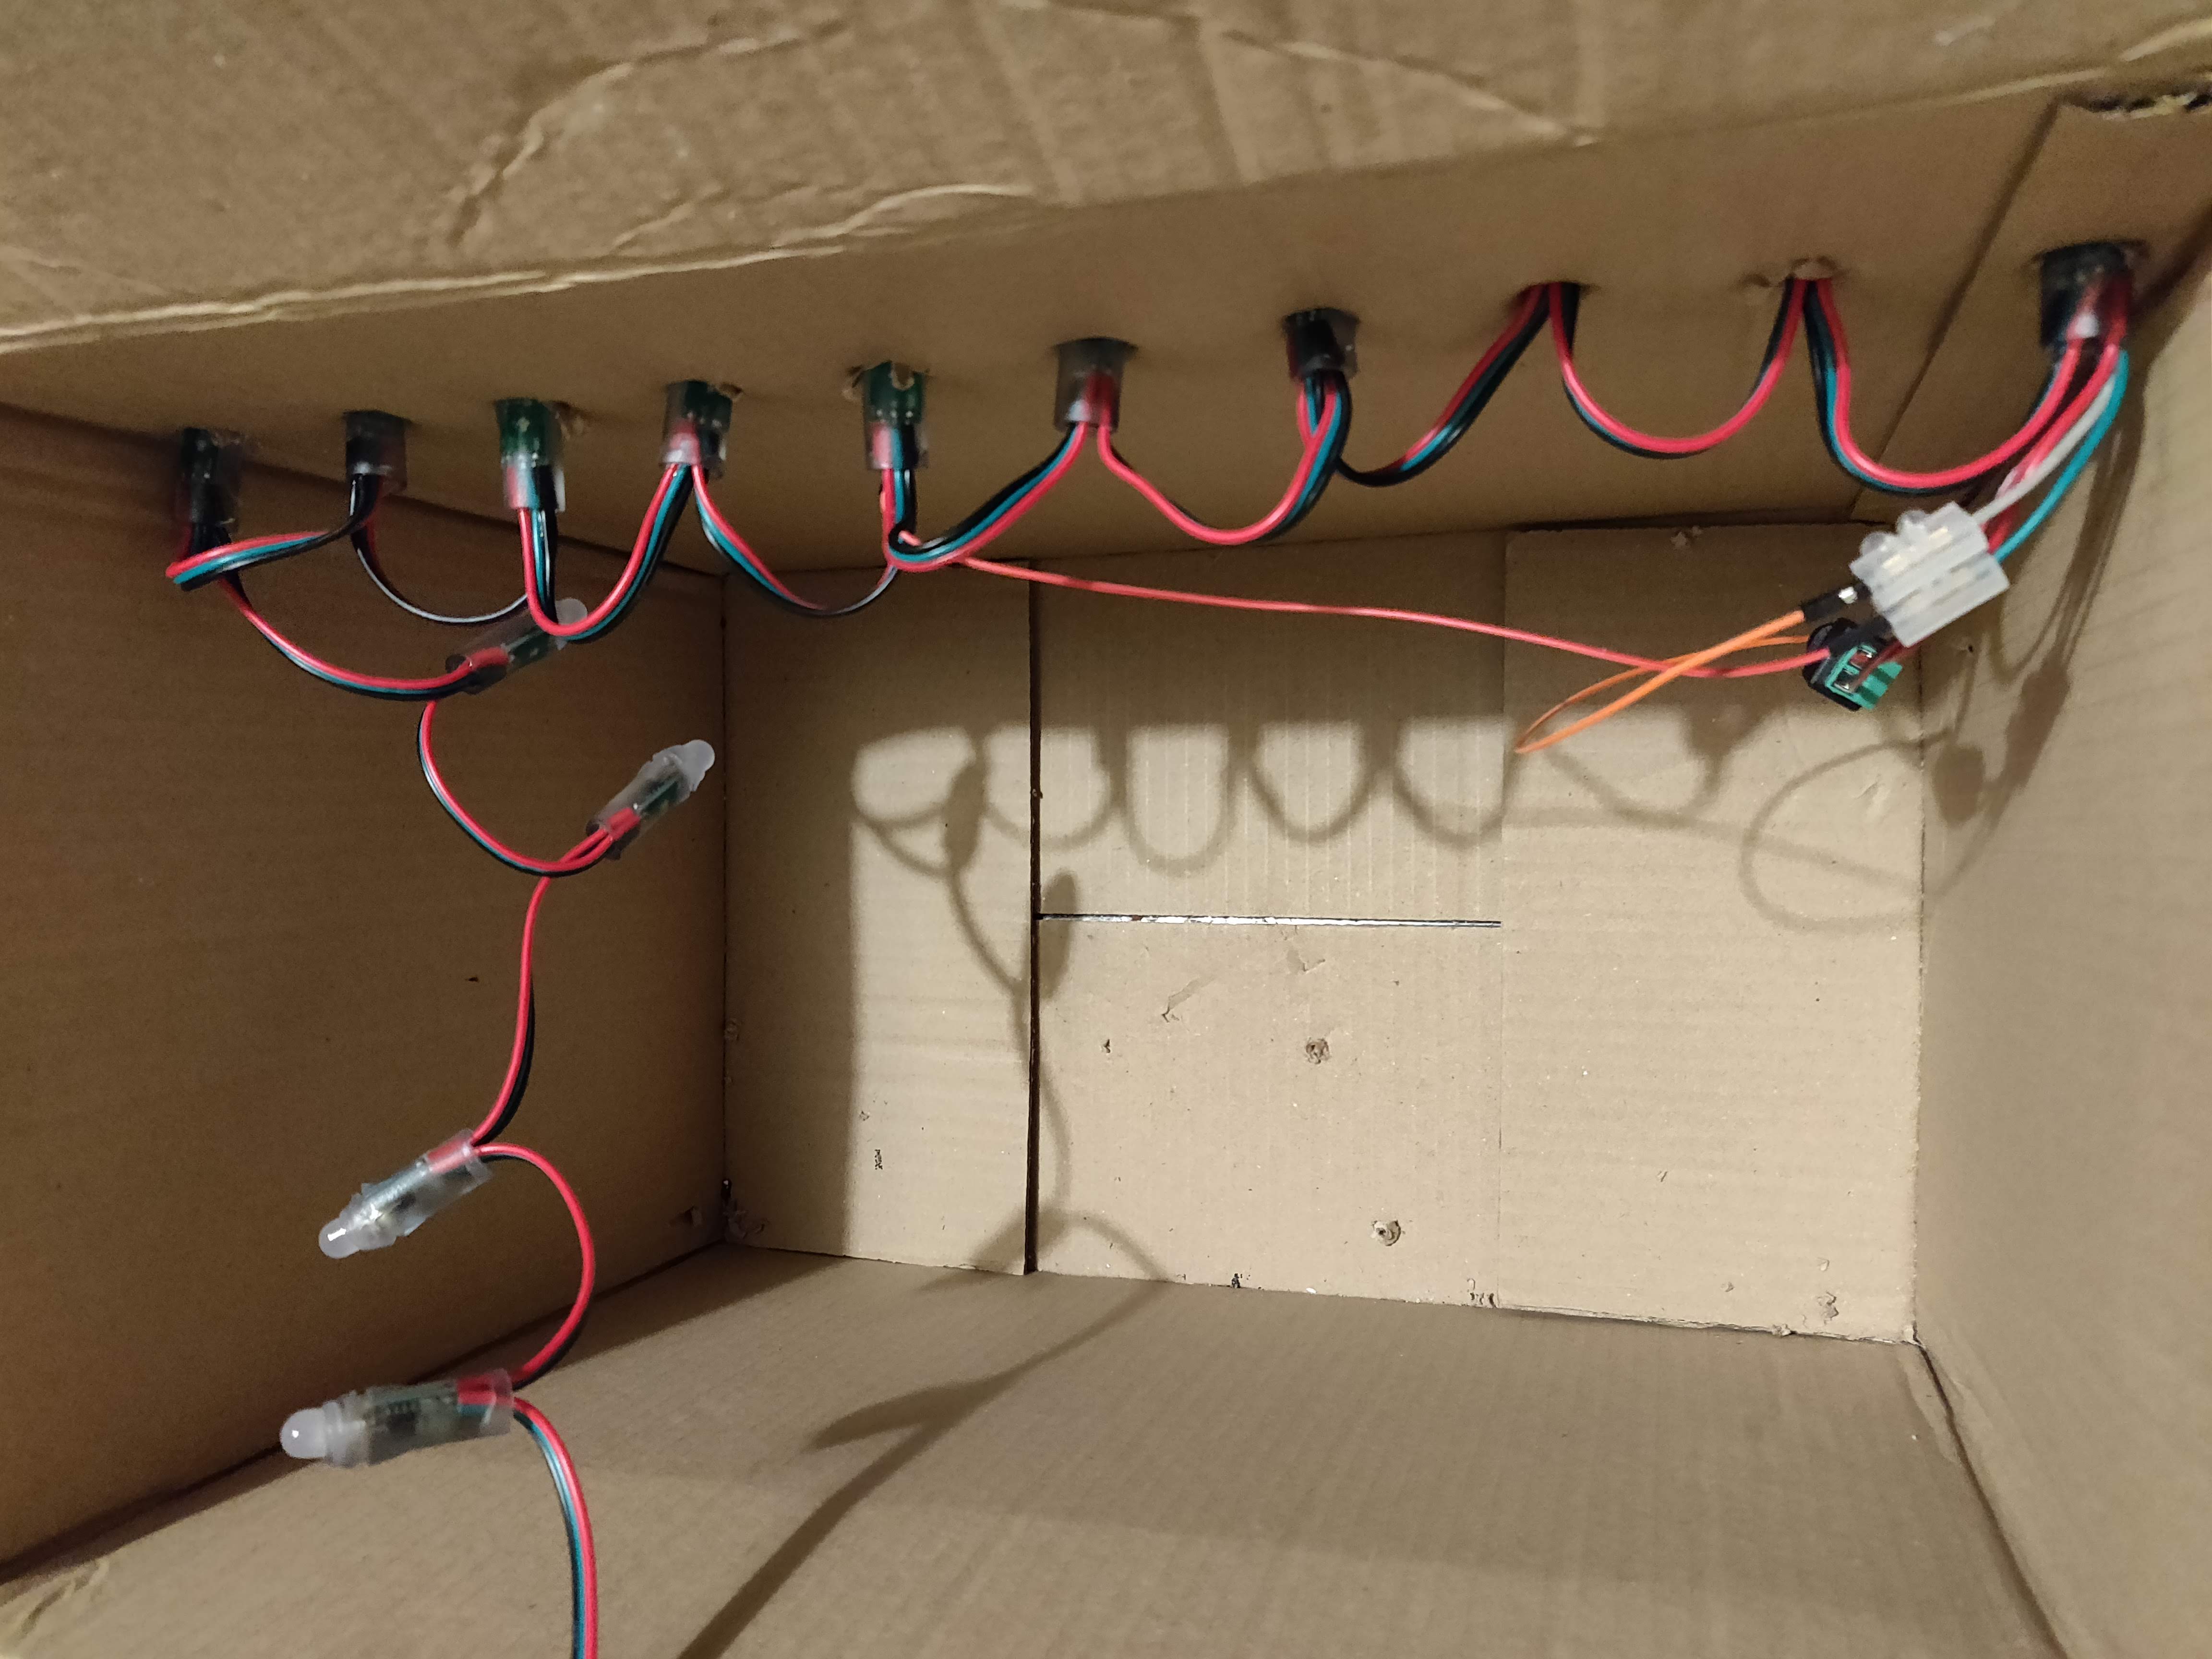
Here's the start from the inside:
And from the outside with some ping pong balls attached
I took all this out and started the wiring from the bottom so the Raspberry Pi could sit on the bottom of the box.

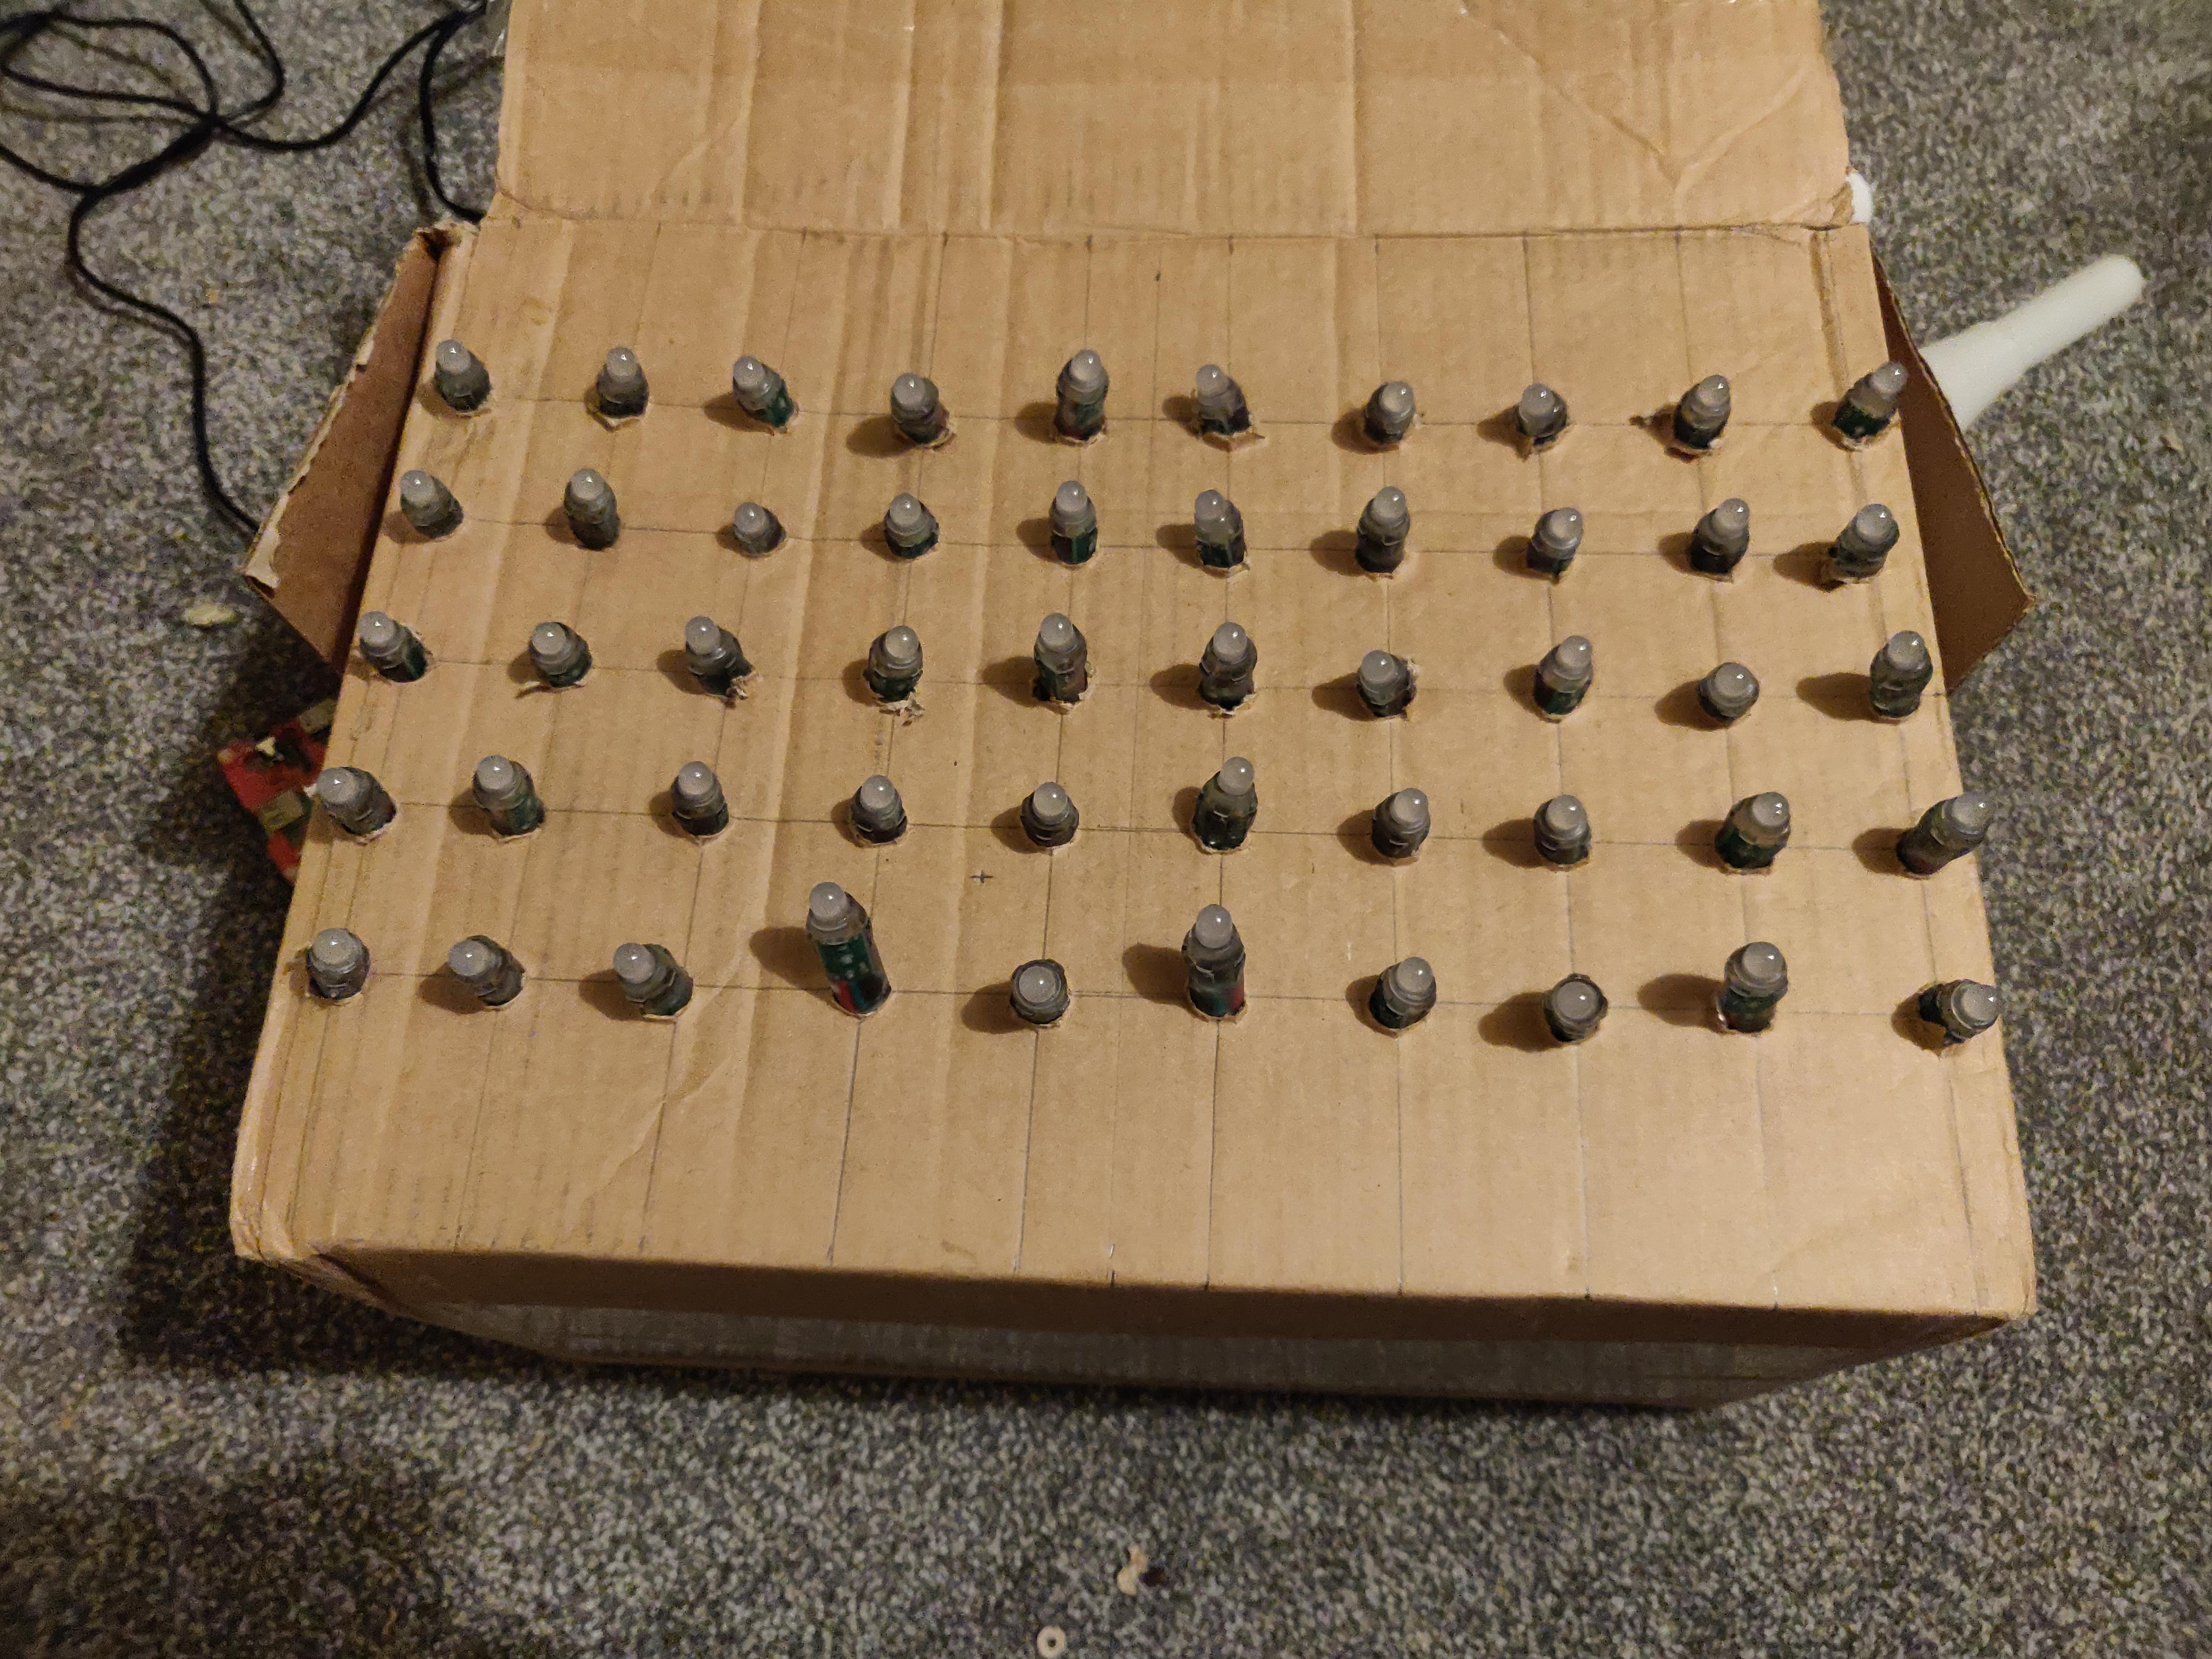
The front sans ping pong balls
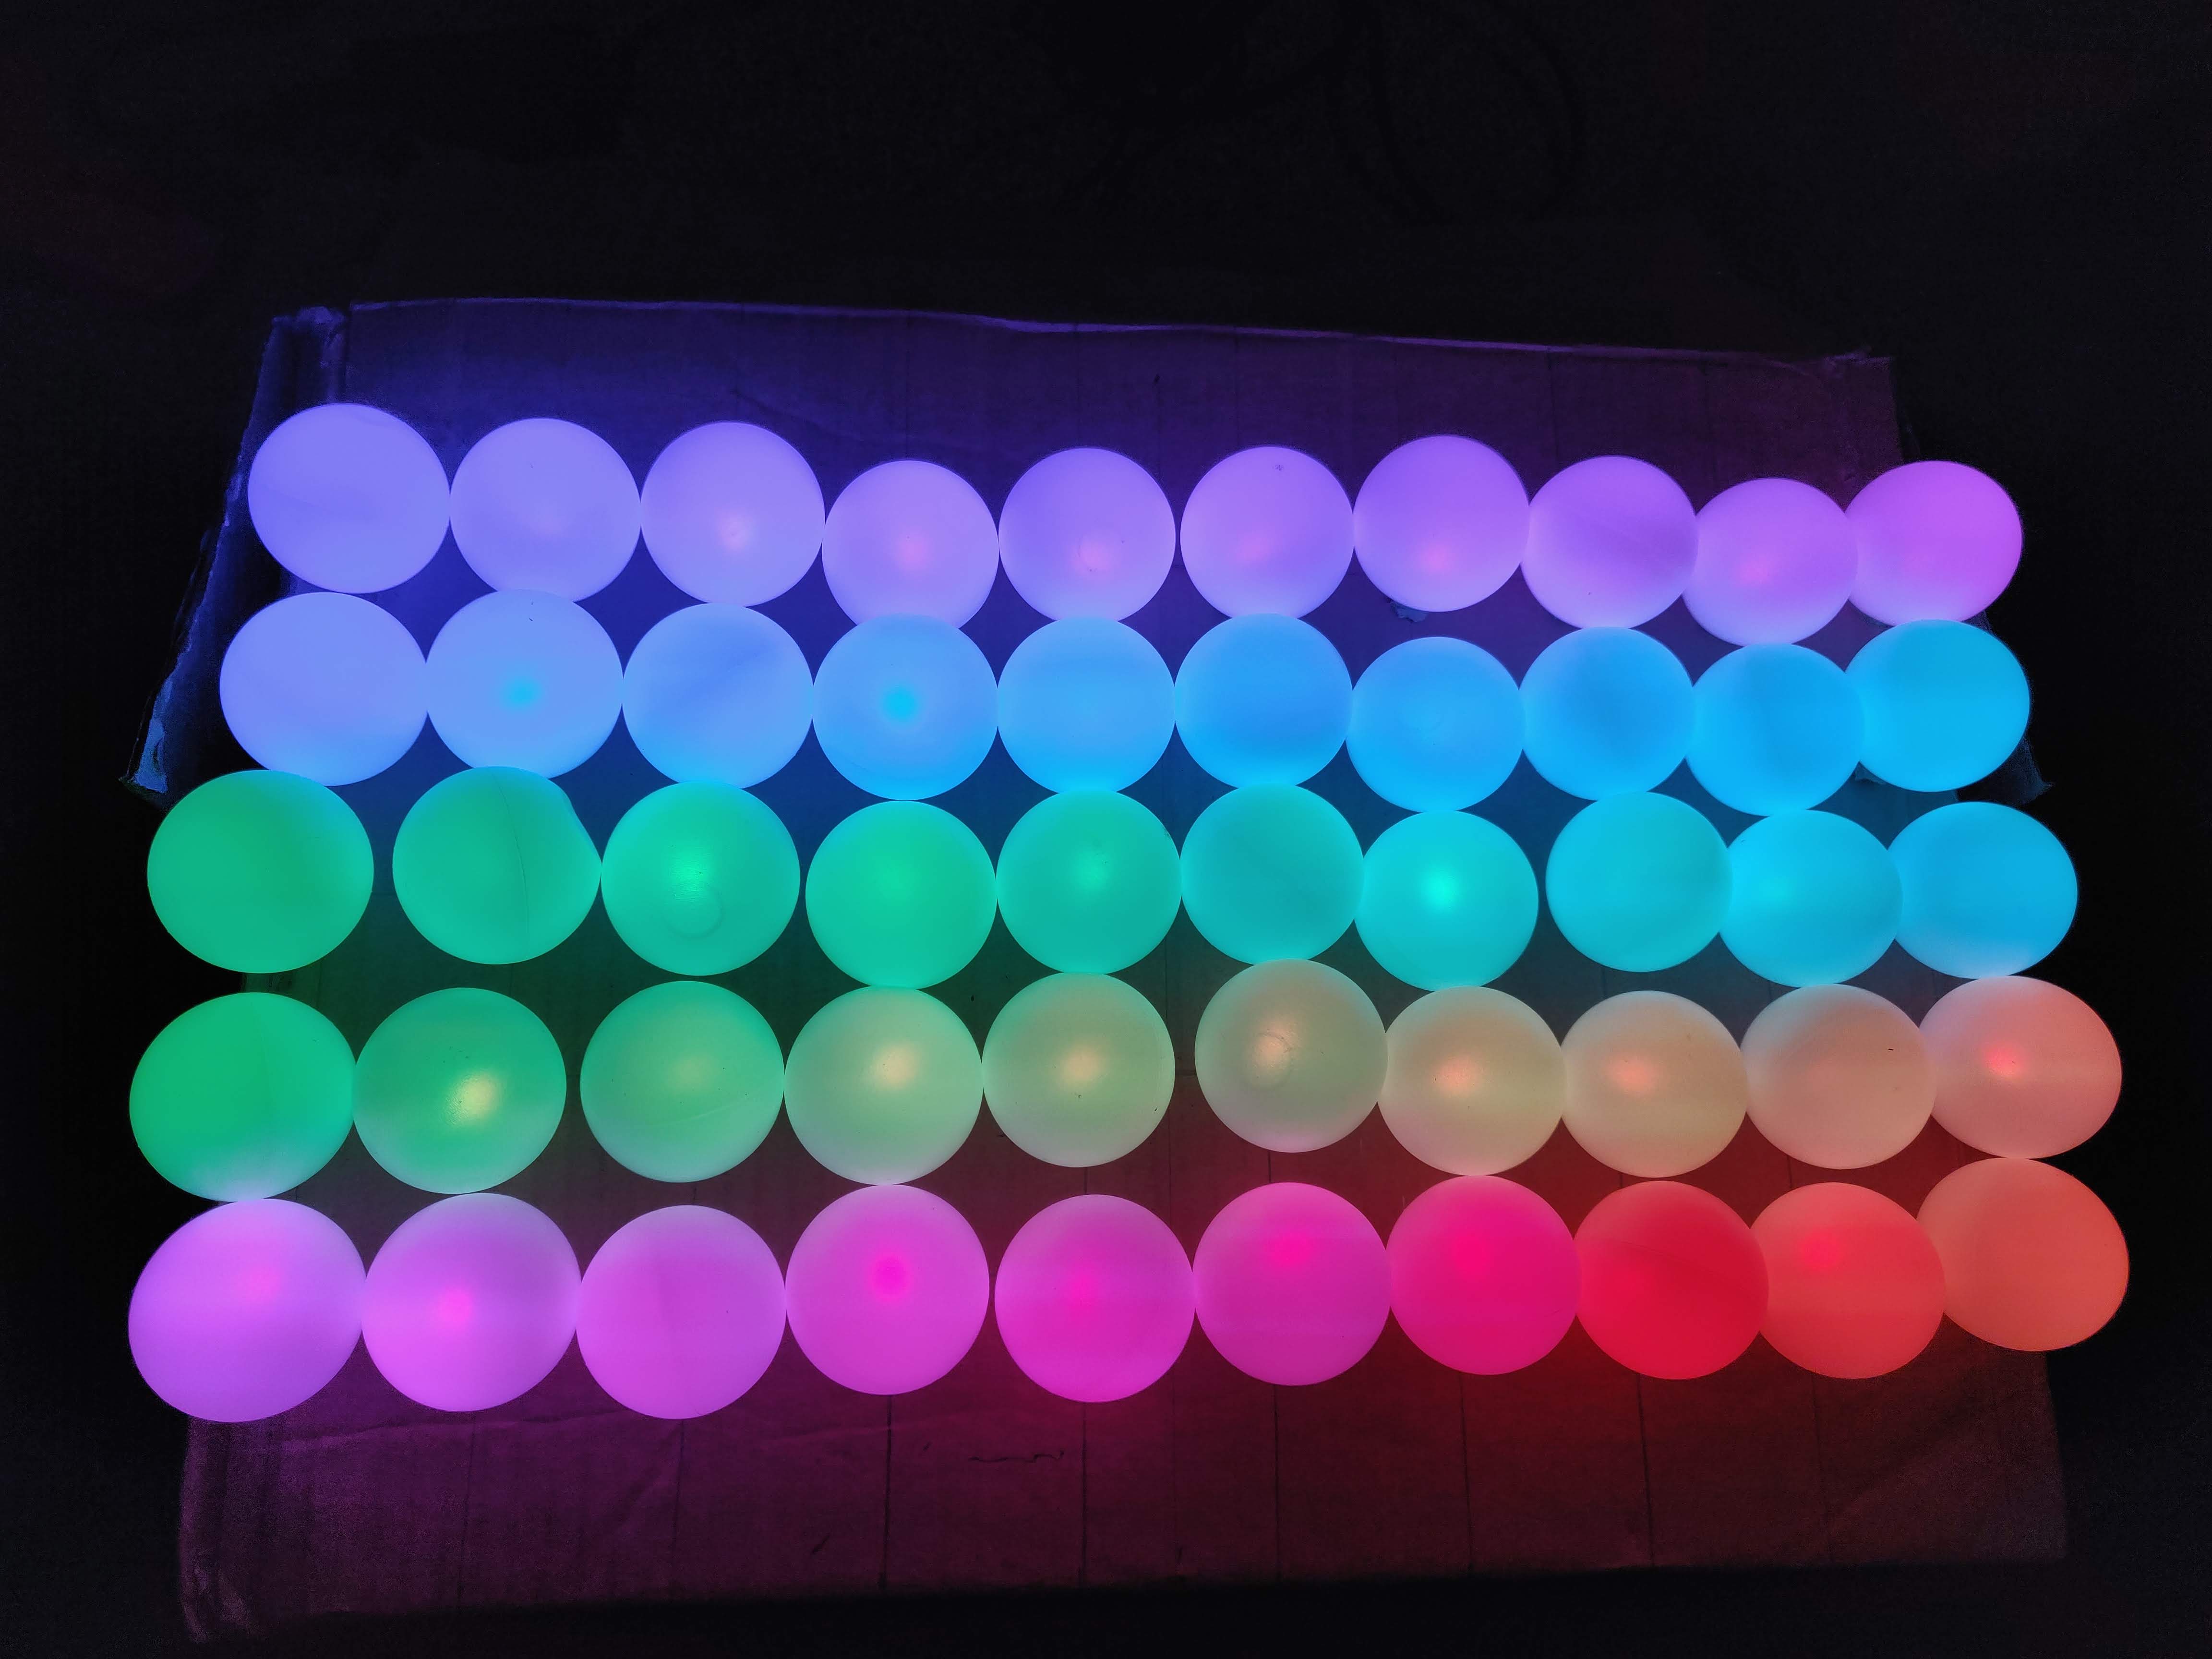
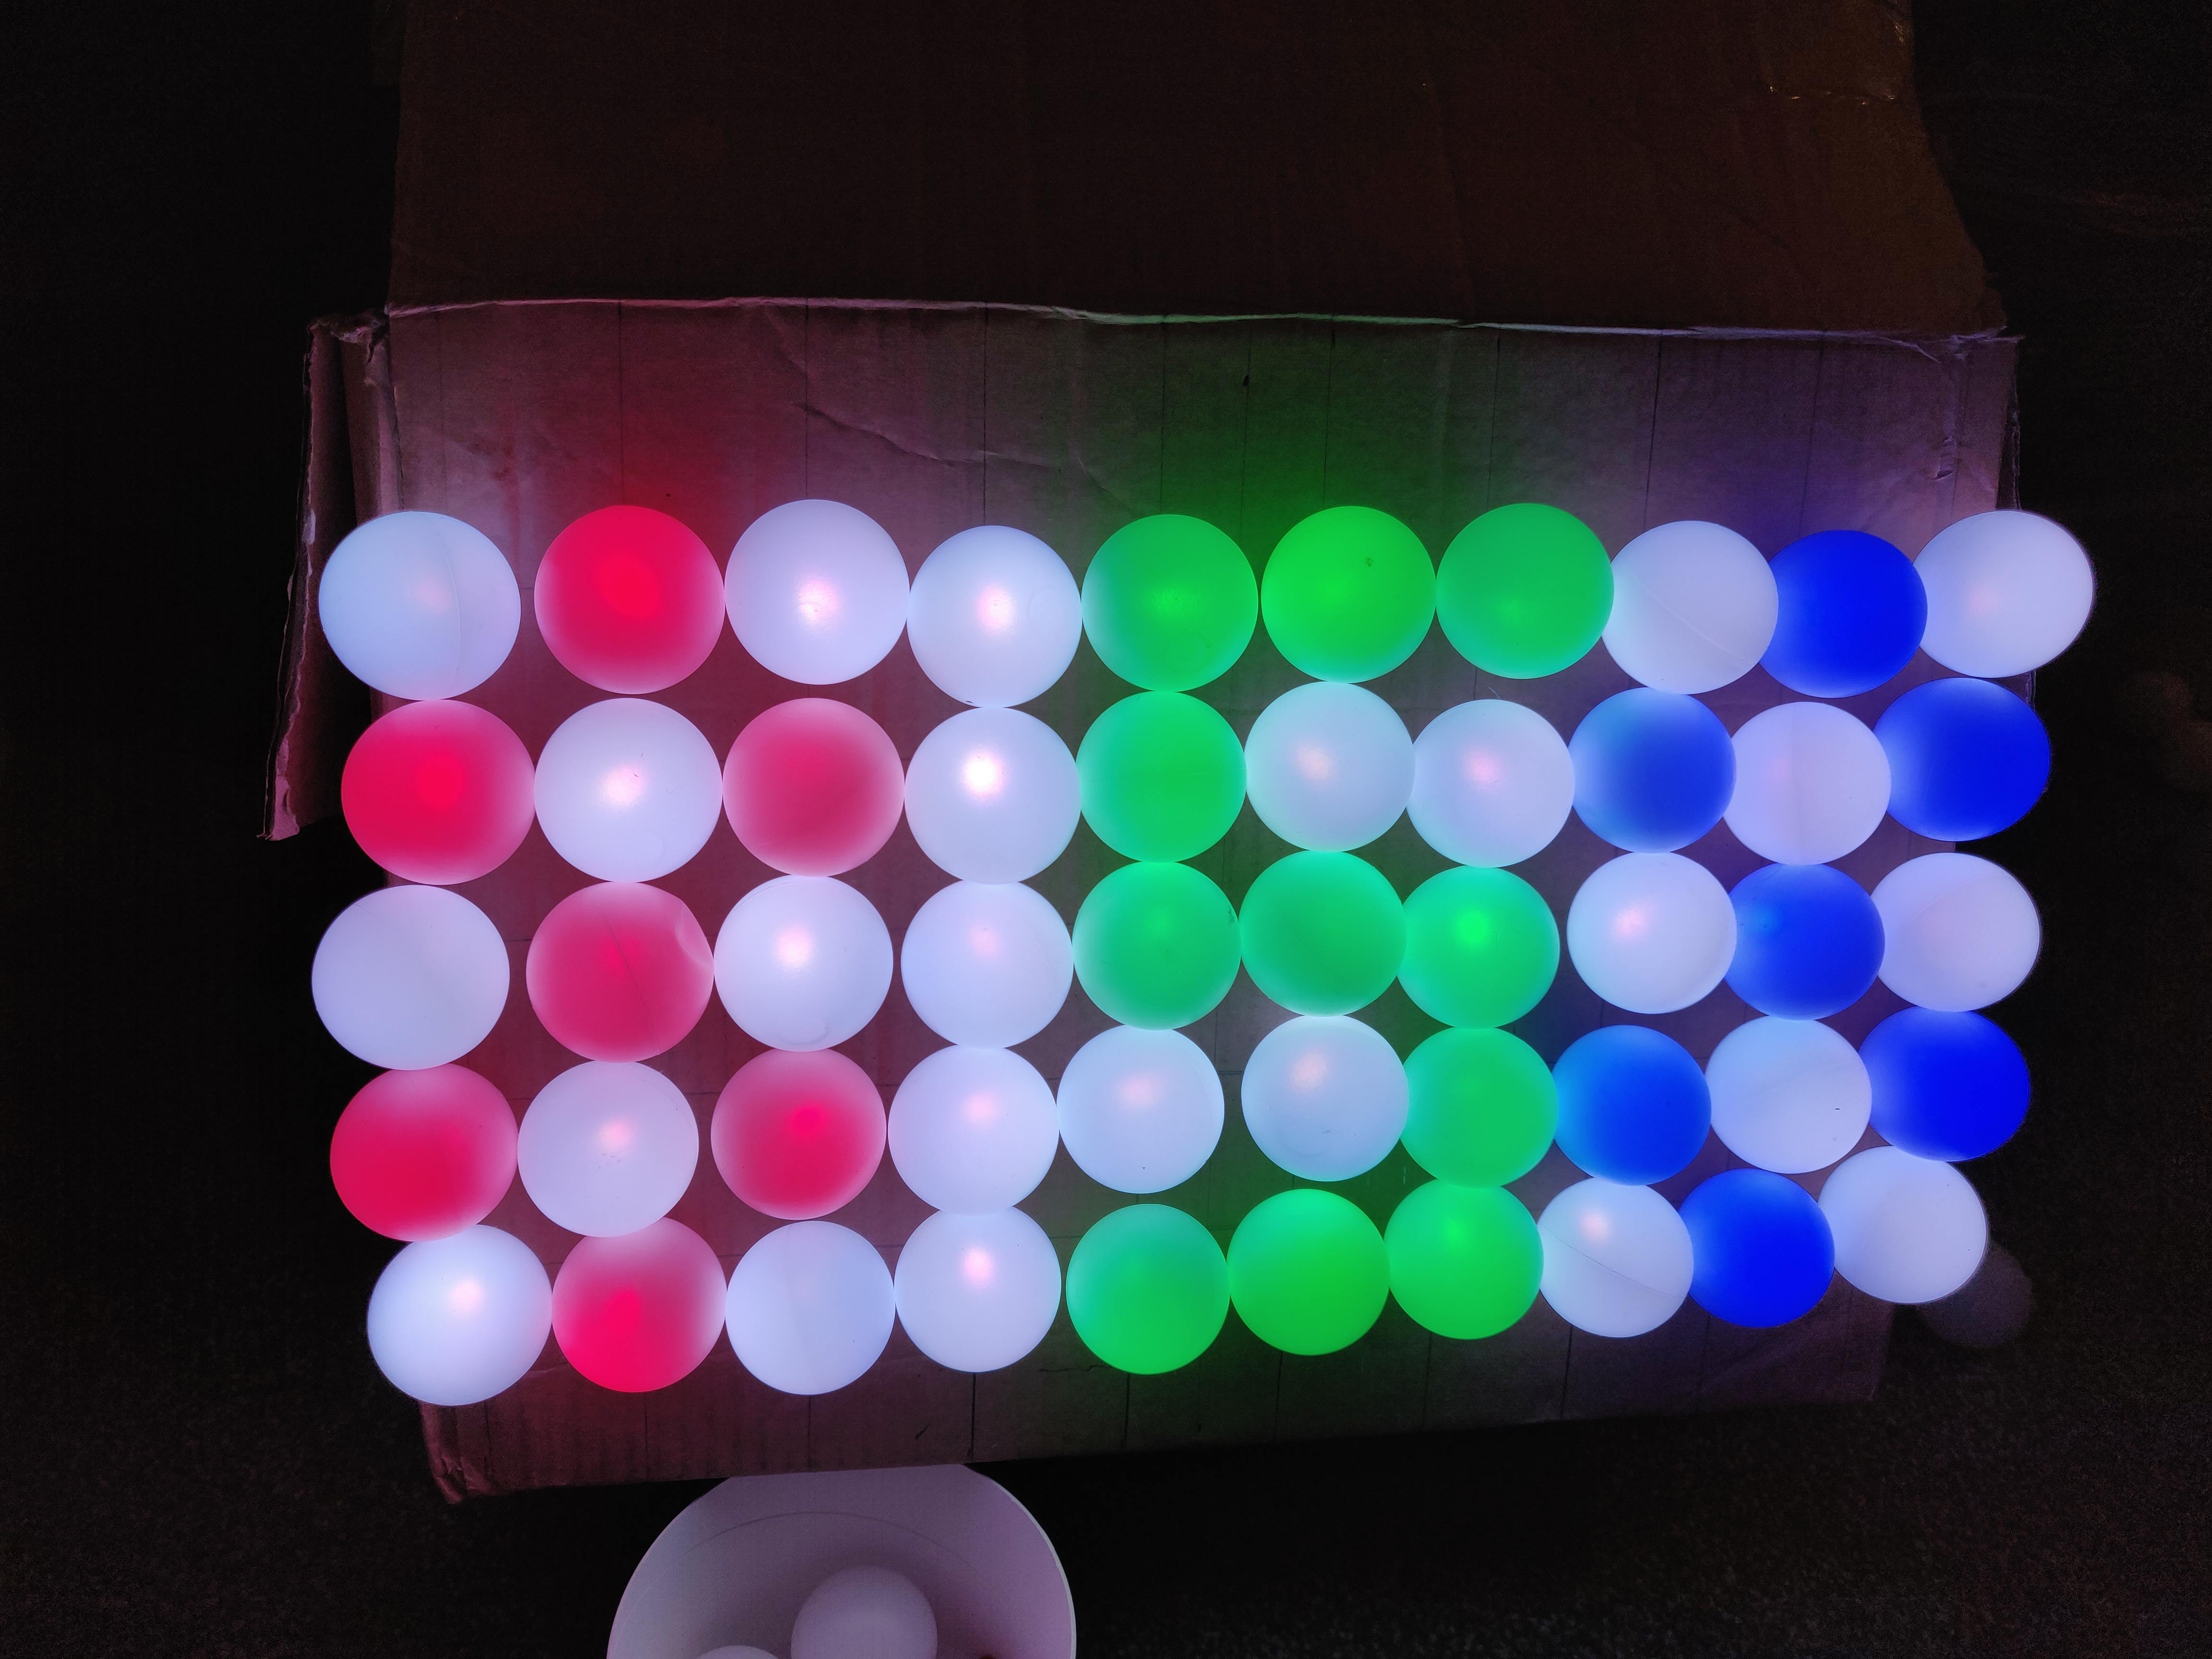
The front avec ping pong balls and lit up with a rainbow
I slowly realised this can't be a clock! I thought "I have room for 3 numbers, it'll be fine! Forgetting about 10, 11 and 12 o'clock! So it's now a timer!
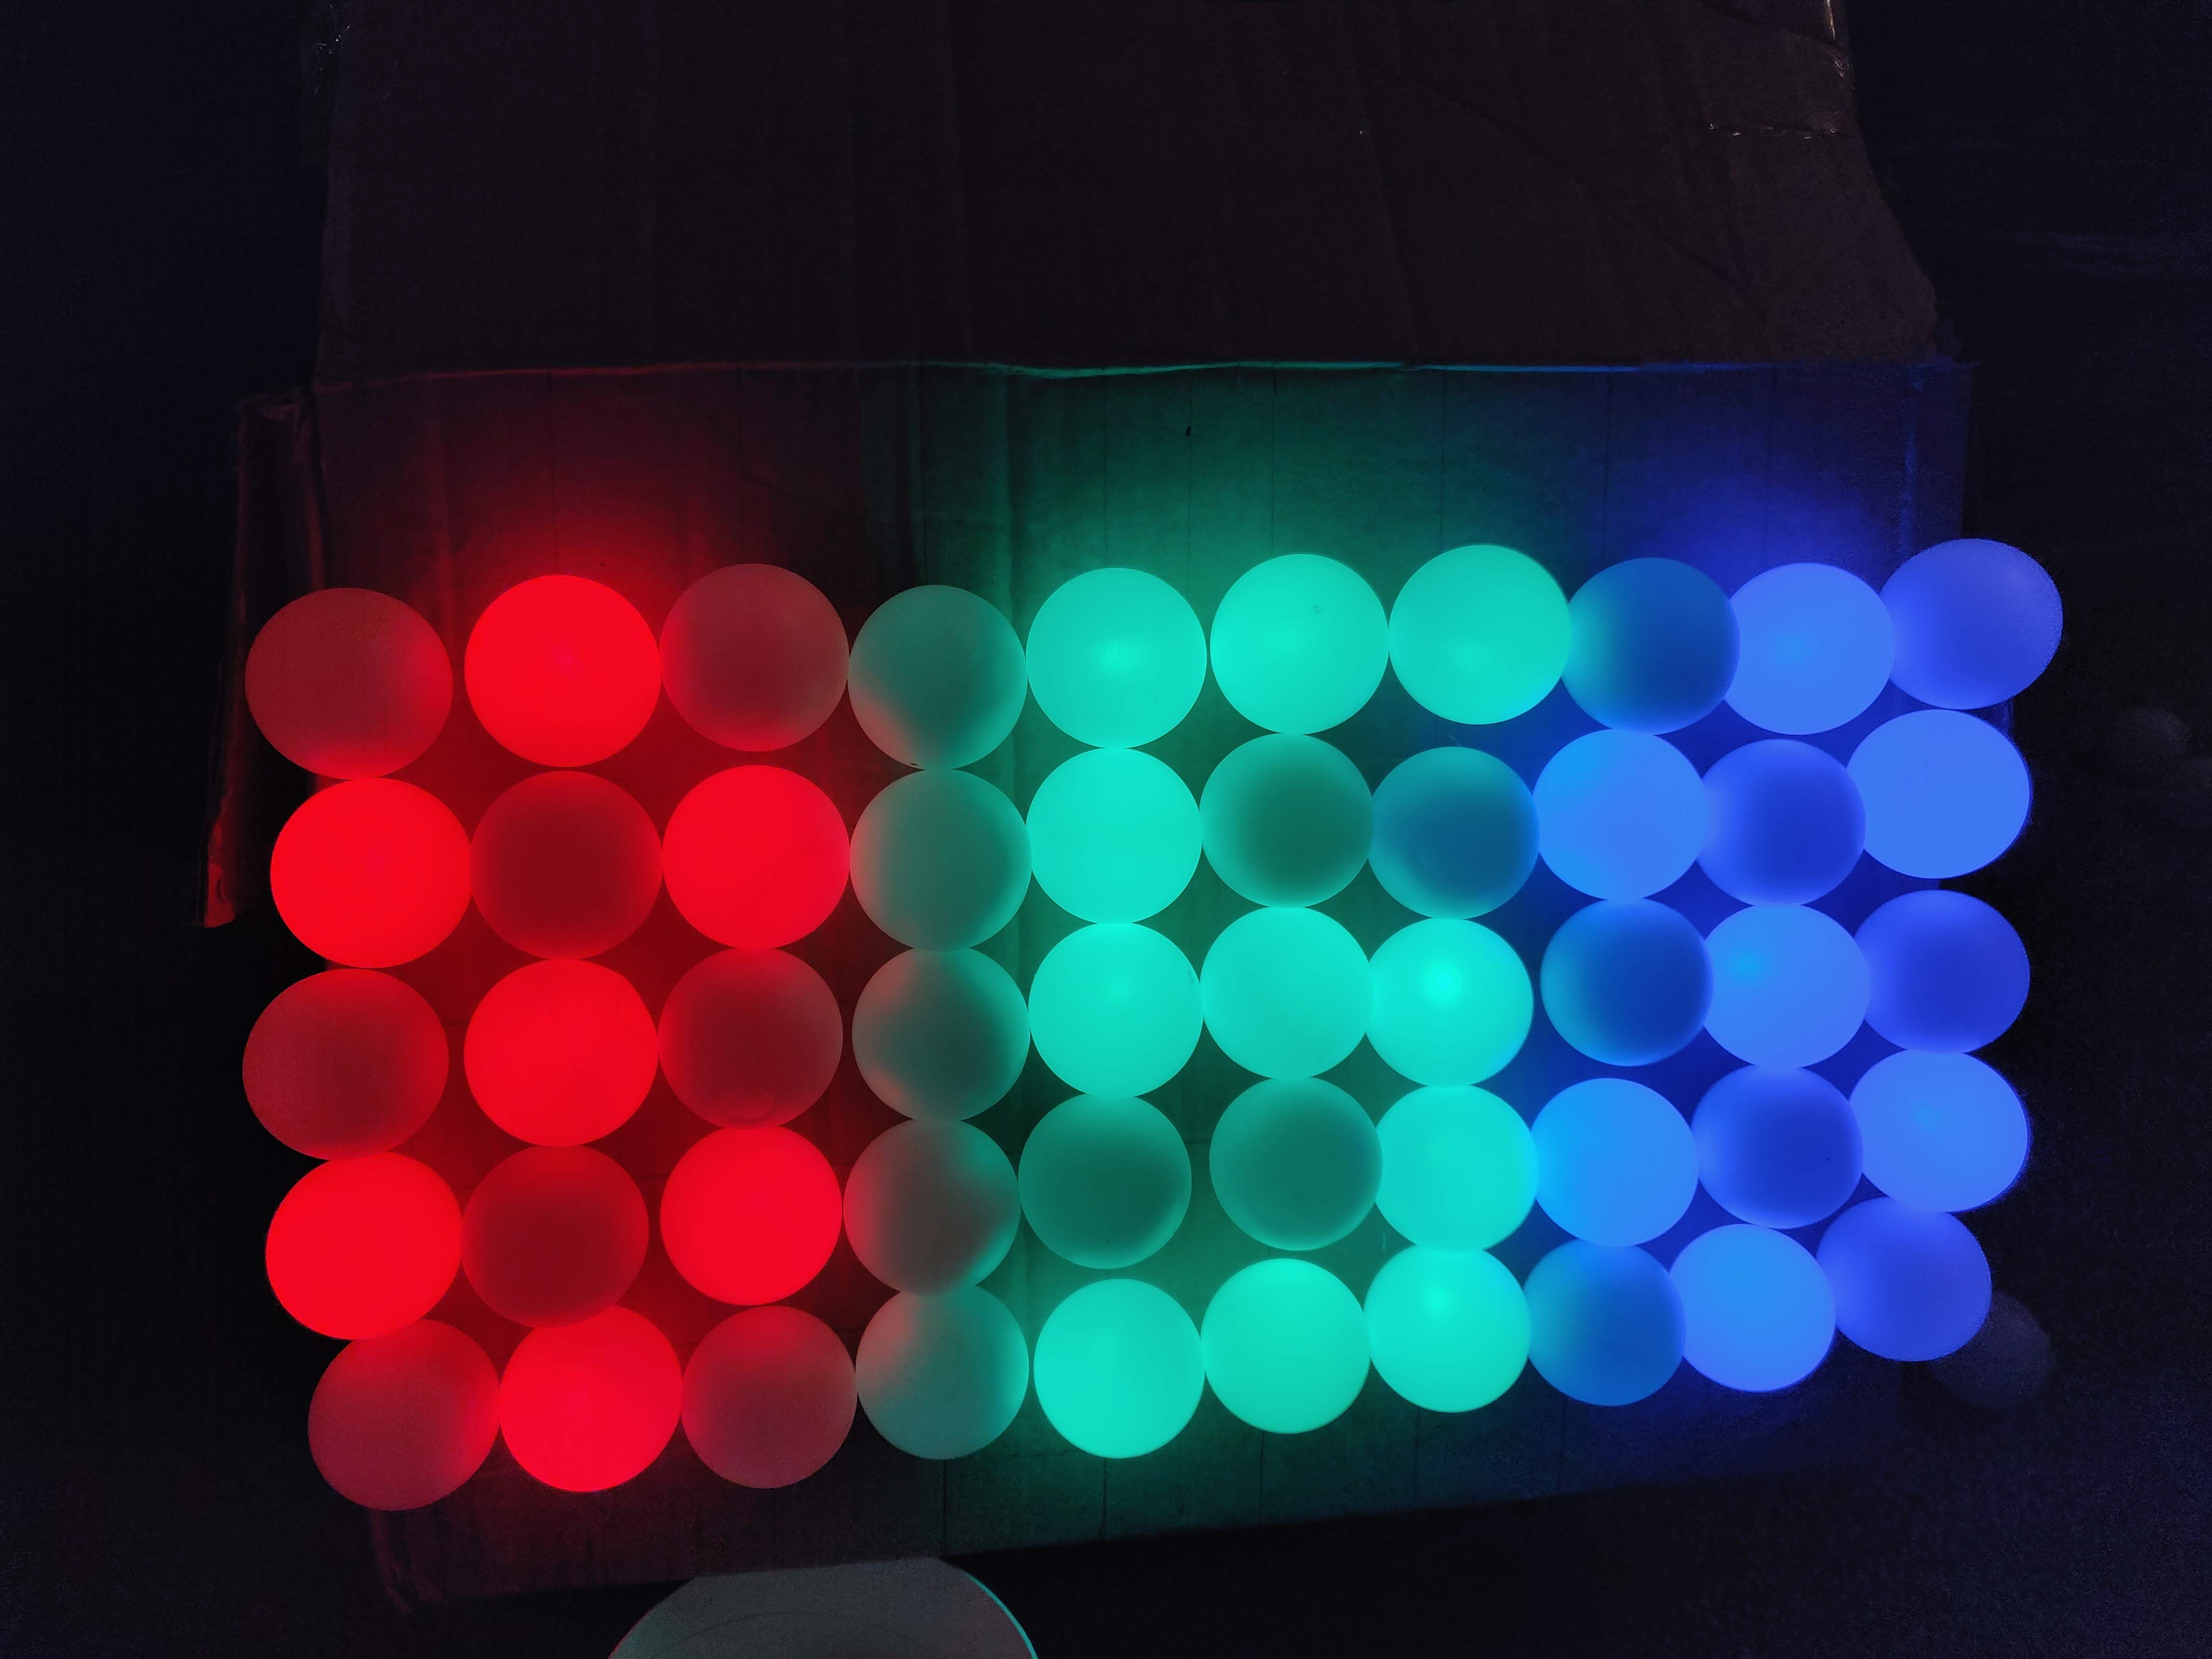
In real live it works better with no white lights but it photographs better with white lights:
Here's a timer counting up
Updates aka Errors
The ping pong ball holes needs to be at least 12mm for these lights. I did 8 initially and had to crush the balls on, 11mm was also too small.
I placed the balls on the front of a cardboard box which wasn't big enough. It's okay for now but I might move it to an acryllic stand/bigger box.
Coming Soon
The code for this is nasty! It's all quite manual. I need to map the light numbers properly. Coming soon in post 3!