LED Ping Pong clock - post 1

Inspiration
This week Steve Upton sent me a link to a very cool LED ping pong clock:
https://blog.hackster.io/iridescent-led-clock-made-with-ping-pong-balls-ed478595c5a1
So I decided to replicate it!
I wanted to use items already in the house and I didn't want to have to solder the lights individually.
Equipment
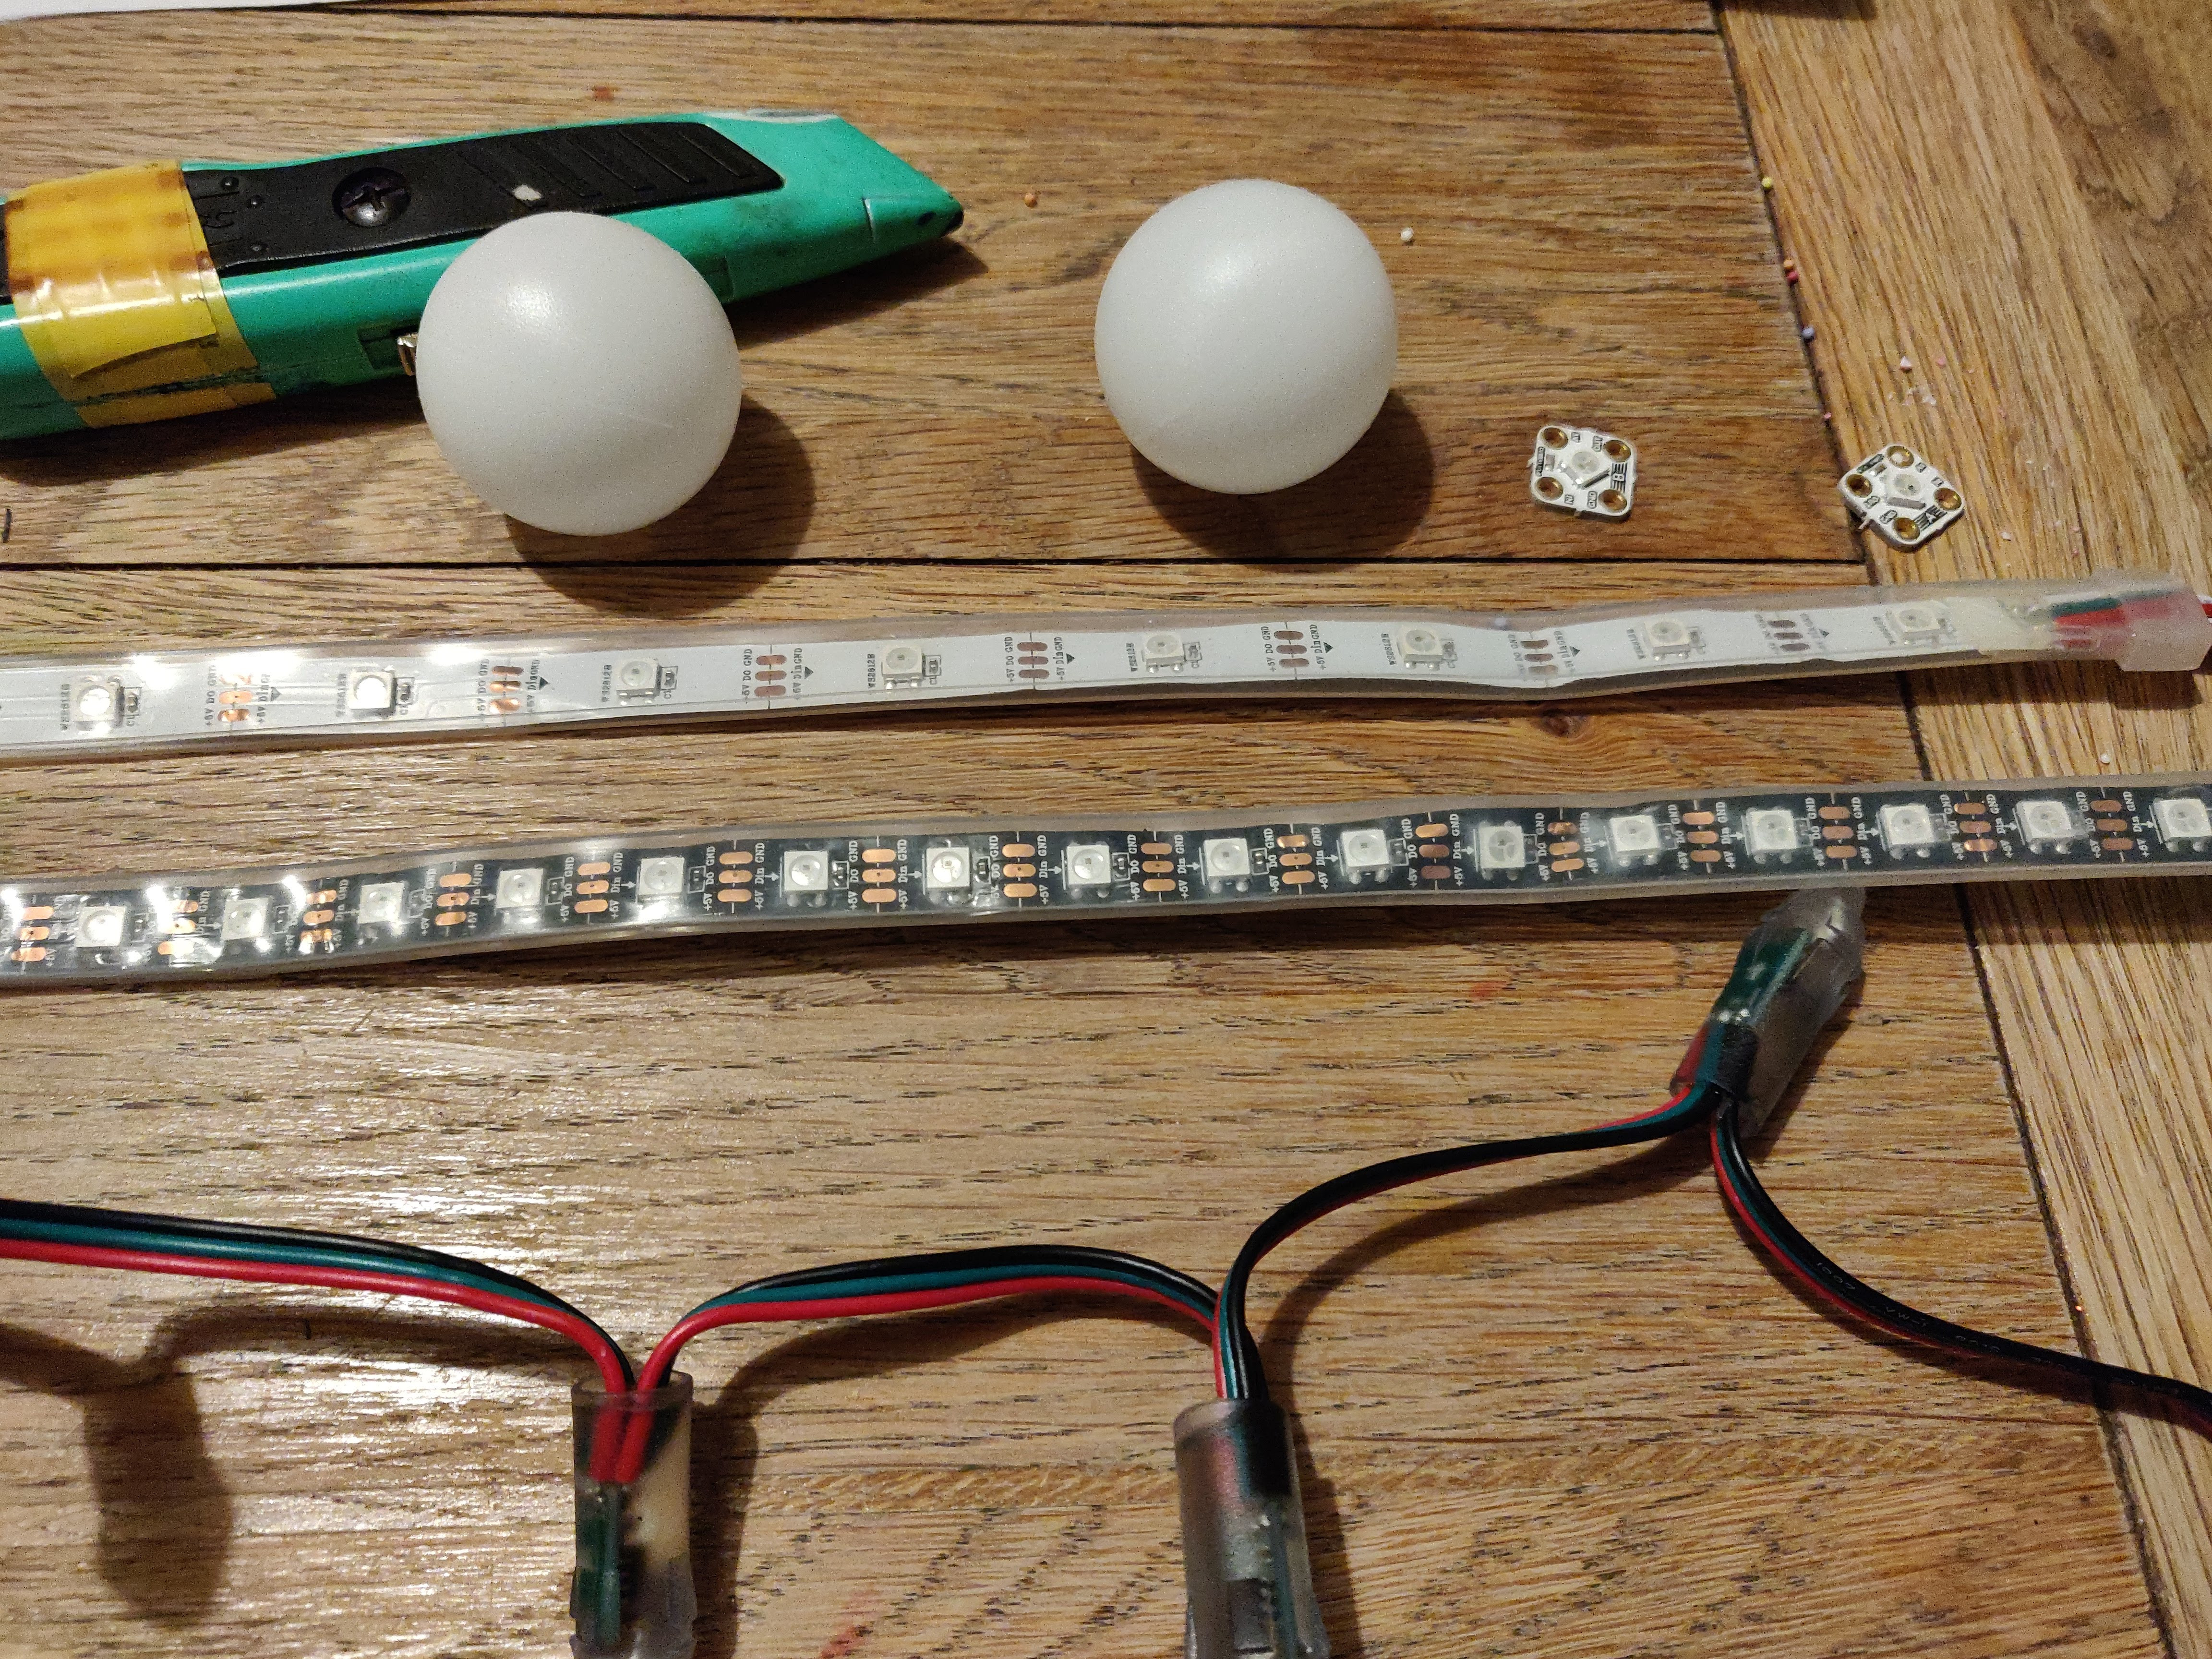
Bizarelly, I have a lot of ping pong balls :) and my stairs project began with these bulky set of lights which I still have. I also have big power supplies for the cube and access to a laser cutter!
The string of lights are perfect for this project. Strip lights just don't have the right gaps between each light for ping pong balls to fit nicely next to each other. There's either no room or the gap is too big.
The strip lights are here on Amazon, they were about £16
Here's two sets of strip lights with lights at different gaps and the string lights I went with in the end.
Design
My lights are a string of 50 so this clock is going to be a lot smaller than the one I was inspired by. But I think it will work!
If I lay the lights out of 5x10 like so:

Proof of concept
Tonight I started with a proof of concept. For my cube I used a miller to drill very accurate holes into 512 ping pong balls. This project didn't need that level of accuracy and I wanted speed.
Laser, laser, laser
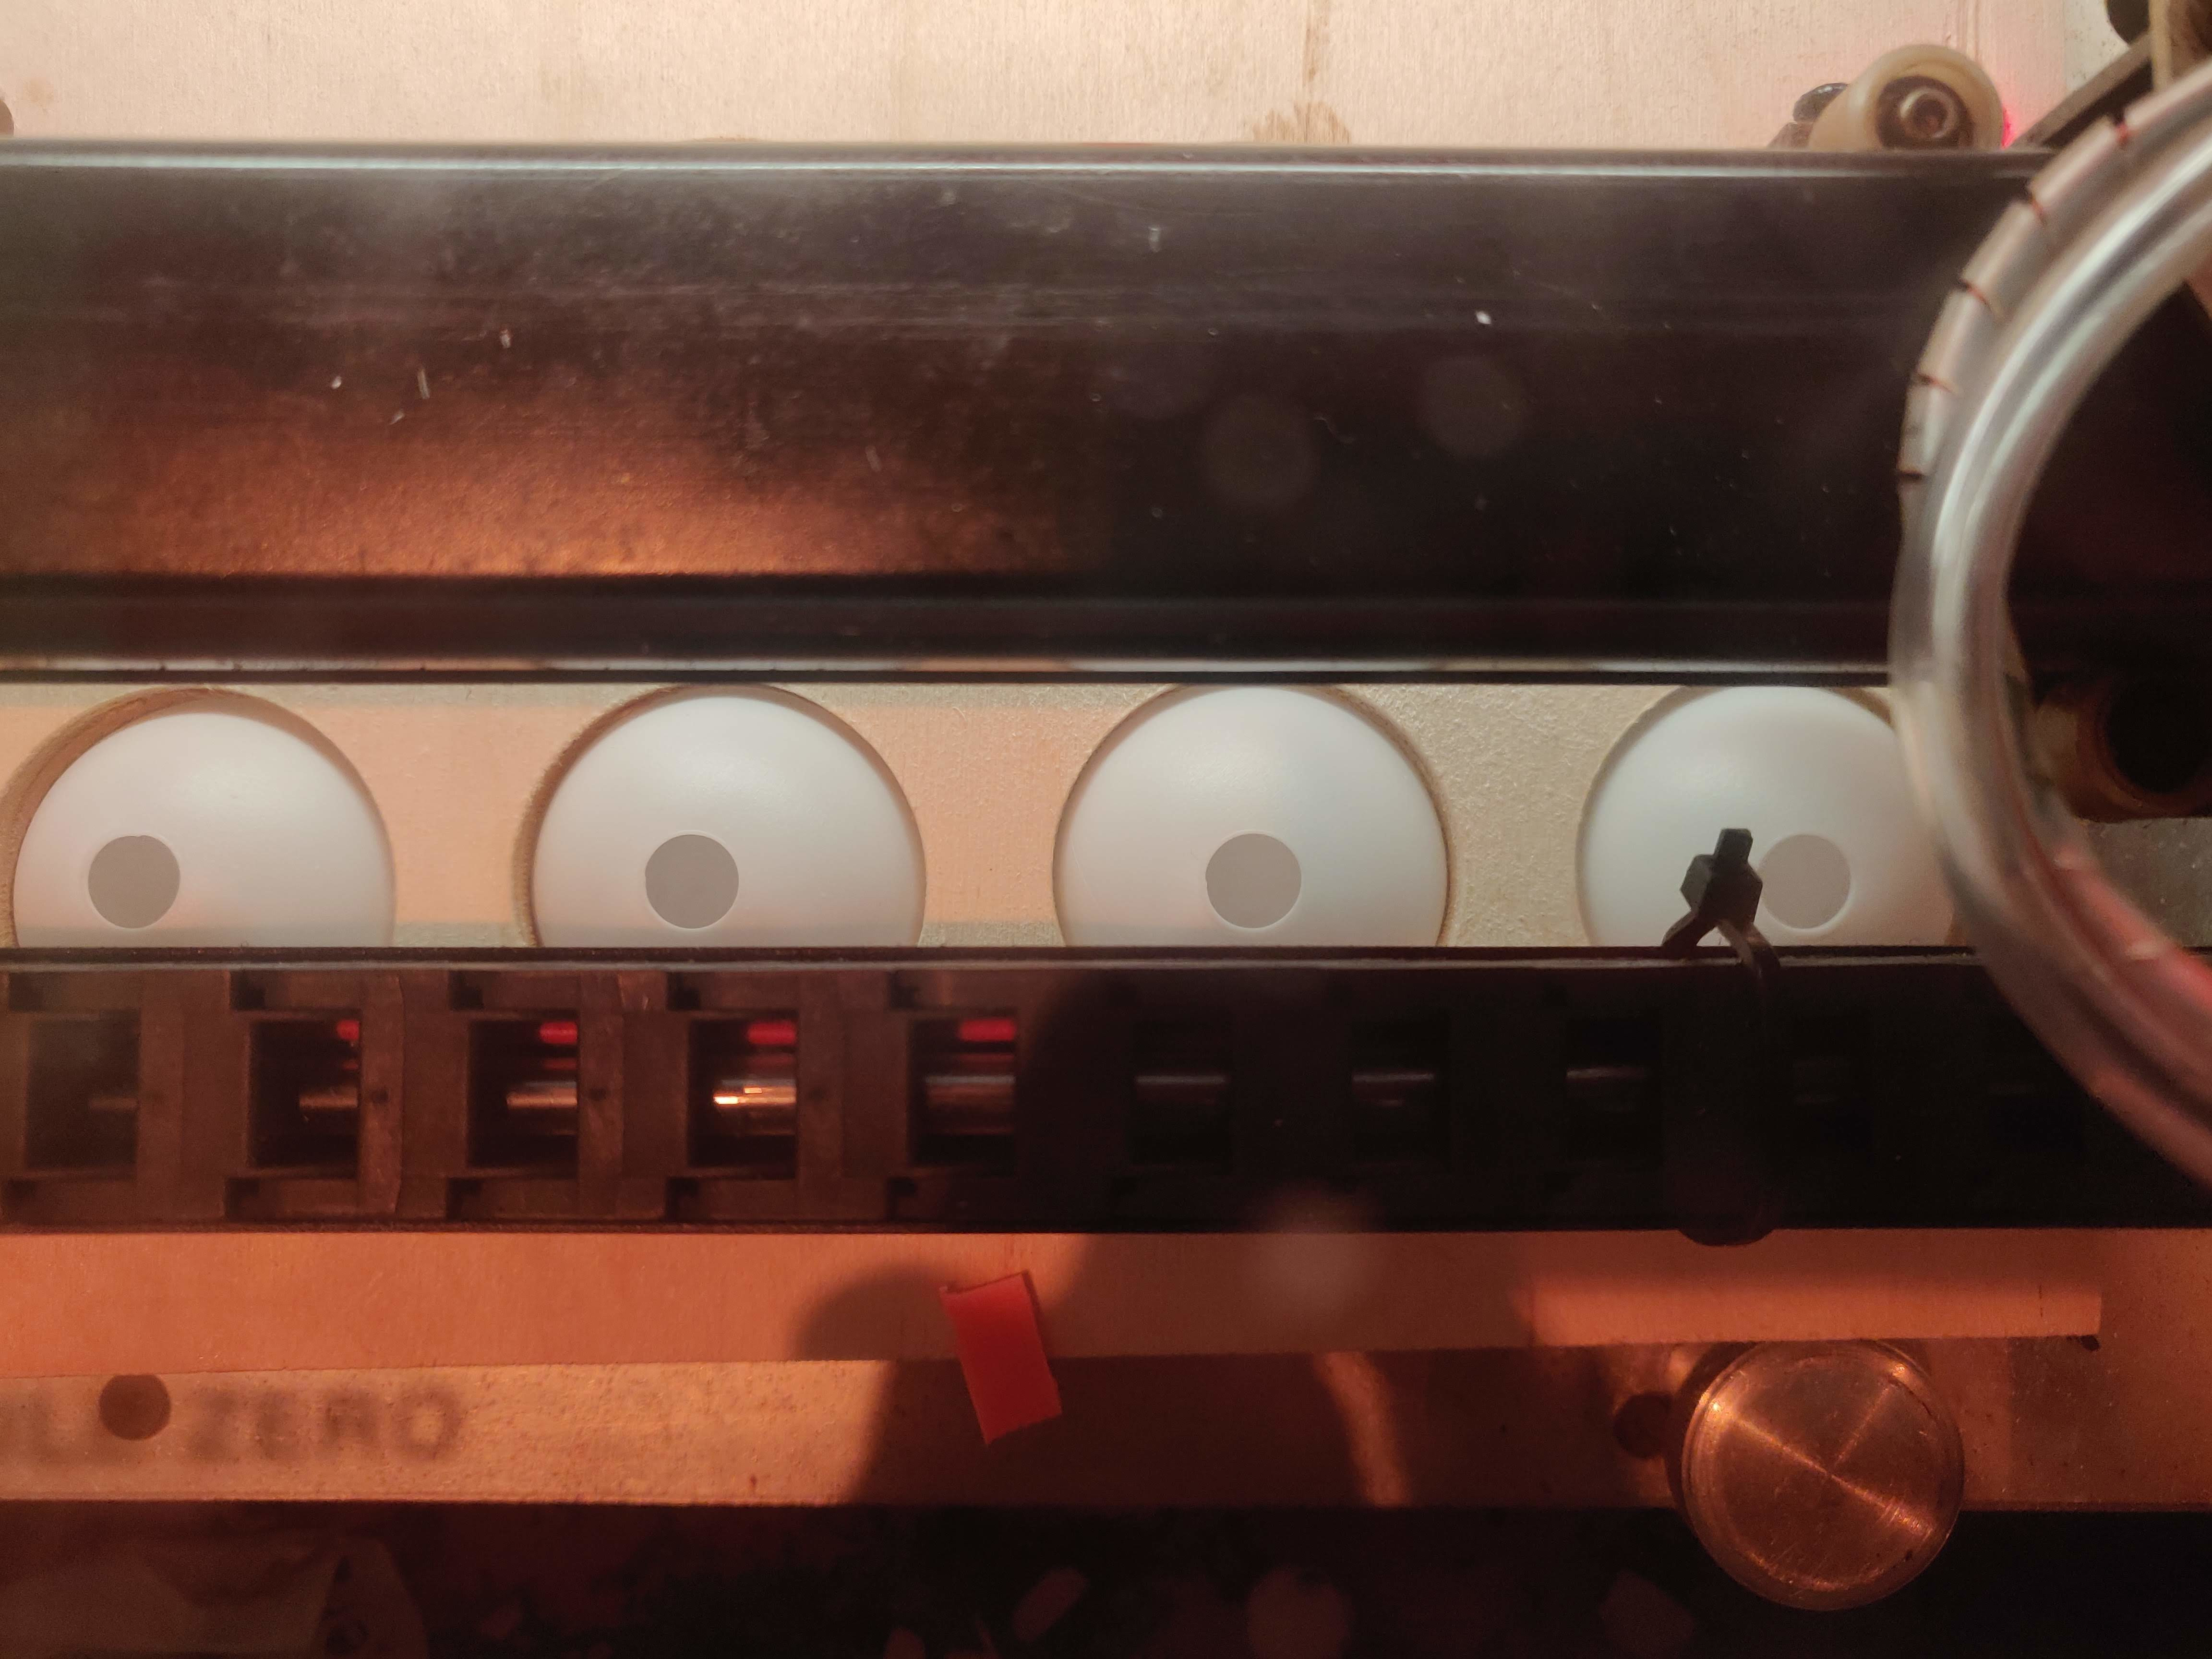
I have this jig from milling ping pong balls for the cube. It holds 8 balls securely between two blanks of wood. I just needed to fit this into the laser cutter.
I had to take the protective honeycomb bed out of the laser cutter and lower the base a lot. But the ping pong ball jig fit in and I was able to laser cut an accurate 8mm hole into each ball.
Lights, camera, action
Once I had the balls ready, I connected everything up. I have a barrel jack connector for adding wires to a power supply. I had a Raspberry Pi all ready to with neopixel code on it. I just had to strip the wire off the string of lights and connect data and ground it to the pi and connect power and ground to the power supply.
And we had light!
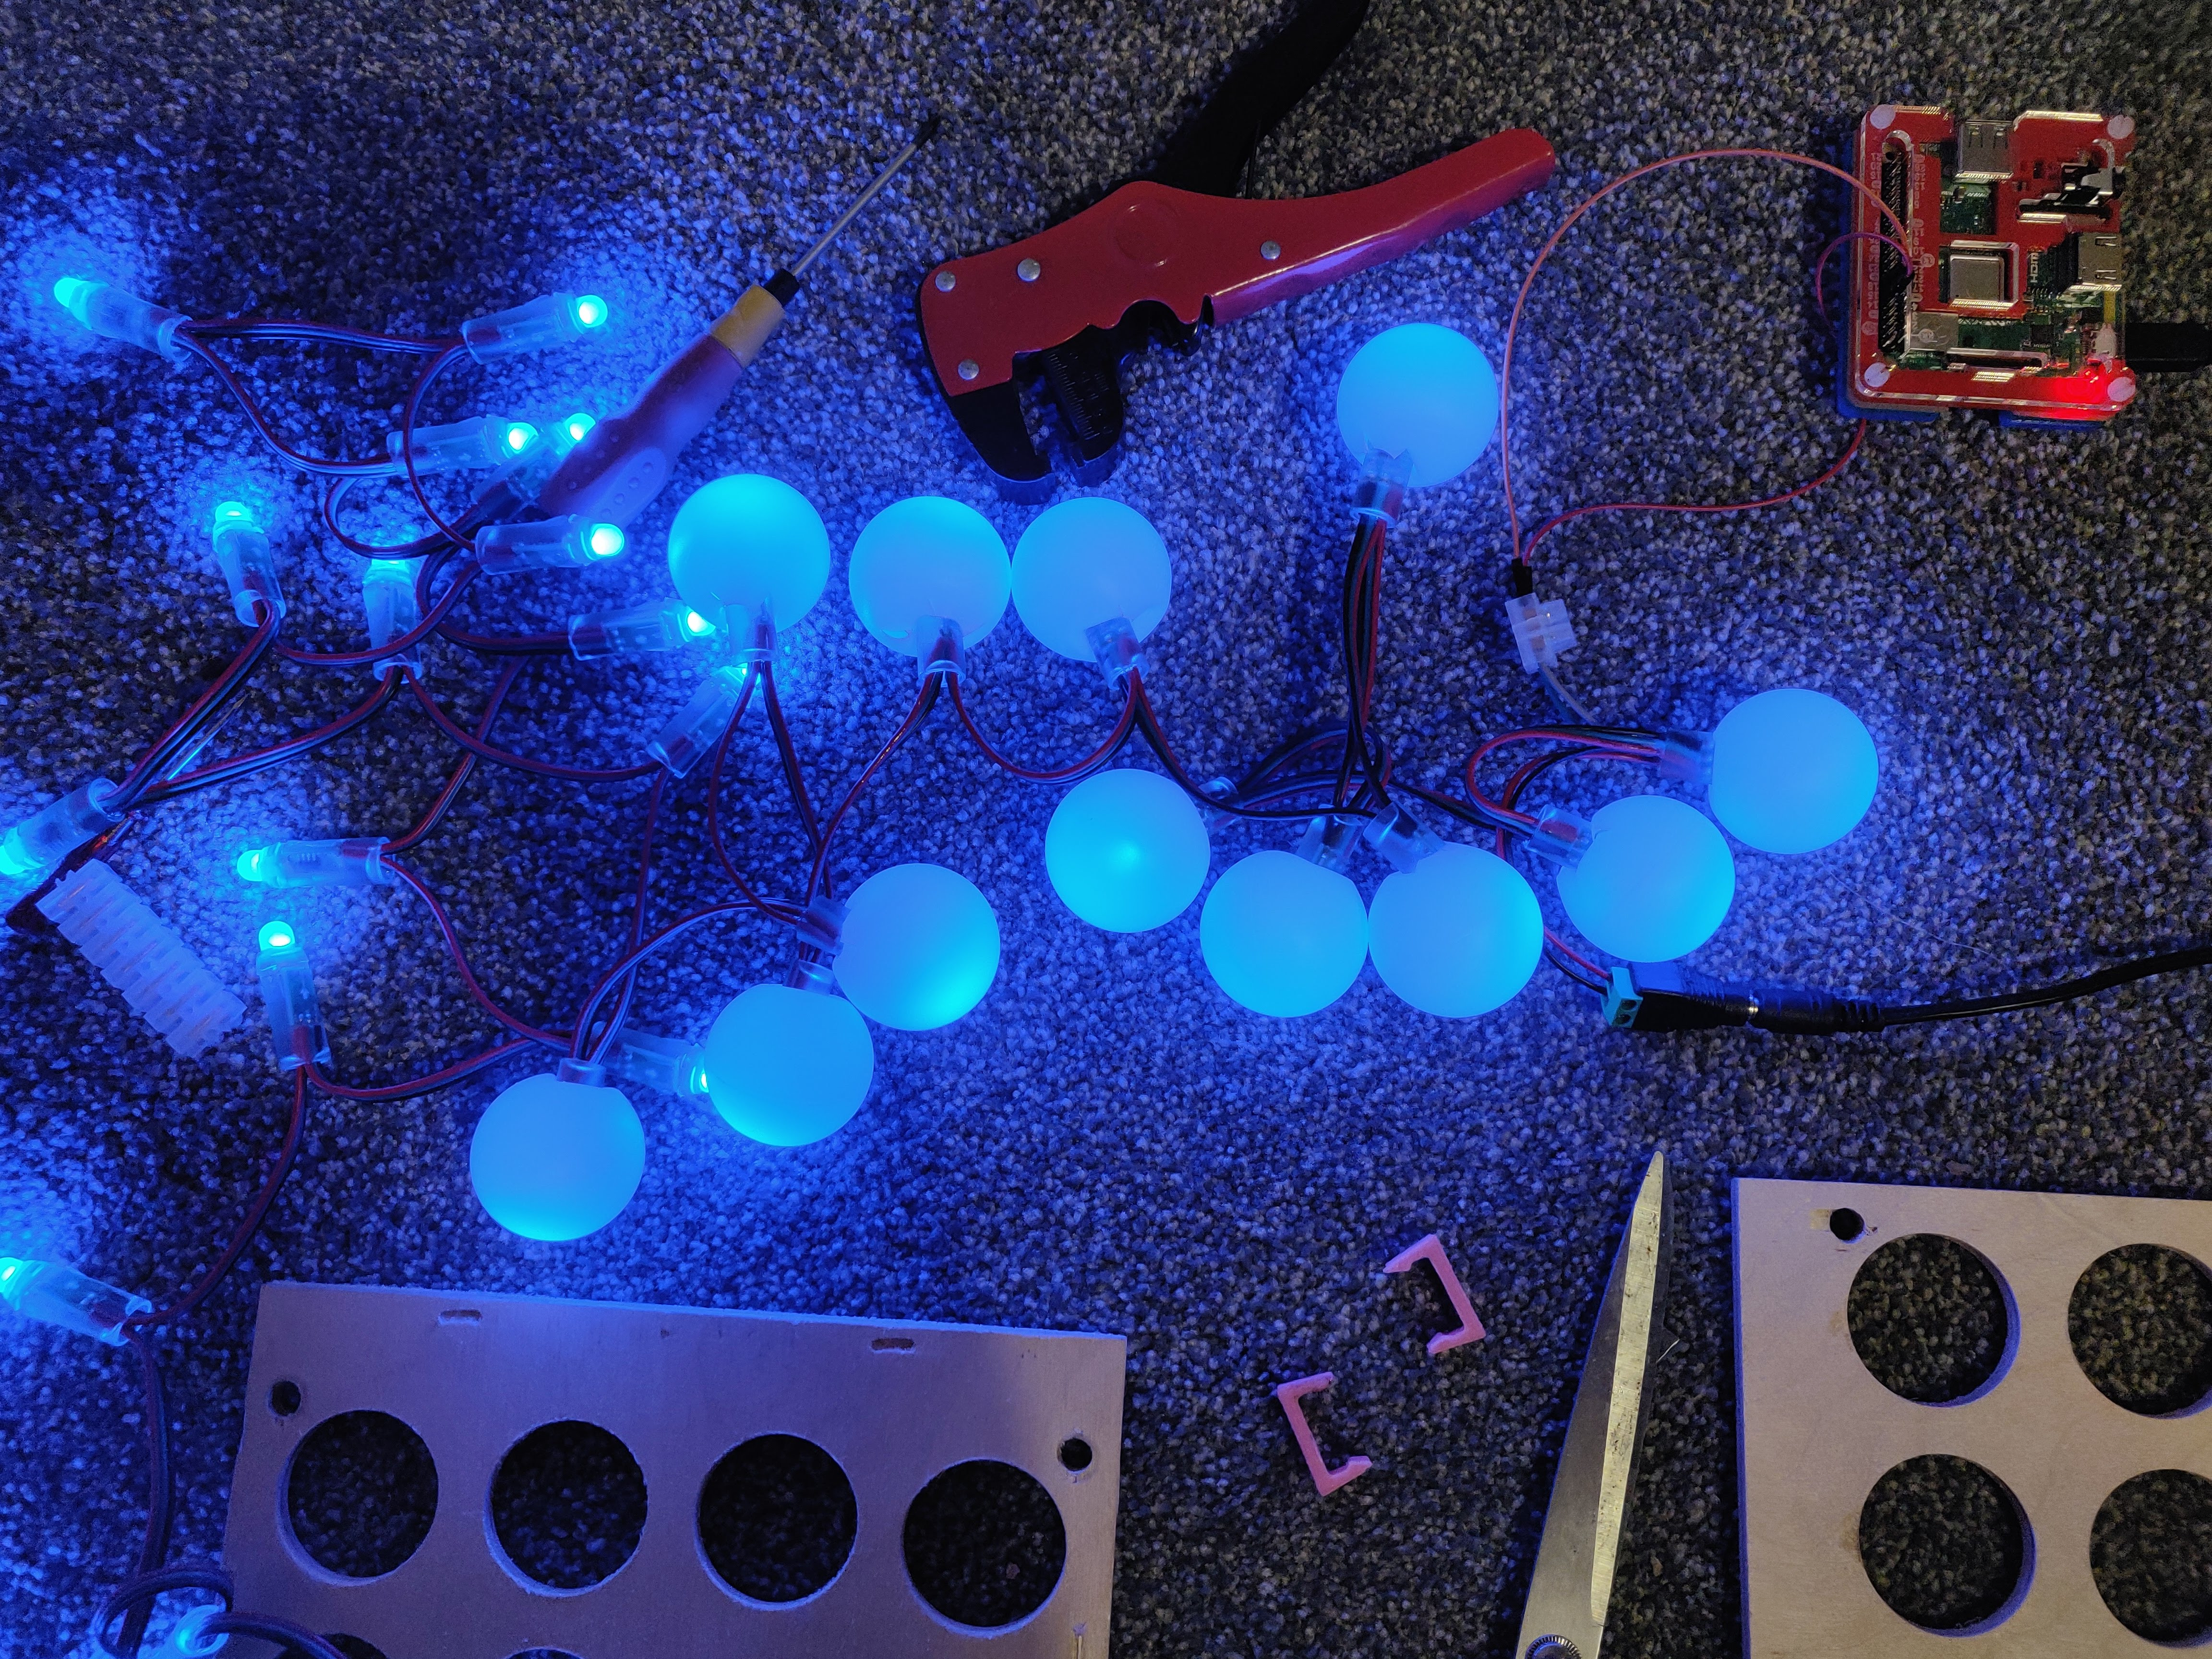
8mm was enough for the tip of the light but I'm going to have to increase it to maybe 12mm to fit the light in. For this demo I cut the hole open to force the light in.
And here's a video of it running. Proof of concept success?
https://twitter.com/LMcUnderwood/status/1092928723945472005
Up next
I need to lasercut 40 more ping pong balls and create a holder for the whole clock. Then code the clock! Simples
I might change my design and make something besides a clock..