Copper tape circuits

I'm not a fan of copper tape circuits. I've used them before with simple single colour LEDs and coin cell batteries. They need a lot of patience and fiddling to get working. But with a vinyl cutter I was able to cut my own tiny circuits on copper tape - slug tape to be exact!
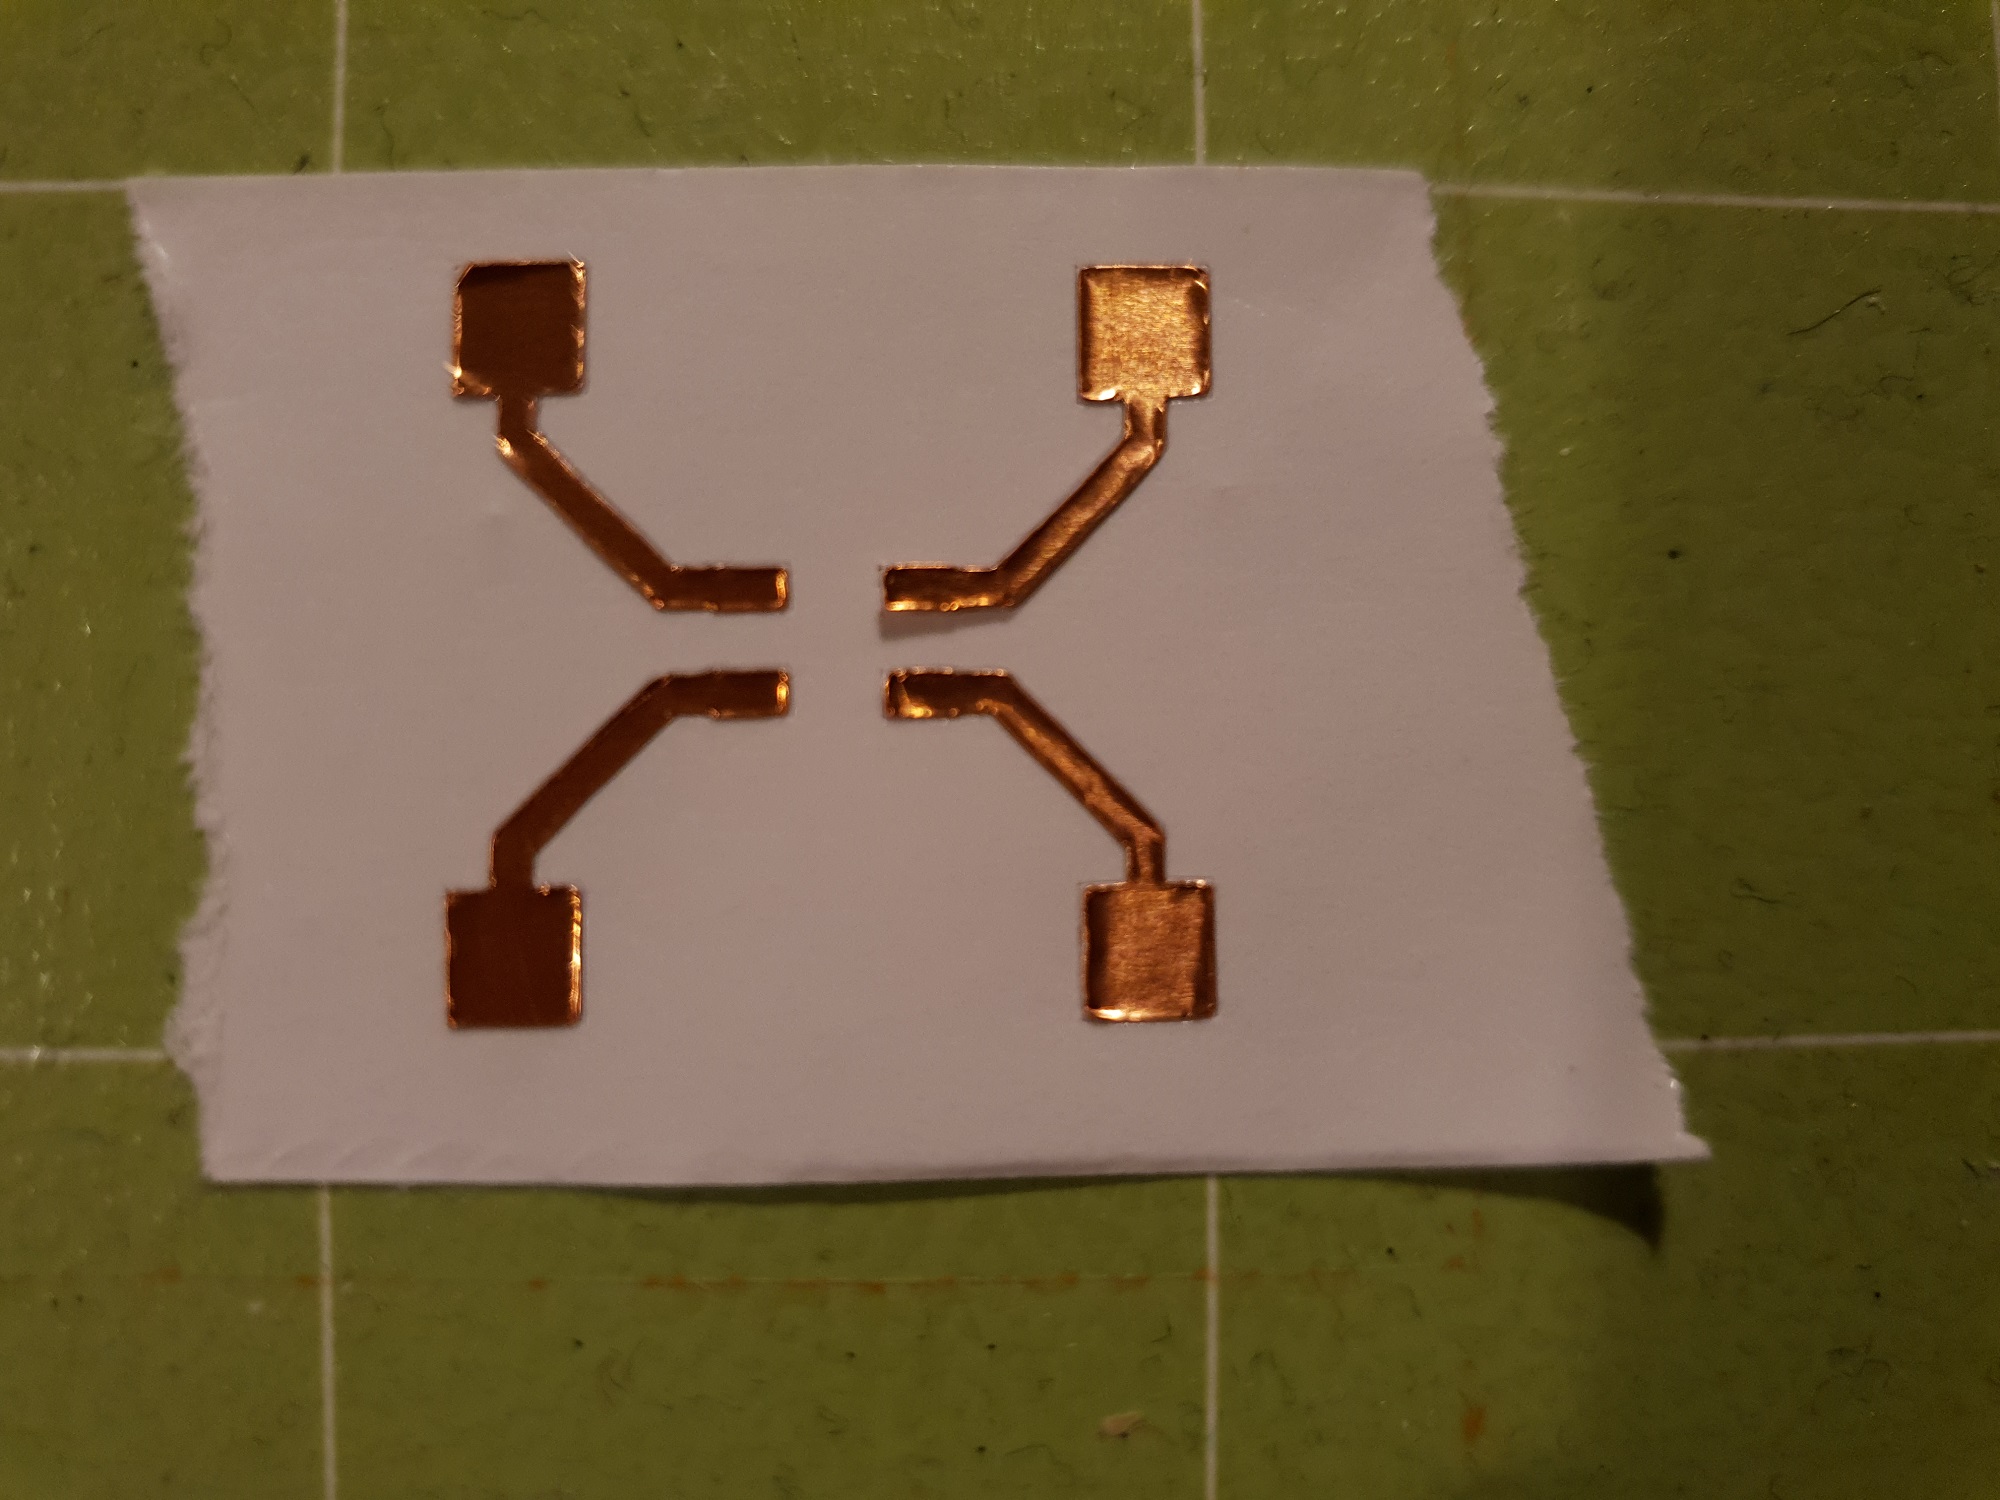
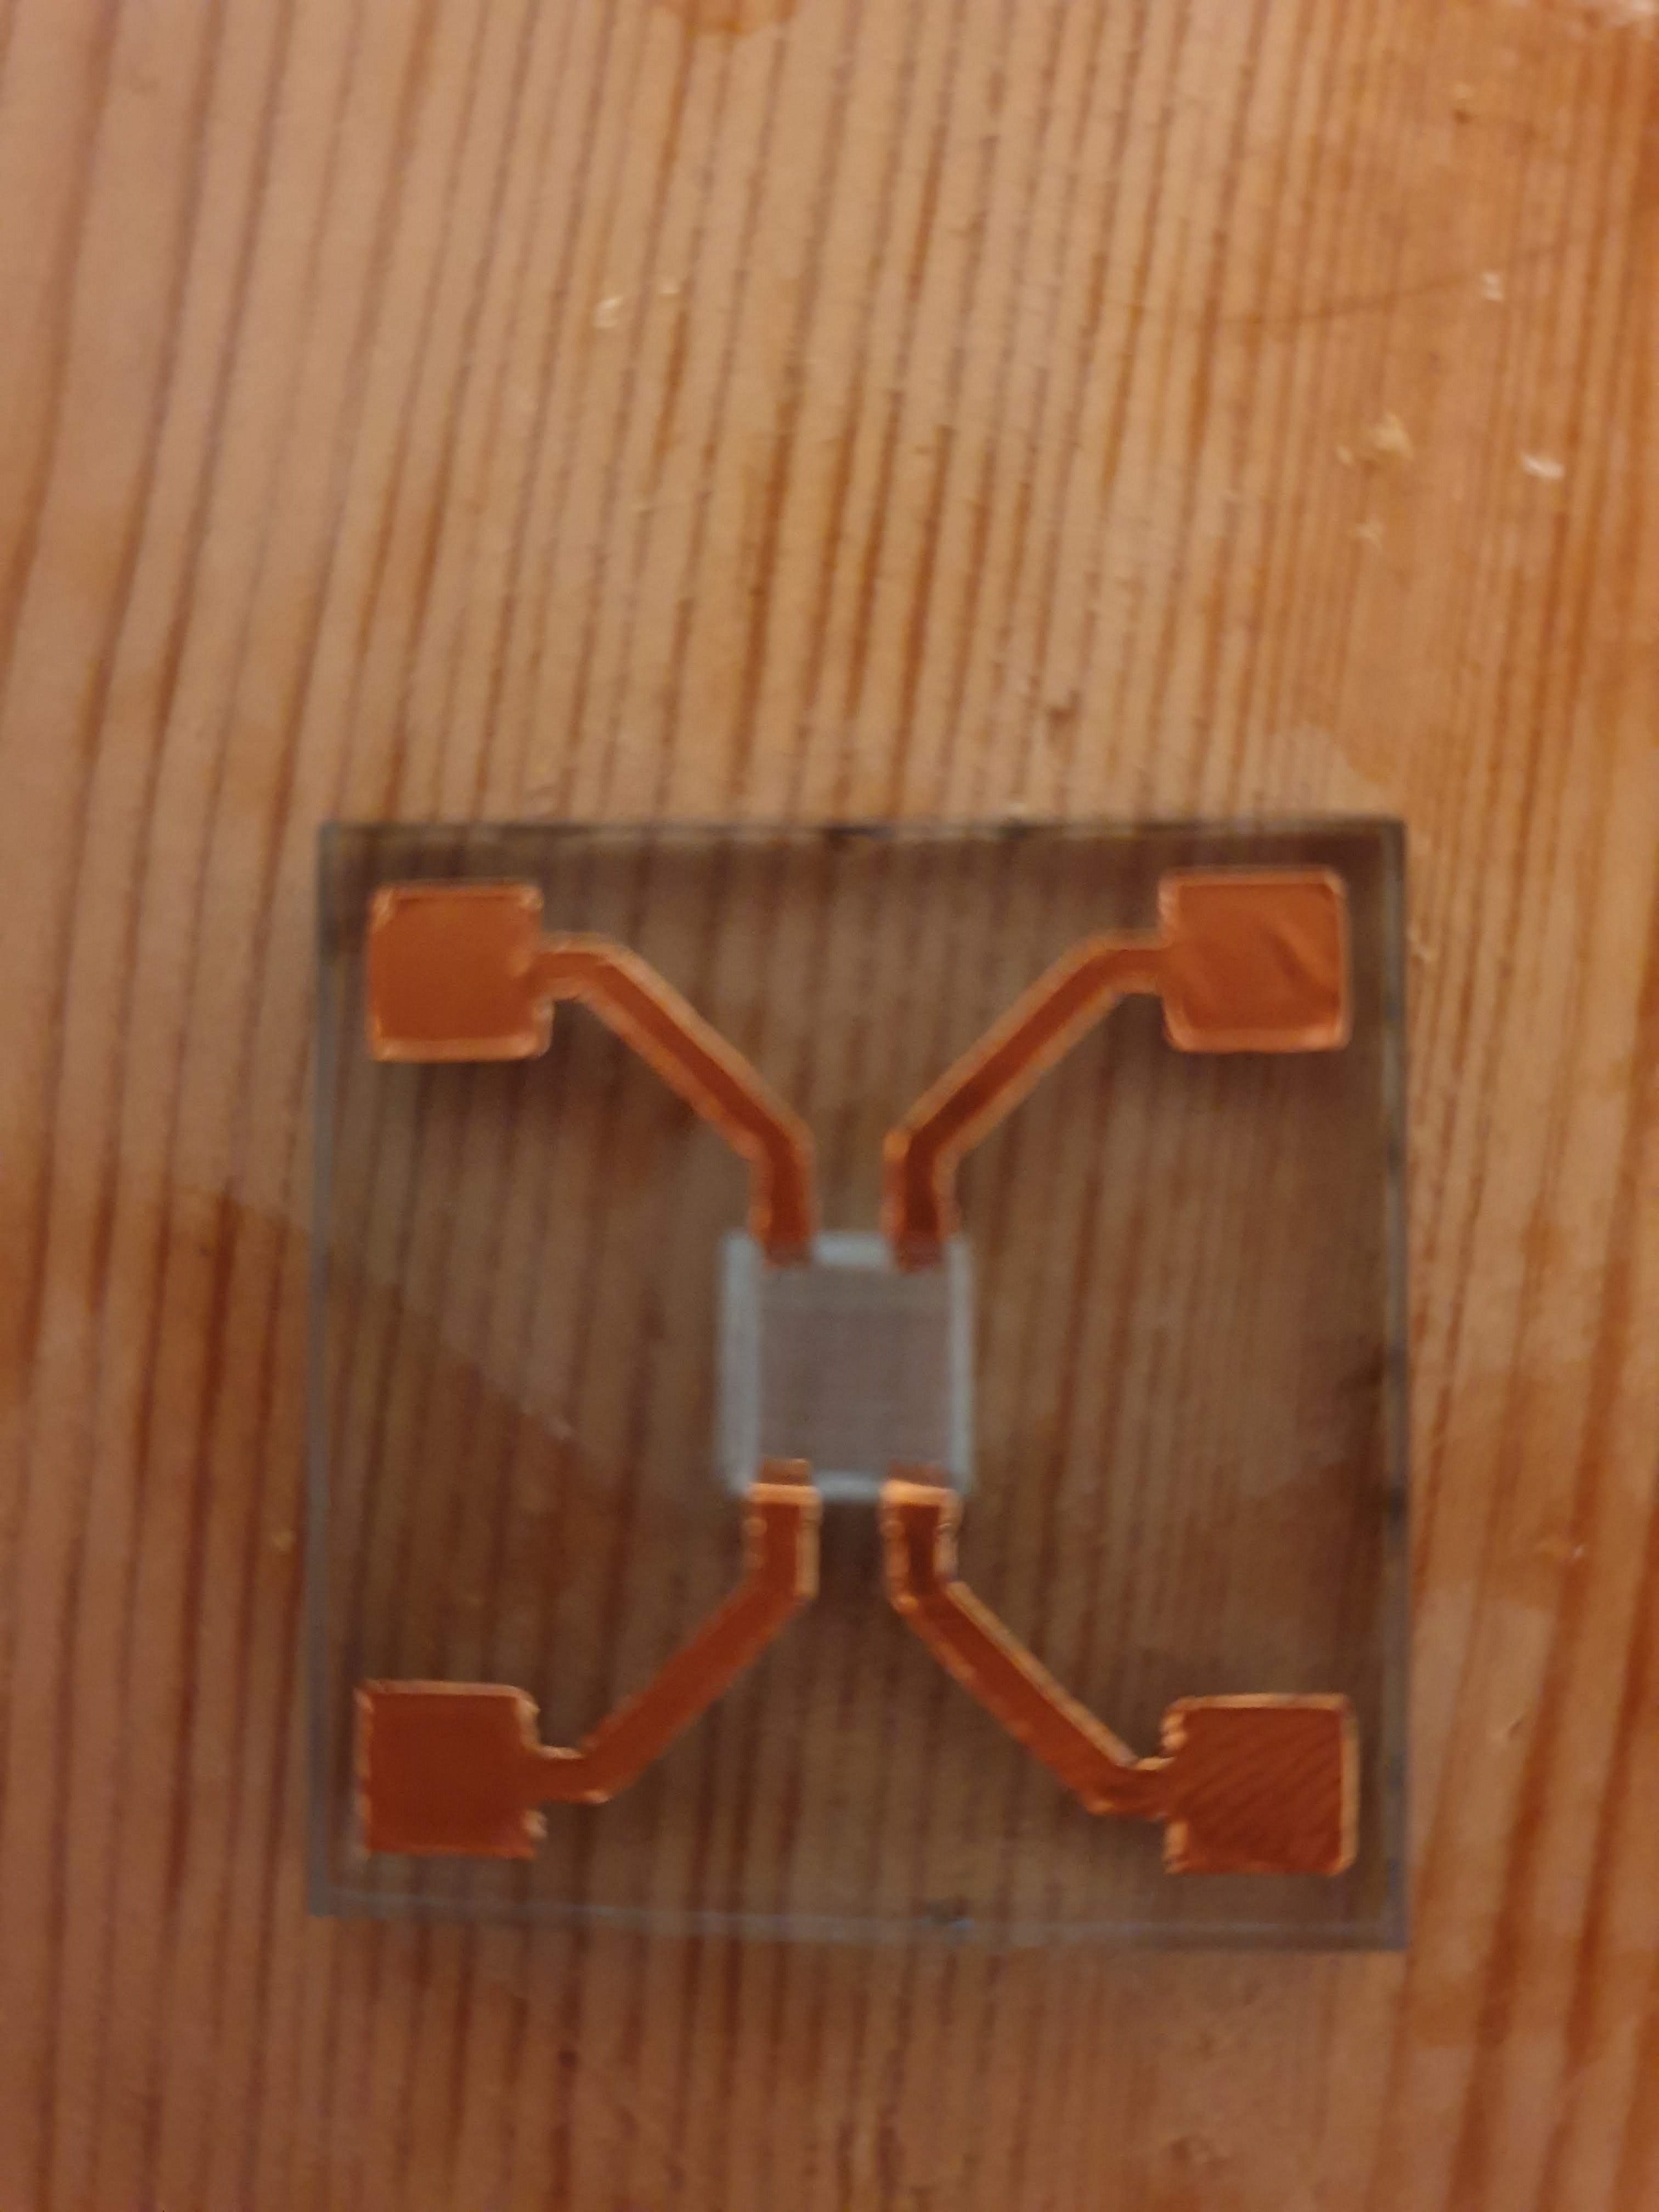
Then I added the circuit to some acrylic. At first just on top of the acrylic. But then I scanned a square the size of the LED into the middle of a square of acrylic. 5mm - the same size as the LED.
I transfered the circuit onto the acrylic using transfer tape. The copper is overlapping into the hole.
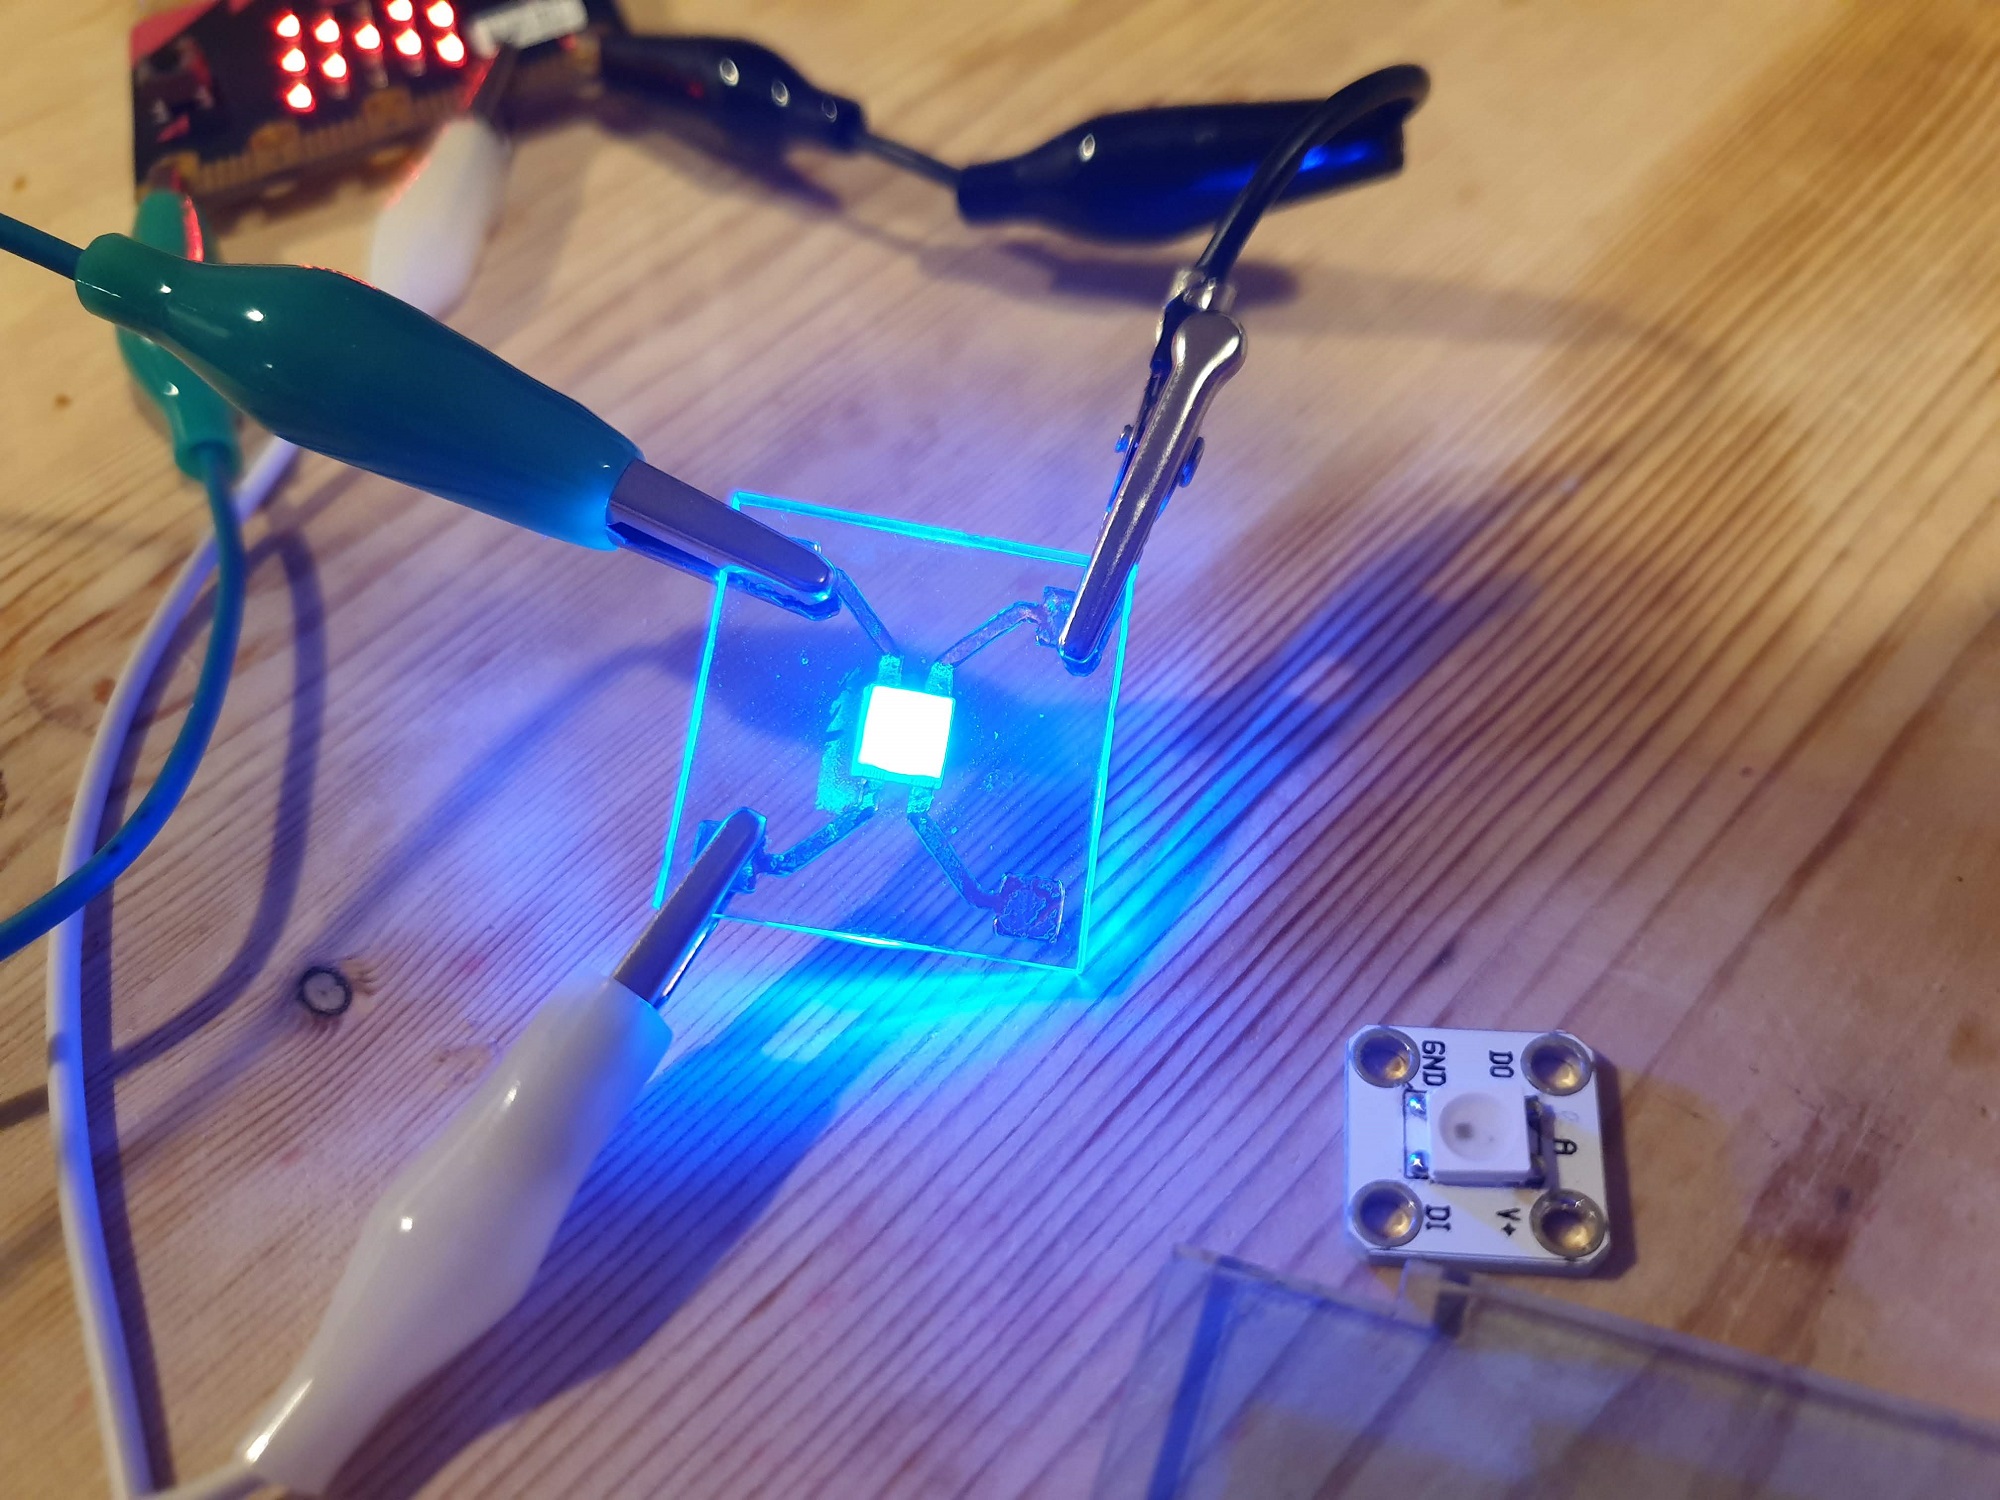
I place the RGB LED (WS2812b) face down in the scanned hole and soldered the LED pads onto the copper - remembering where ground is!
I then connected crocodile clips to the copper on the edge of the square, coded a micro:bit and connected it up.
Here's the front of the acrylic. It's completly flat.
And the back where the pads are soldered onto the copper.
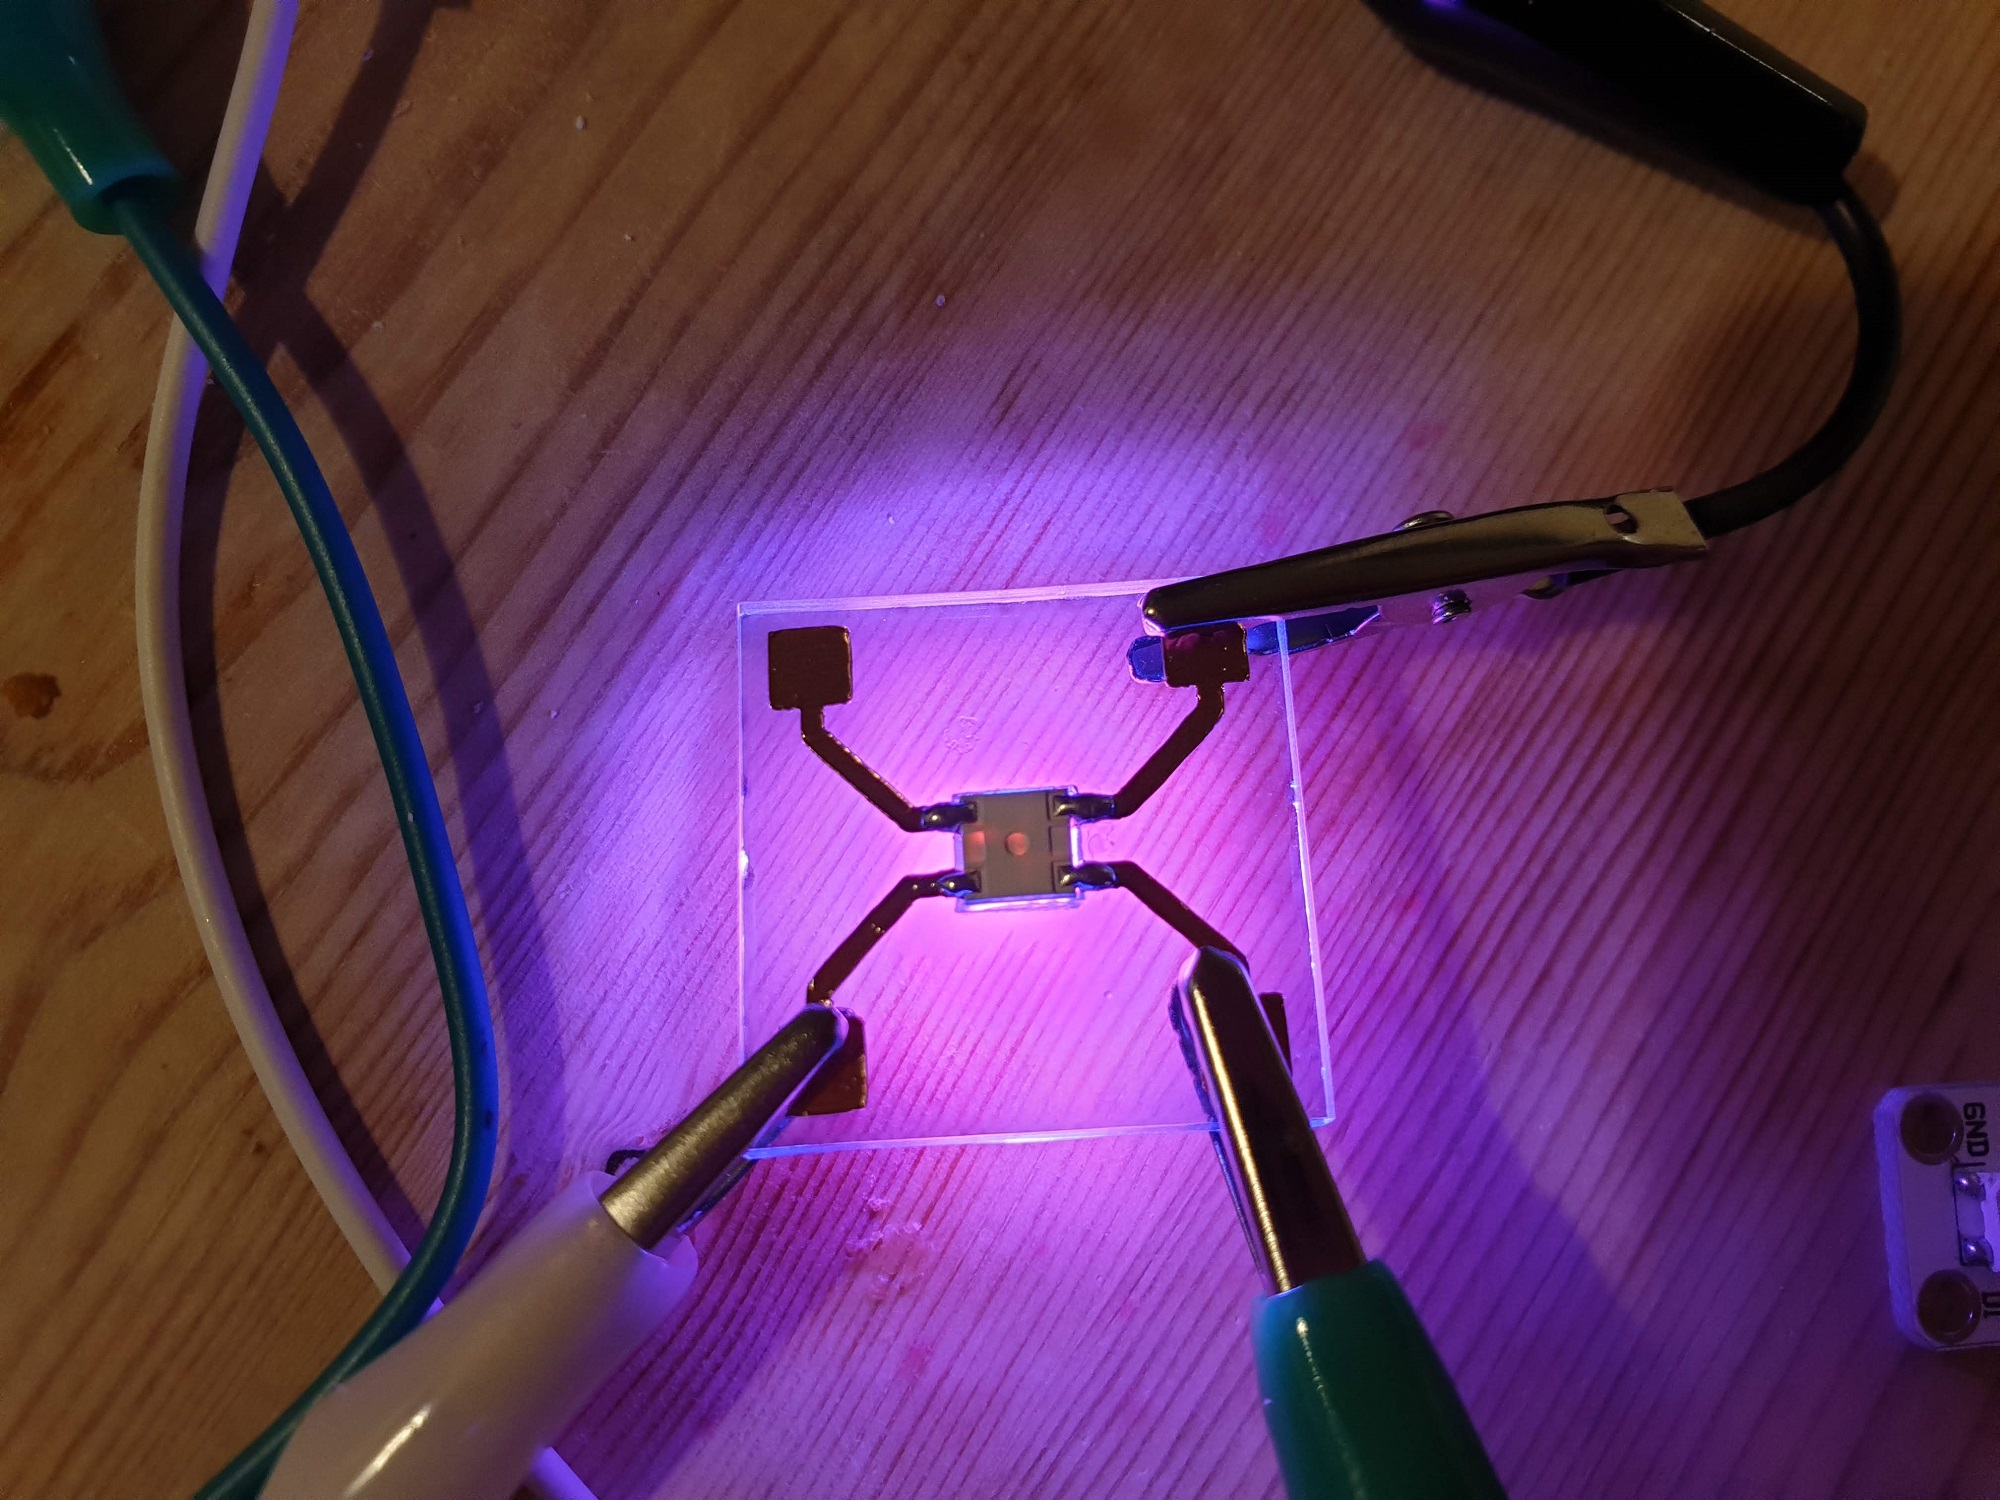
I love it! The LED is making the whole square glow.
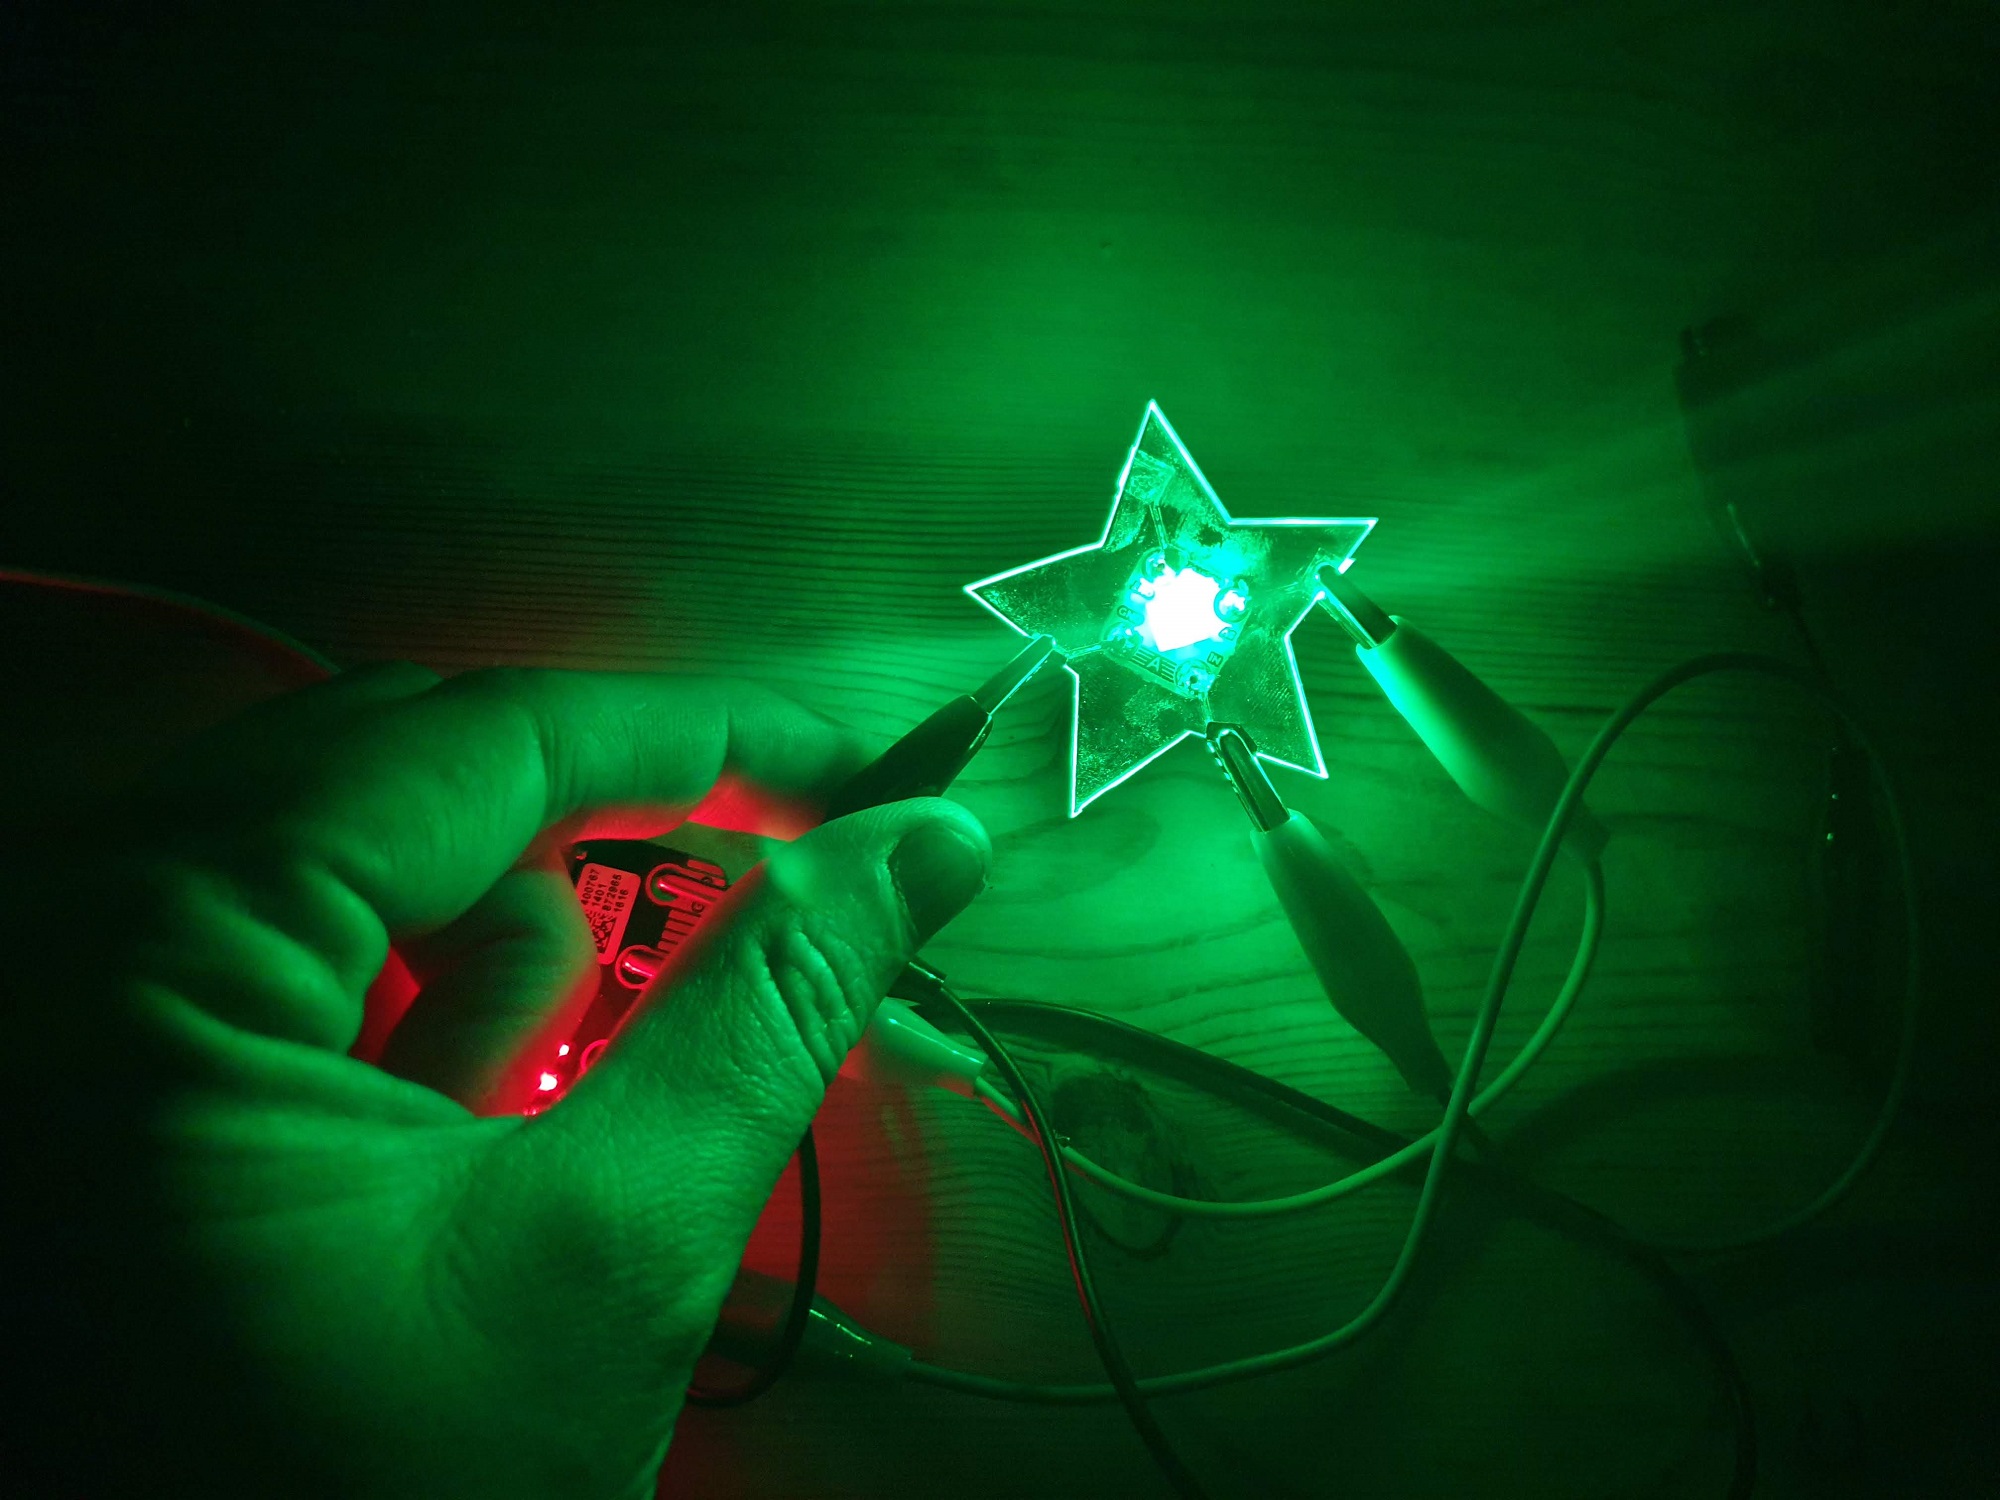
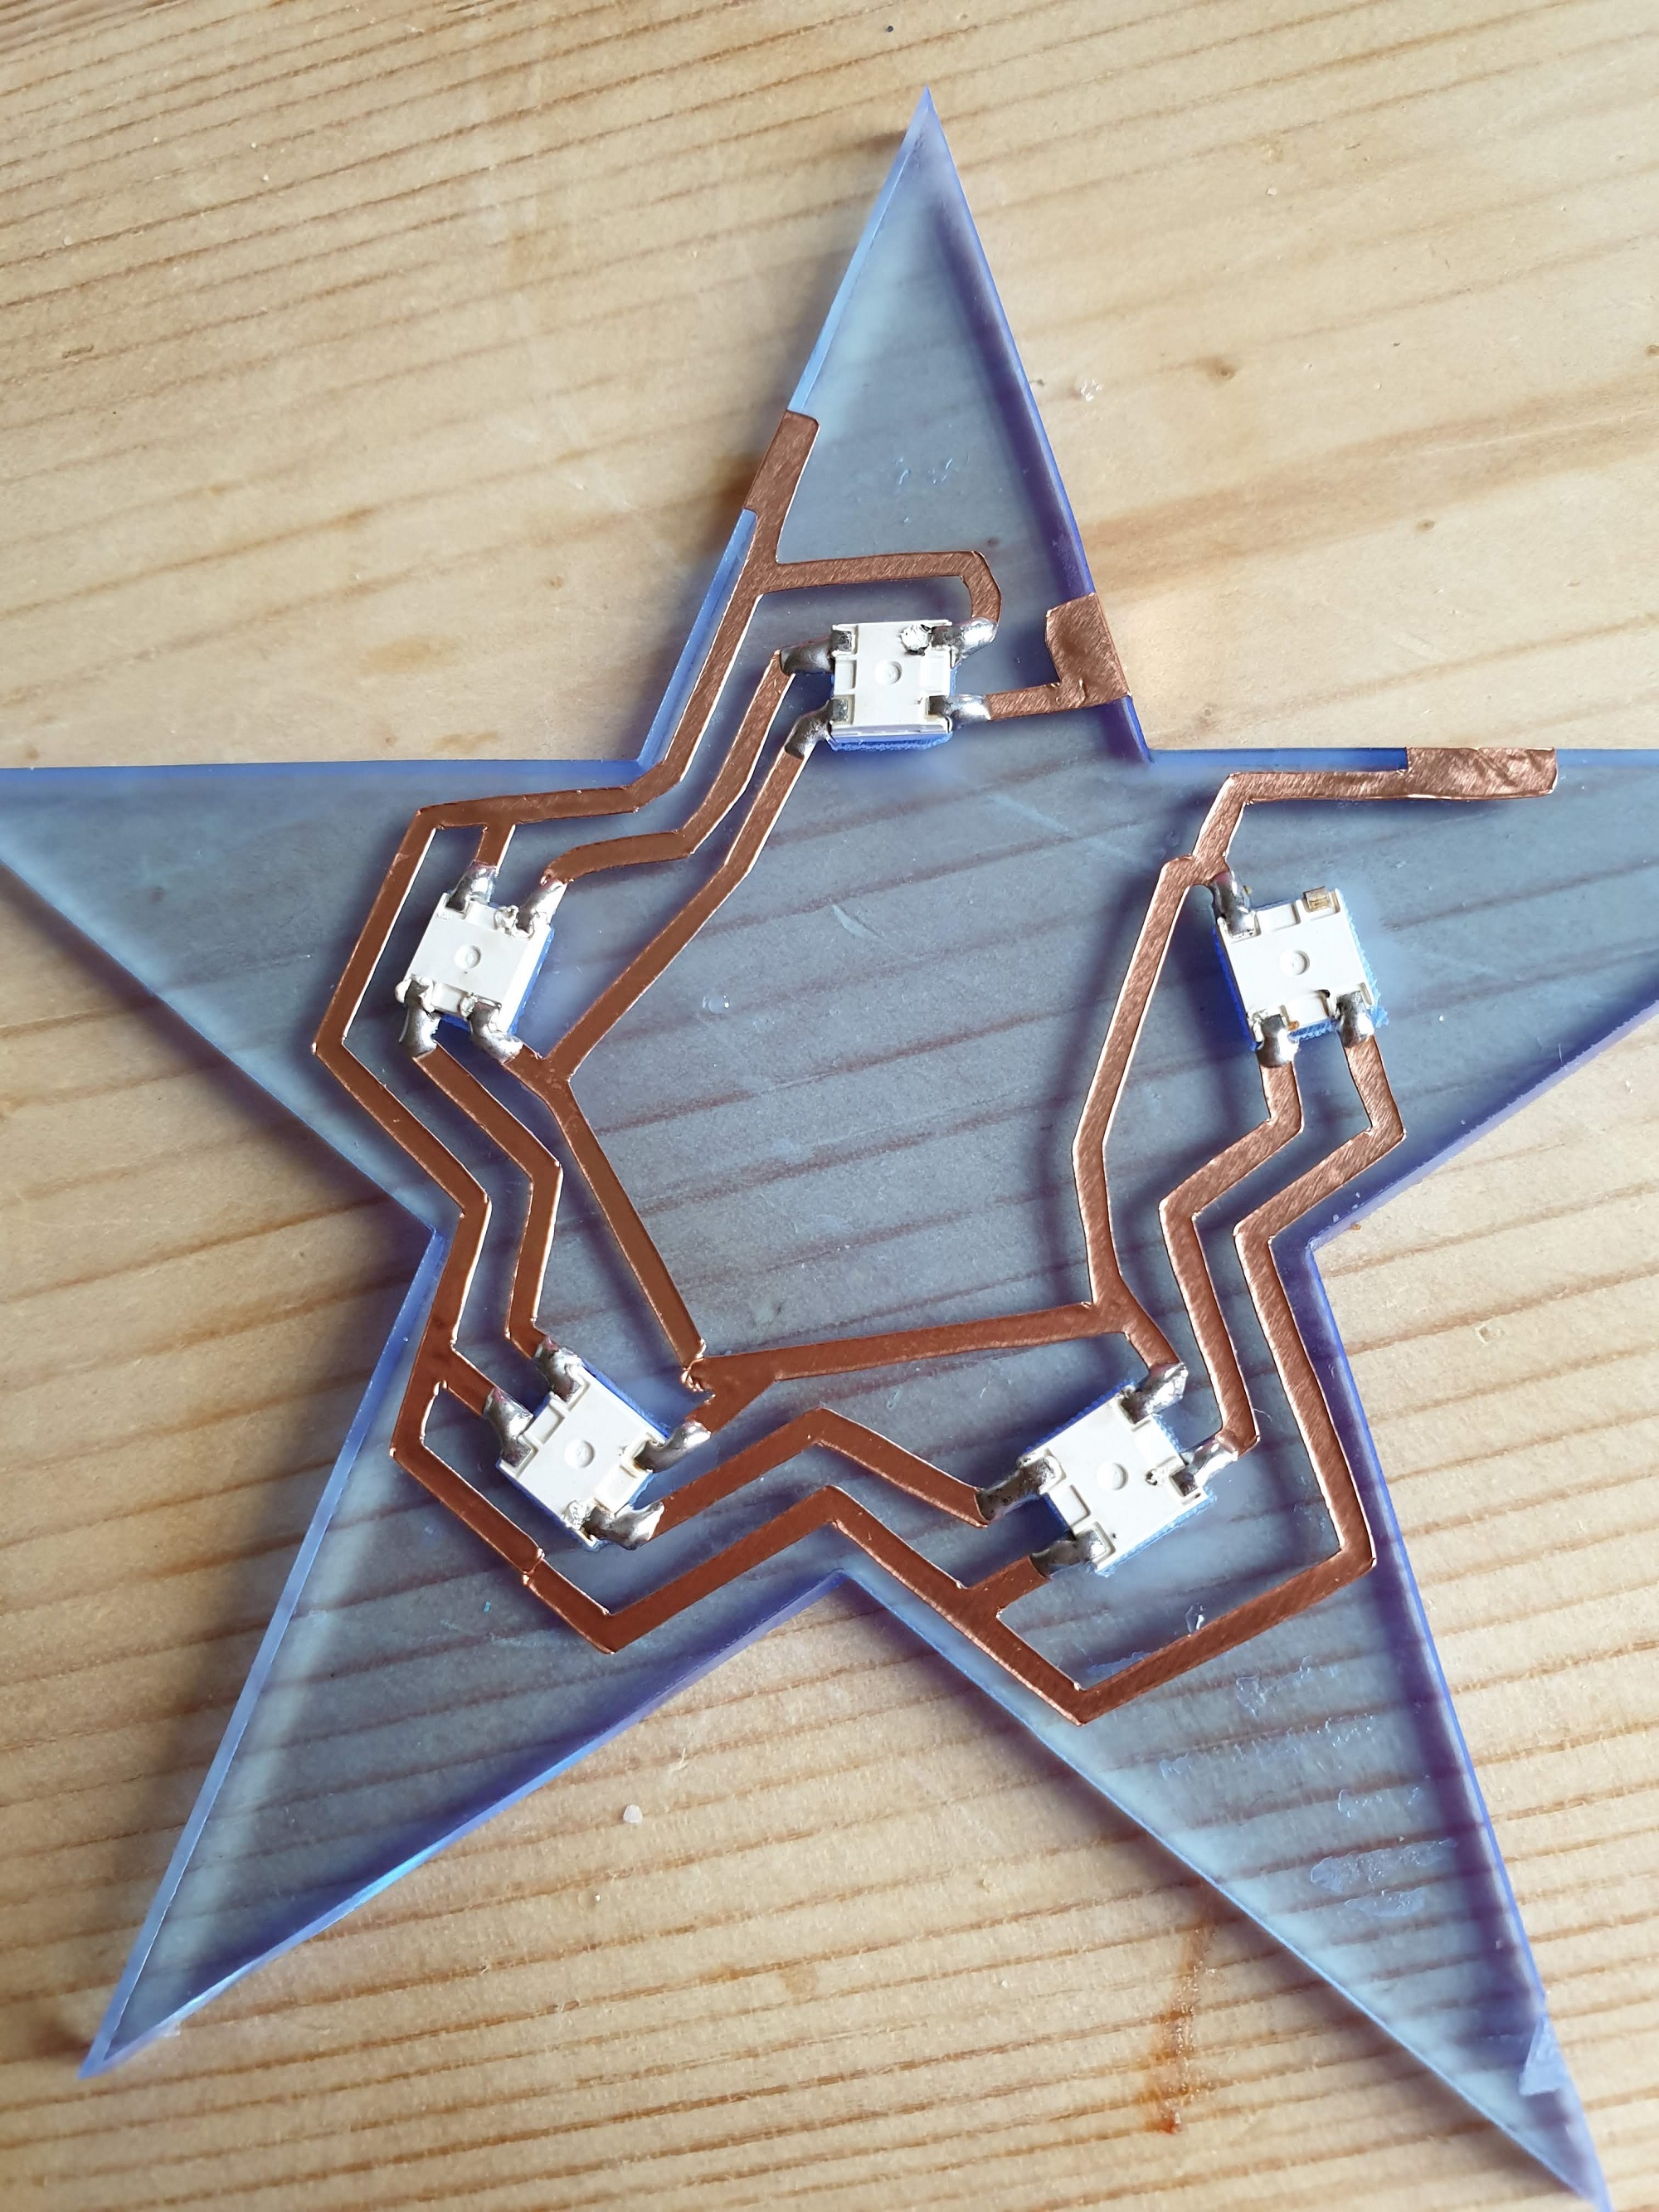
We tried to make bigger circuits, like this star:
Find out more about this star on my Friday Fail post!
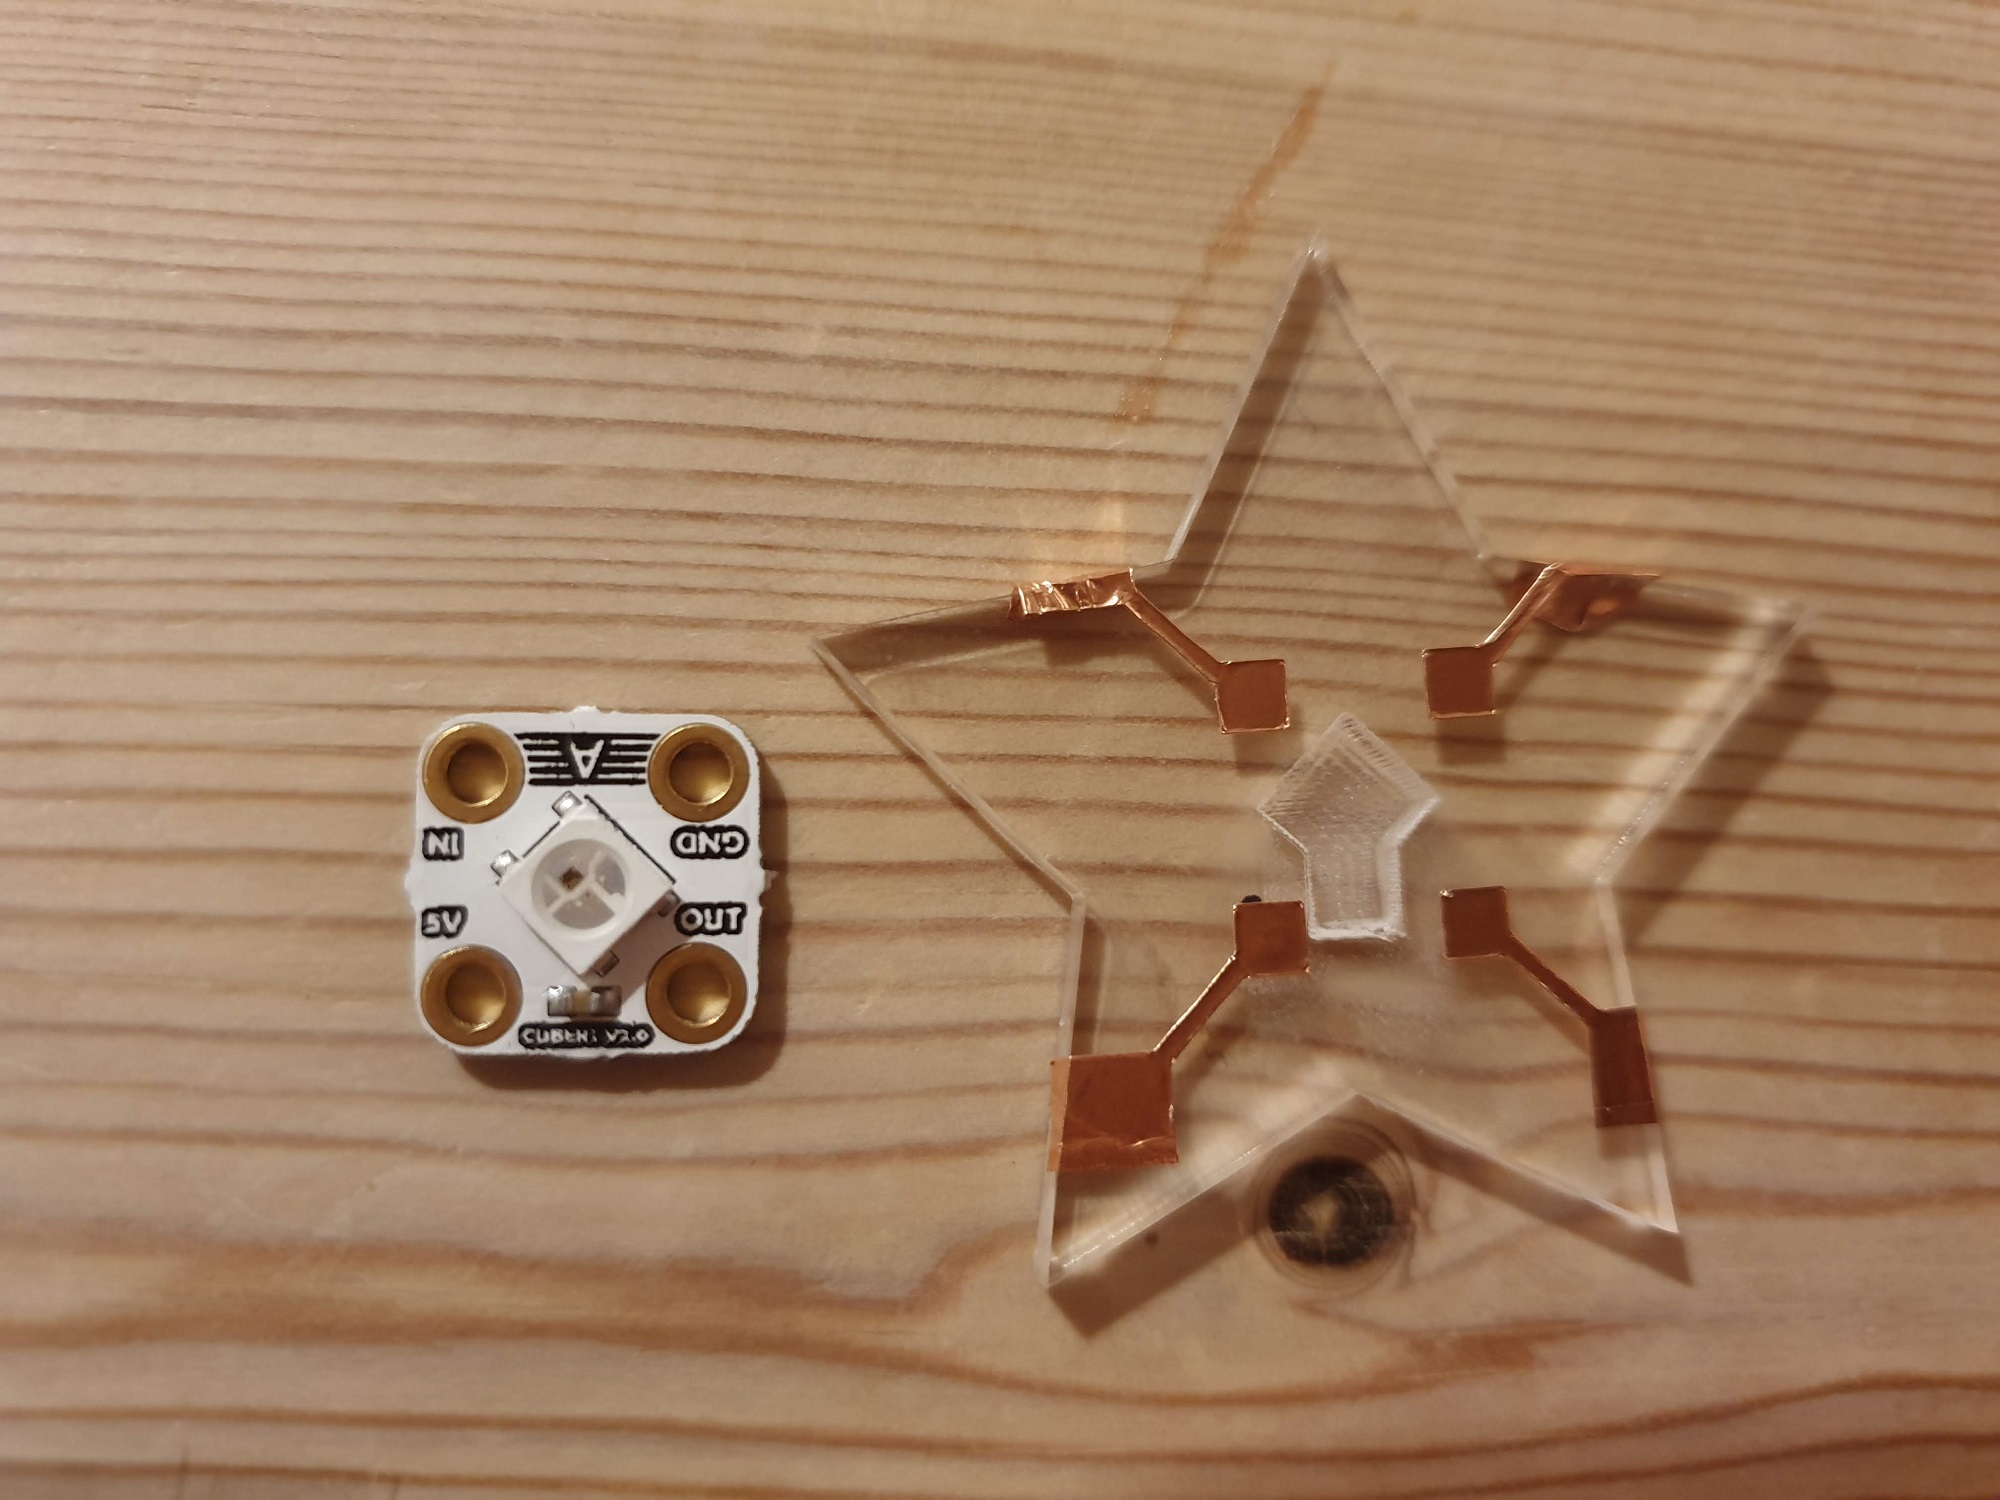
Because my WS2812bs are fragile I used the board Pimoroni made for Cubert. I have some spare! Here's the star with the circuit on it and the LED next to it. I added an extra notch for the resistor at the bottom
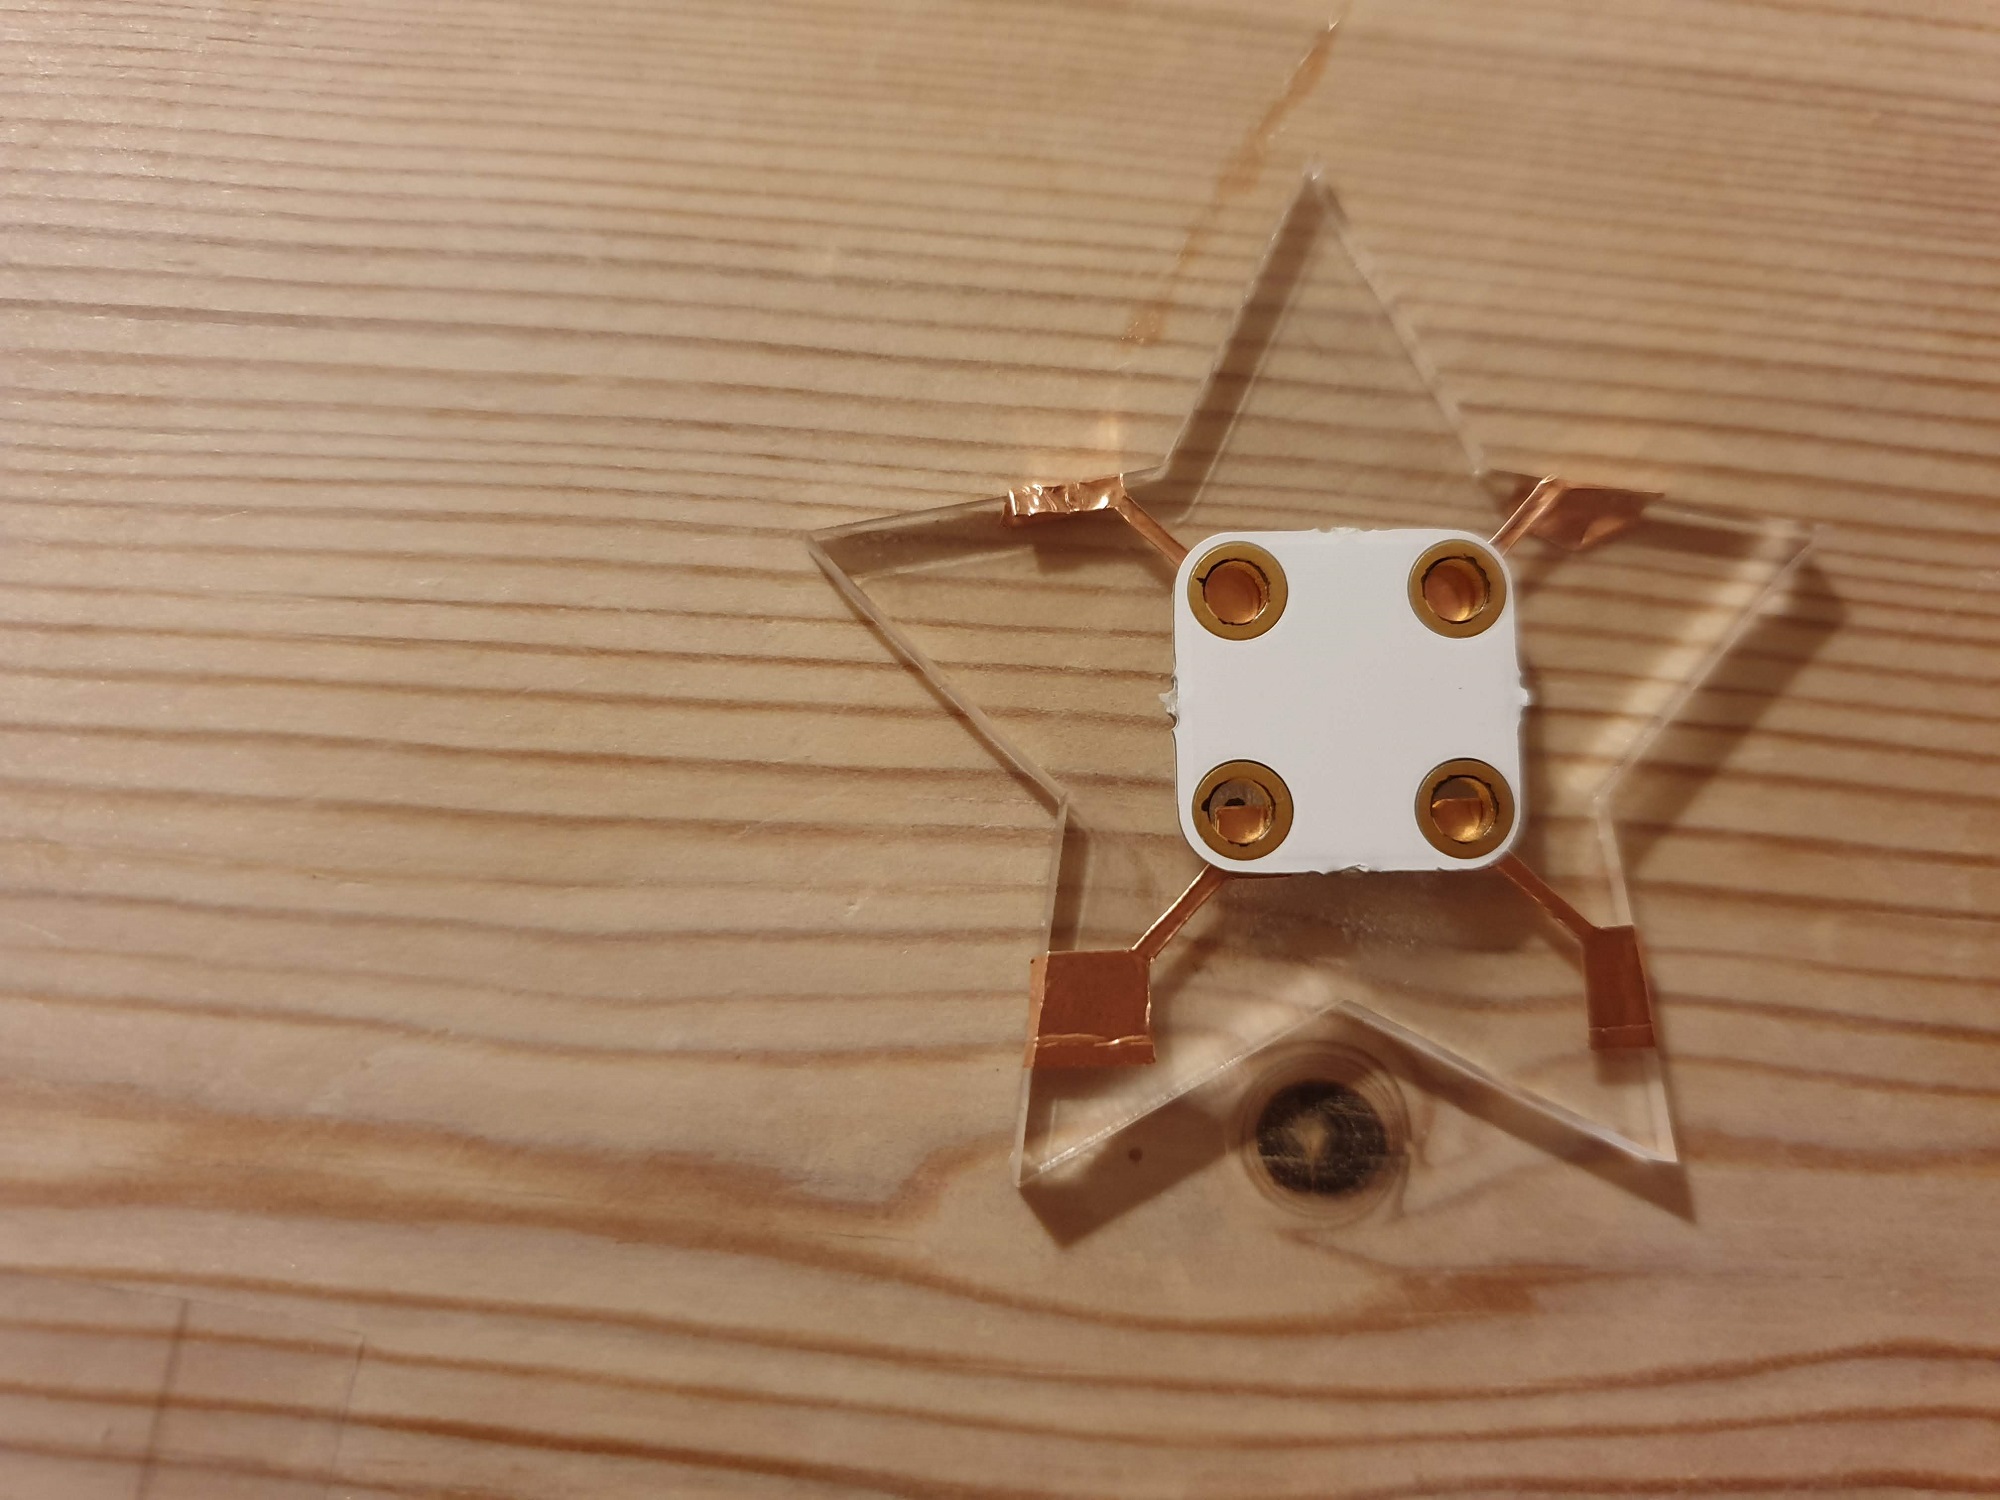
LED in place, just before I soldered it
And lights! I really like how the edge of the star is so clear and lit up.