Set up your Raspberry Pi without a monitor
Here's a guide how to setup a Raspberry Pi without using a monitor, keyboard or mouse. I keep googling these instructions myself so thought it would be handy to have them on my own blog!
Who
This is for people using a Windows machine who have an SD card reader.
Why
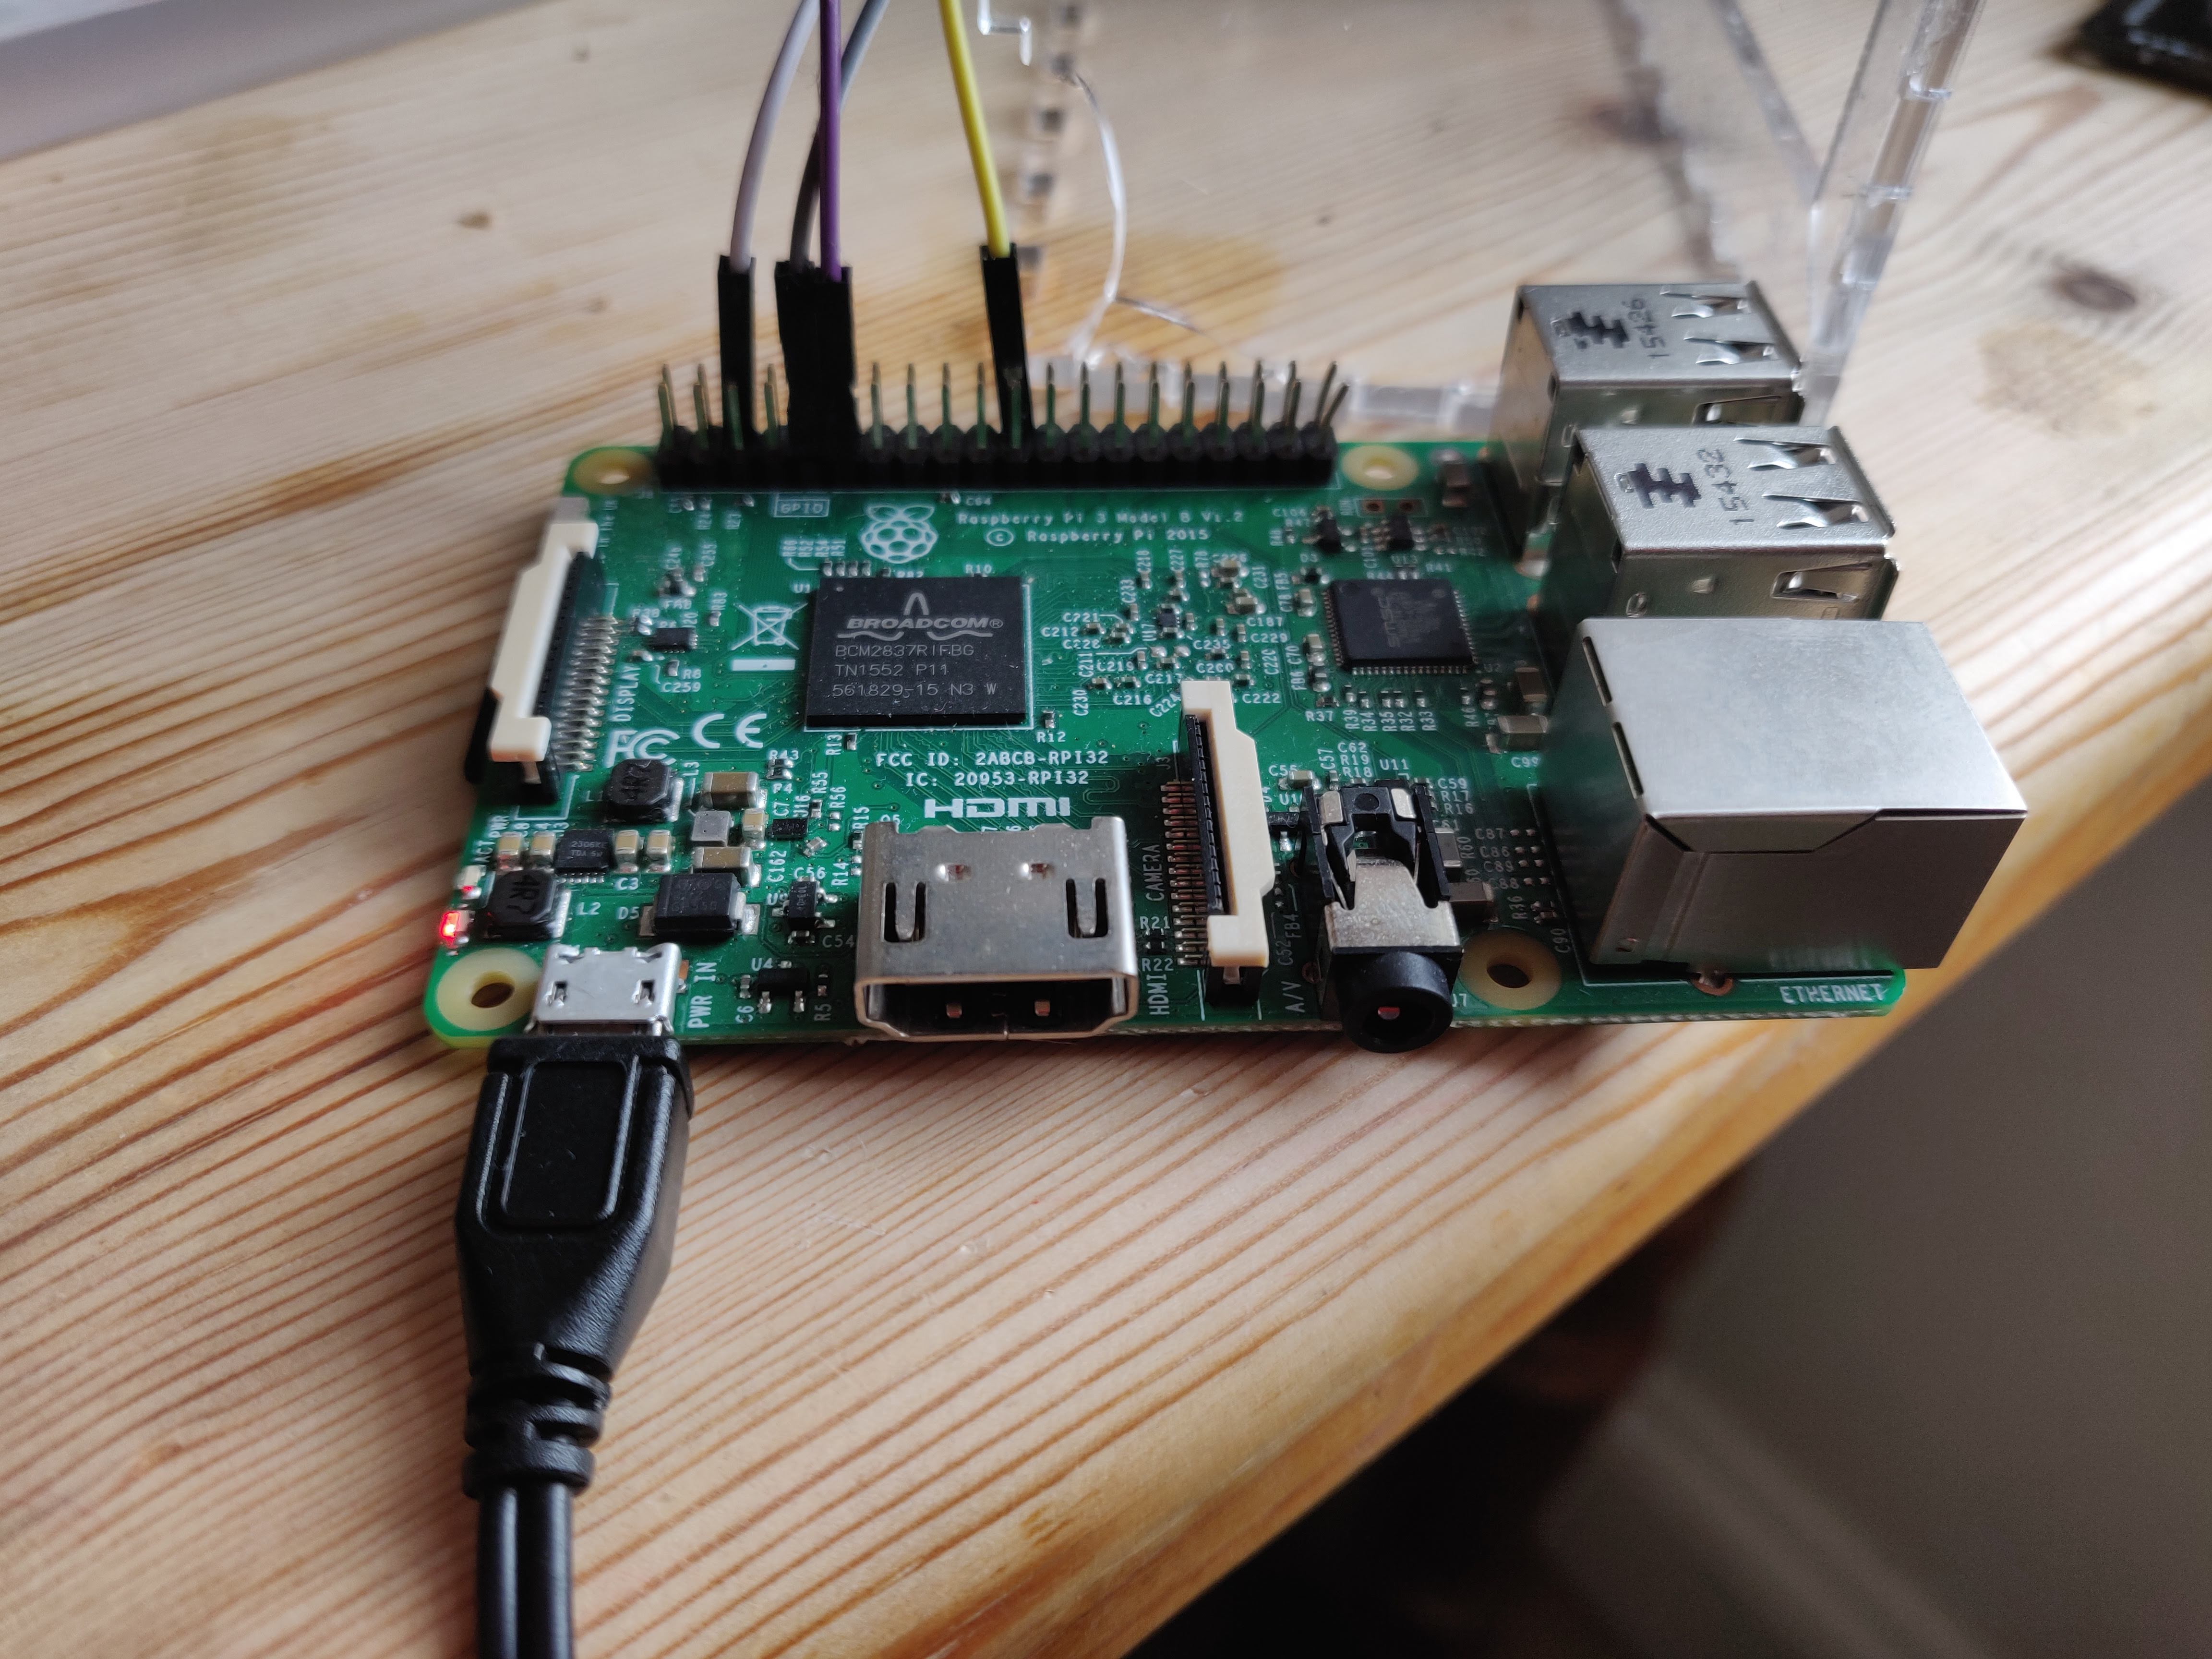
I use Raspberry Pis as robots, as stairlights, printers, screens. I never plug a Raspberry Pi into a monitor. I don't have a spare monitor lying around my house. I always connect over SSH. Here's a guide on how to setup a Raspberry Pi without plugging it into a monitor, keyboard or mouse.
Download and install
- Download the Raspberry Pi operating system, Raspian. https://www.raspberrypi.org/downloads/raspbian/ For Windows users Download the zip file
- Go to your Downloads folder and right click on the zip file you just downloaded and select Extract All
- This creates a folder with the image name with one file in it with the extension .img
- Download and install BalenaEtcher https://www.balena.io/etcher/
Flash the SD card
-
Put the SD card into your computer
-
Open BalenaEtcher
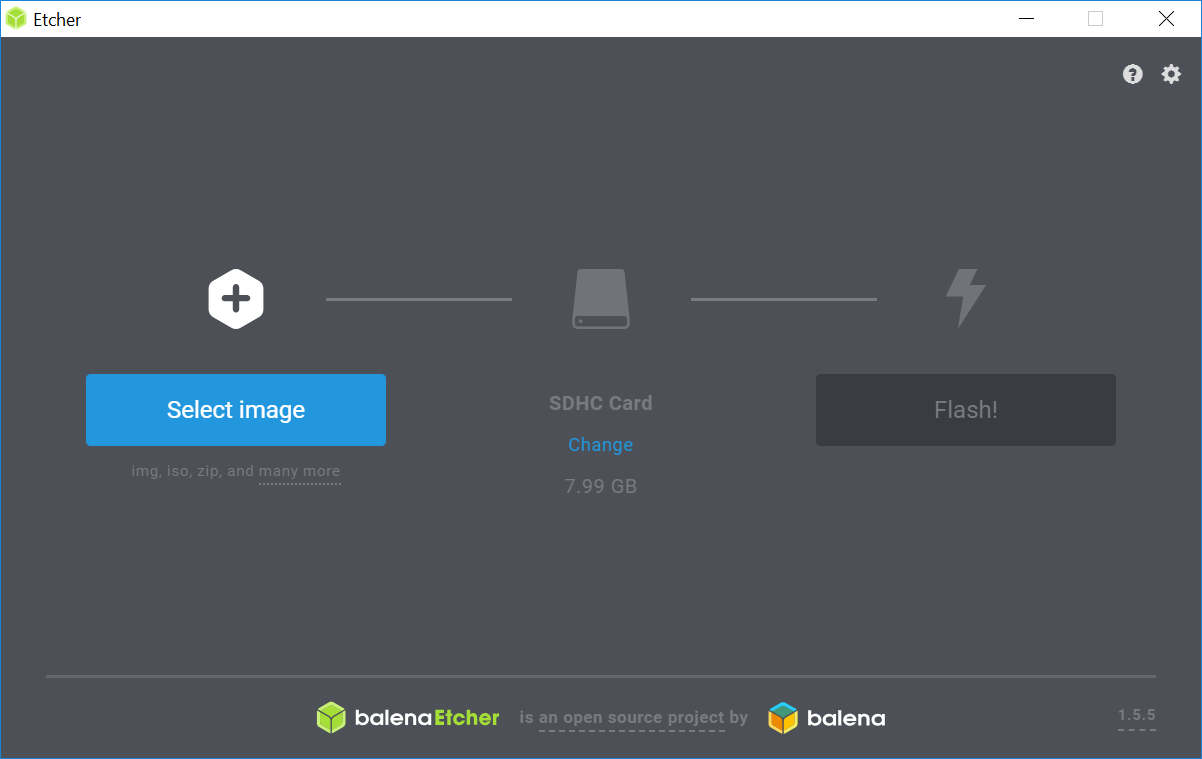
-
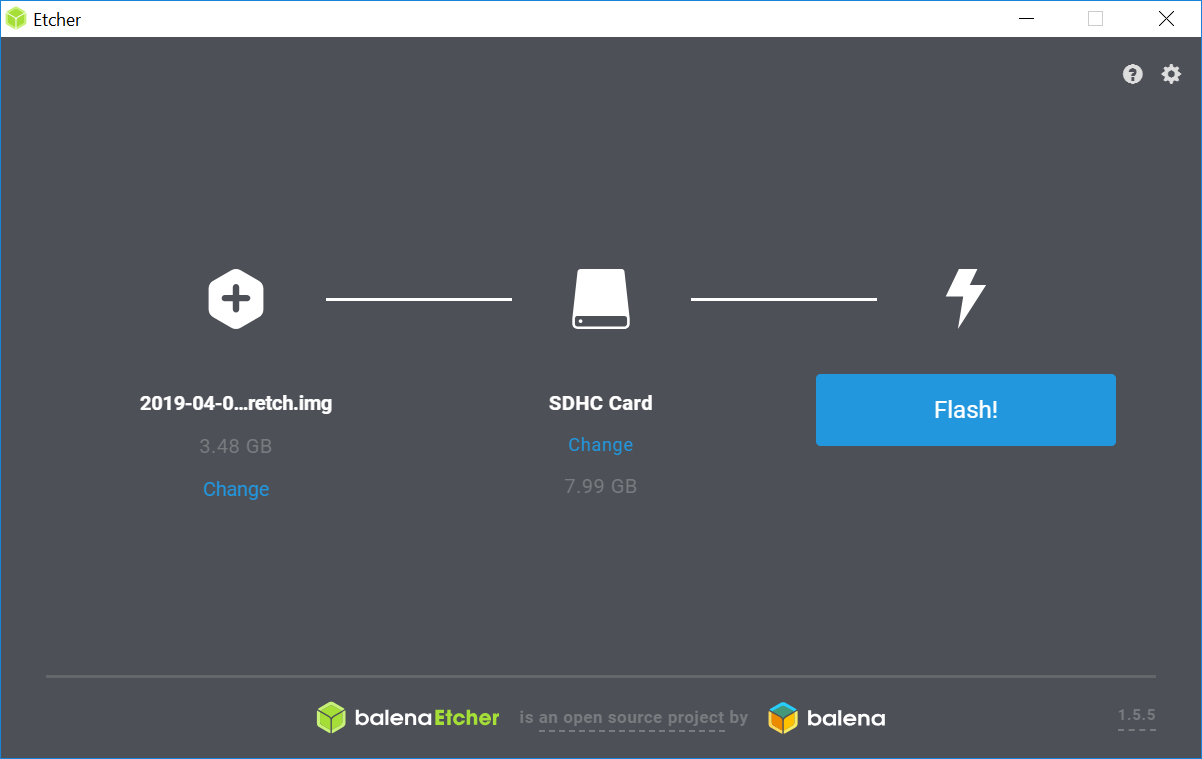
Click Select Image and choose the file you downloaded and unzipped from Raspberry Pi. Mine is called 2019-04-08-raspbian-stretch.img
-
Your SD card should be selected under Drive but in case you have multiple drives click Select Drive and choose your SD card
-
Click "Flash!" It will take some time to flash the image to your SD card
Add SSH
- You will need to eject then place the SD card back into your computer as it automatically ejects itself after it's been flashed
- Open My Computer then your SD card, mine is the E drive
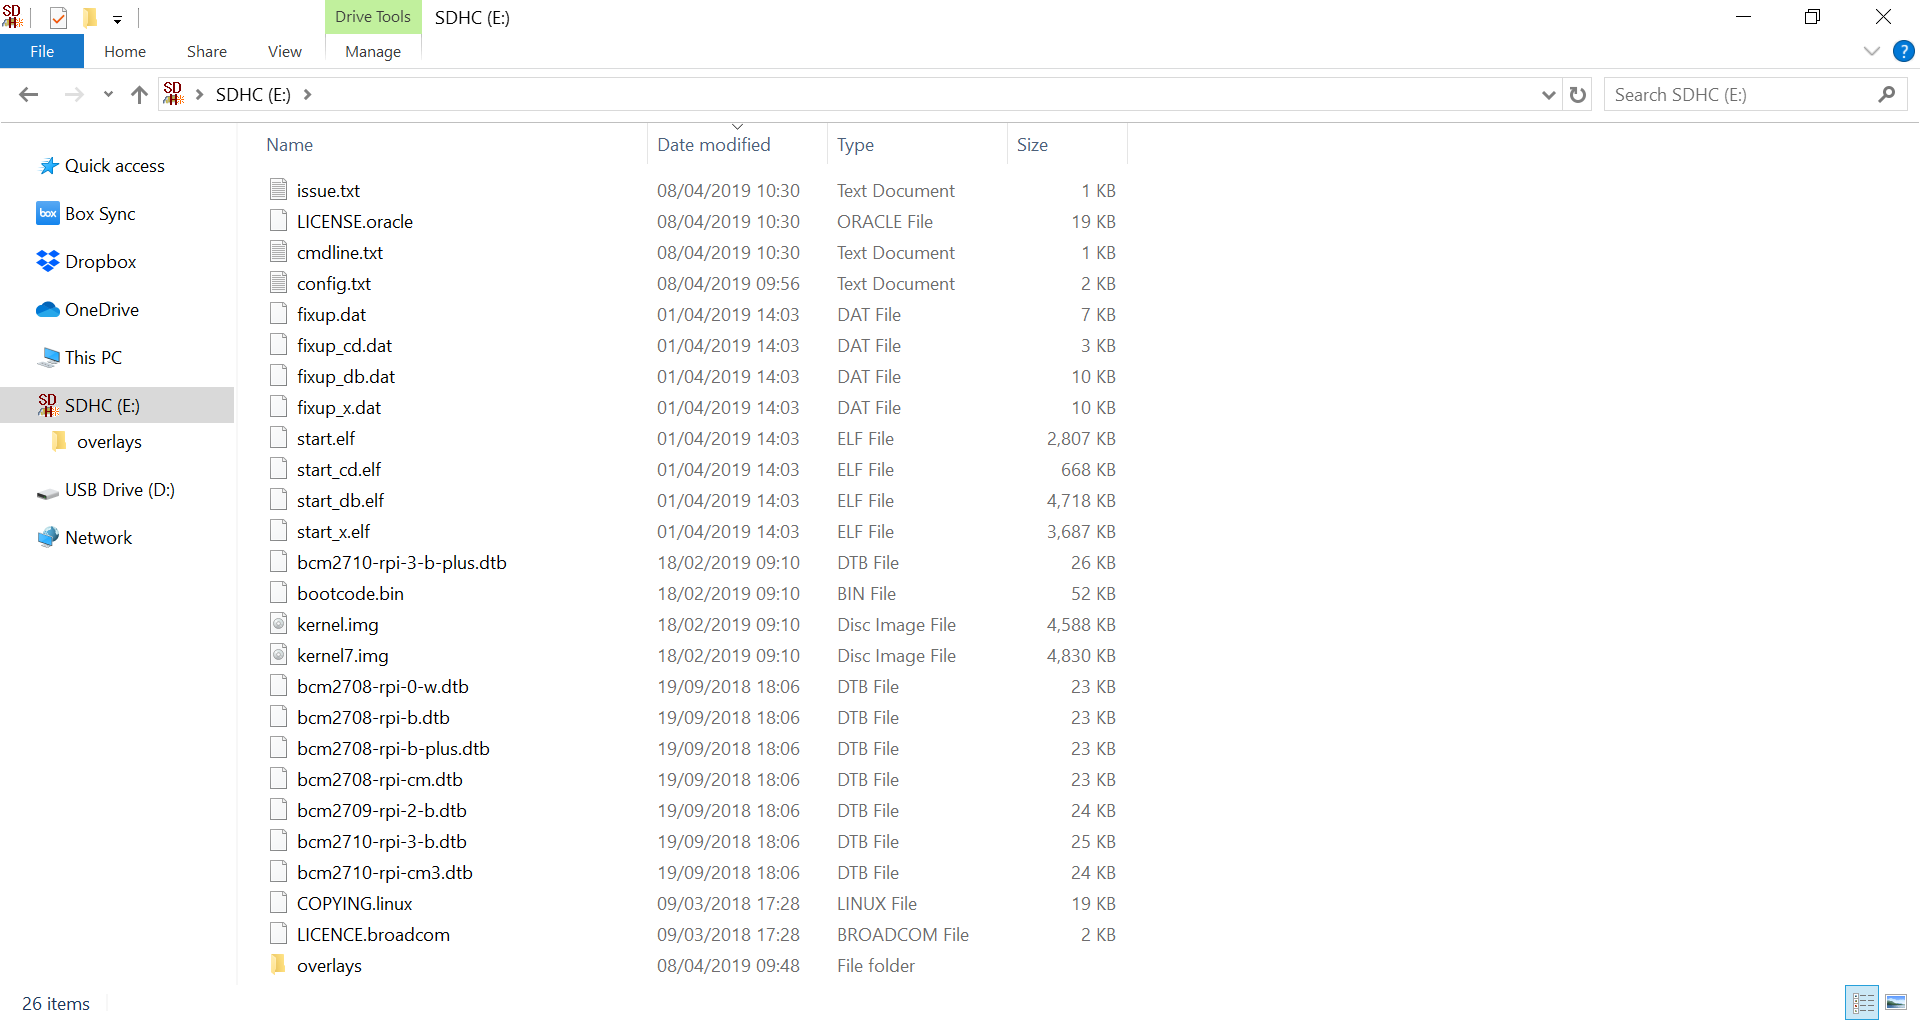
- Right click inside the folder and select New then Text Document
- Name the new document ssh, make sure you remove .txt from the end. The entire filename is just ssh
Add your login details
- Right click inside the SD card folder and select New then Text Document
- Name the new document wpa_supplicant.conf. Again remove .txt from the filename
- Open this document in Notepad
- Enter the following text
country=UK
ctrl_interface=DIR=/var/run/wpa_supplicant GROUP=netdev
update_config=1

network={
    ssid="YOURNETWORK"
    psk="YOURPASSWORD"
}
- Change YOURNETWORK to the name of your wifi
- Change YOURPASSWORD to the password to access your wifi
- Save the changes to the file.
- Make sure the file is called wpa_supplicant.conf and .txt hasn't snuck onto the end
- Eject the SD card
- Place it in your Raspberry Pi
- Turn the Raspberry Pi on
Find your Raspberry Pi on the network
- In a web browser type 192.168.1.1
- With my router I am given a lot of options. These will be different depending on your router and your internet company. On mine there is a link to DHCP Client List, click this
- This shows all the devices connected to my wifi. Find the one called raspberrypi
- Find the number next to it, mine is 192.168.1.12. This is your raspberry pis IP address on your network

Access your pi
- Download and install Putty https://www.chiark.greenend.org.uk/~sgtatham/putty/latest.html
- Launch Putty
- Enter your raspberry pi's IP address into Host Name
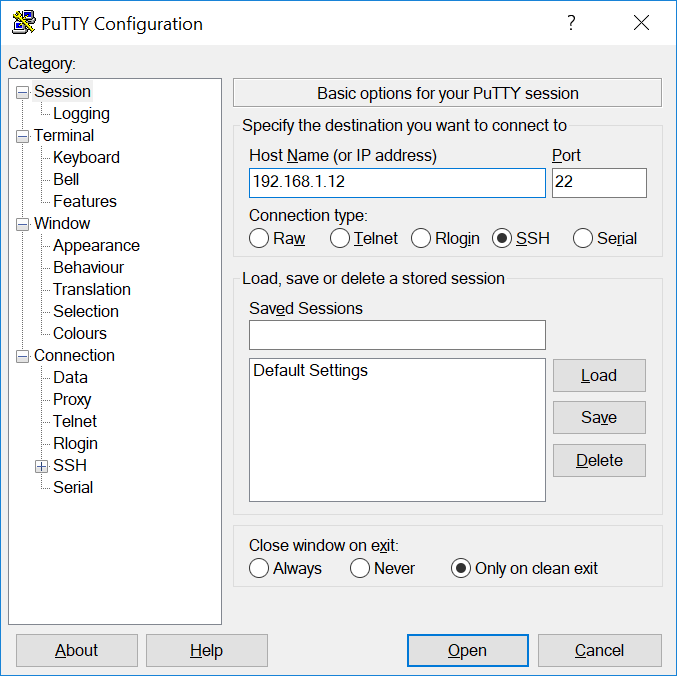
4. Select Open
5. You might get a warning the first time you access the pi using Putty. Select Yes
6. Enter the default username and password
Username: pi
Password: raspberry
7. You now have terminal access to your Raspberry Pi. You can run code here and create new files.
To trasfer files across I would recommend downloading Filezilla.
Name your Pi
If you have a lot of raspberry pis connected to the network, it's a good idea to give them names as IP addresses can change.
-
In the terminal you've opened using Putty type
sudo raspi-config -
Select 2. Network Options
-
Select Hostname
-
Enter a new hostname
-
Use the TAB key on your keyboard to move down to Finish
-
You will need to reboot your pi before the changes are made
In the list of IP addresses your pi will now appear with that name.